background image

10

11

2. Installation / Setting-up Operation

A computer is absolutely necessary for operating the Mindlights

®

. This can be in the a 

stationary personal computer, or as often preferred, a laptop or netbook. The following 
system settings are required:

• 

System Software: Windows XP, Vista or 7, in 32bit and 64bit  
or Apple Mac OS X 10.5 (Leopard), 10.6 (Snow Leopard) or 10.7 (Lion)

• 

Minimally Intel Atom Processor with 1,2 Ghz or comparable

• 

Minimally 1024MB working memory

• 

Minimally 500MB free workspace on HD (e.g. for music and sessions)

• 

A Screen with a resolution of at least 1024x600 pixels

• 

Two (!) free USB-ports (min. USB-1.1)

For the application with laptops, we recommend using a power supply unit, since the 
laptop battery will quickly run low due to the power drain of the Mindlights

®

 over the 

USB-port. Furthermore, application via battery may fail to supply 5 Volts on the USB 
port constantly, which can cause problems.

2.1 Software- and Driver unit Installation of the Mindlights

® 

for Microsoft™ Windows™

1. Turn on your PC. If you have more than 

one user account chose the one that has 
administrator status. Connect the Mind-
lights

®

 USB-stick to a free port of your 

computer!

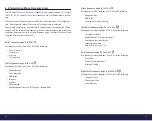
2. On the USB stick you will find a file labeled 

»Install.exe«. Double click on the file. The 
software installation starts and the driver 
unit of the Mindlights

®

 is installed too. Be 

sure to activate the check mark in the box.

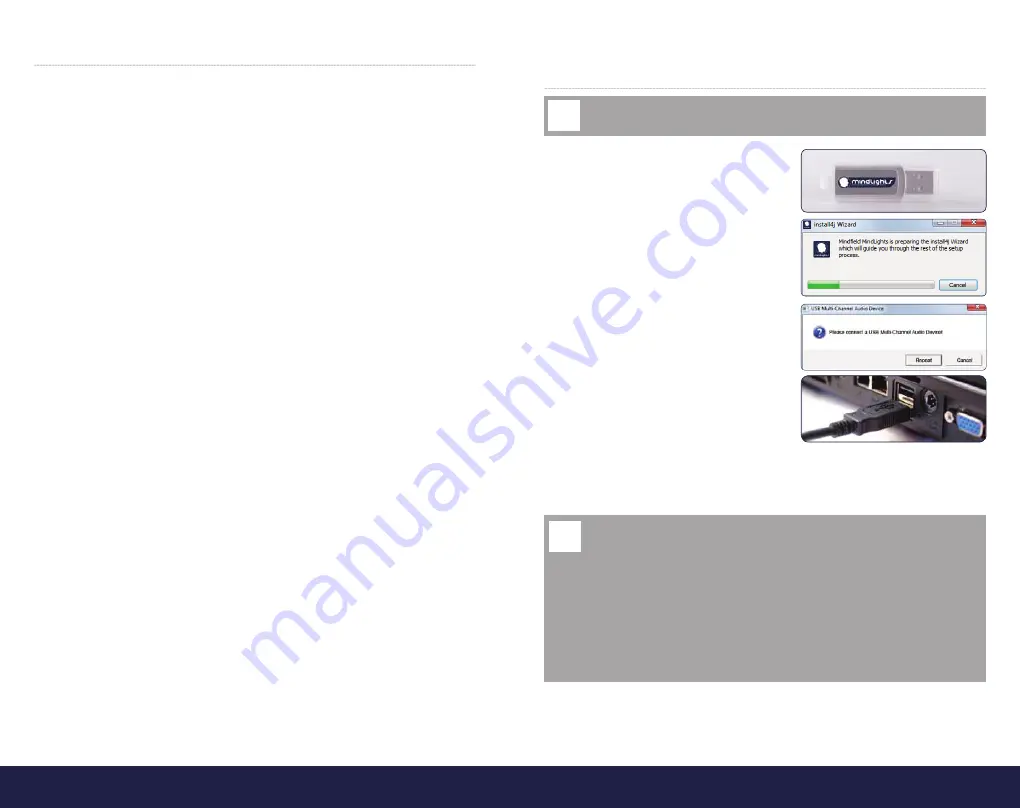
3. The driver unit will now ask you to connect 

a »USB Multi Channel Audio Device« to 
your PC. These are the Mindlights

®

. Please 

connect the USB-plug of the Mindlights

®


to a free USB-port of your PC now. Then 
click on »retry«.

4. After the successfull installation of the 

driver unit you will have to restart your PC! You should not start the MindLights 
Software before this restart.


IMPORTANT before starting the installation: Only connect the Mindlights® to the 
USB-port of your PC after the software requests it during installation!

!

Important notice: The driver unit will only be installed to the current USB-port of your 
PC. If you disconnect the Mindlights

®

 from your PC and then reconnect them for 

another session on a different USB-port, you will have to install the driver unit again 
for this port. We therefore recommend always using the same USB-port! You can also 
install the driver unit seperately. To do that you have to execute the file »setup.exe« 
which can be found in the subdirectory »driver« on the USB-stick.
The installation of the software is not necessary. You can operate the software directly 
from the USB-stick. In the primary directory there is a file labeled »Start.exe«. Double 
click on this file. The software is now loaded directly from the USB-stick and your 
sessions will be automatically saved to the folder labeled »sessions« on the USB-stick.

!

The MindLights

®

 software supports Mac OS 

X 10.5 (Leopard), 10.6 (Snow Leopard) and 
10.7 (Lion).

There is no need for any driver installation 
for the MindLights

®

.

You need at least Java

 6 to install or start 

the software. Use the apple software up-
date tool. 

You can start the MindLights

®

 Software di-

rectly from the USB stick using the »Start.
app« shortcut for the file »Start.app« in the 
folder: start/Mac/Start.app

If you start the software directly from the 
USB stick the folders »musics« and »sessi-
ons« on the USB stick are the sources for 
music files and sessions and your own ses-
sions will be saved there.

If you install the software, which is recom-
mended for best performance, just use the  
file »Install.dmg« on the USB stick.

In a local installation your own sessions 
are stored in the folder »Home/MindLights 
Sessions«.

To de-install the software just drag the soft-
ware icon to the recycle bin (Mac standard).

Advices for Apple

 users of the Mindfield

®

 MindLights

®
Summary of Contents for MindLights

Page 1: ...www mind eld de MANUAL INSTRUCTIONS FOR INSTALLATION AND USE SOFTWARE AUDIO VISUAL STIMULATION...

Page 2: ...fects on a broad scale of diseases such as tinnitus AD H D chronic stress burn out depression and migraine have been proven The chapter Research p 46 includes further information on this subject In ad...

Page 3: ...ain s electrical activity caused be the auditive and visual stimuli1 2 Furthermore clinical stu dies have shown improvements in the field of stress and anxiety problems pain re duction and positive ef...

Page 4: ...ratory Support 24 Step 13 Checking the Settings 24 Step 14 Final Adjustments of Luminance and Volume 25 Step 15 Start Playback of the Session 25 5 Manual Generation of a Session 26 5 1 1 Session 27 5...

Page 5: ...session with the Mindlights Please consider the following safety instructions upon operating the Mindlights Women during pregnancy should only use the Mindlights and other devices for audio visual sti...

Page 6: ...restart IMPORTANT before starting the installation Only connect the Mindlights to the USB port of your PC after the software requests it during installation Important notice The driver unit will only...

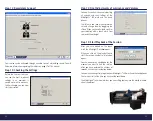
Page 7: ...yourself familiar with further content of this manual Optional Alternative Setting of the MindLights to 8 Channels Alternatively you can also change the MindLights to 8 channels 8 CH via the Windows S...

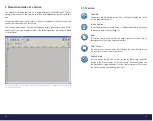
Page 8: ...You now have the following 3 options 1 Automatic Generation of a new Session p 15 2 Manual Generation of a Session p 26 3 Loading an existing Session p 42 By clicking on the following button you will...

Page 9: ...oose the duration of your session By sliding the controller the duration can be adjusted to your personal demands The standard preference which has proven to be 30 minutes for most people is already a...

Page 10: ...ht Stimulations Step 7 Choosing the Color Variation In this part of the menu you can choose a set of predefined colors for your session Option Primary Colors Only a few subject related and predefined...

Page 11: ...medium level of frequency variation More markers will be implemented and there will be more audio visual shifts For the area of performance improvement we recommend a high level of frequen cy variati...

Page 12: ...sier to perceive The different options differ in subjective effectiveness so we recommend that you ex periment with all of them and find the option that best suits you White Noise White noise consists...

Page 13: ...t listen to and look at your preferen ces and change them by dragging the sliders When you have finished confirm your selection with a check mark Your session will now begin Step 15 Start Playback of...

Page 14: ...on page 14 or on the New button 5 1 1 Session Generate Generates a subject related session This selection will guide you to the session generator page 15 Load a Session This will open previously save...

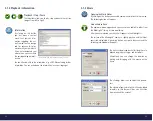
Page 15: ...cking on this button you can add your own audio track to the session The following button will appear Add an Audio Track The explorer window appears and you can chose an audio file either from the Min...

Page 16: ...s Options Click on this button to make any global changes such as language maxi mum frequency switch start menu on off acoustic transitions and fade in out durations Help The manual is provided in PDF...

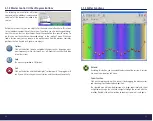
Page 17: ...r The reset button will set the colors back to black and white They can then be redefined according to your adjustments 5 2 3 Deleting Frequency Markers Select an existing frequency marker and then cl...

Page 18: ...he parameters will be pasted to another transition by clicking on paste All adjustments that you have made will be copied 5 3 2 Function Waveforms The integrated LED lights can perform the visual stim...

Page 19: ...o have the opportunity to switch off this function Another stimulating but also calming influence is the individually manageable training of breathing patterns Breathing Patterns According to a lot of...

Page 20: ...ansition by pressing Tab and backwards by Shift Tab 5 5 Fast Forwarding during a Session At the point when you have created your own session you have the opportunity to rewind or fast forward within i...

Page 21: ...p relaxation Meditation Insomnia Pain reduction Theta Frequency range 4 to 8 Hz q Use frequency markers from 4 to 8 Hz for the following Deep relaxation Stress reduction Meditation Insomnia Hypnosis D...

Page 22: ...ck on the desired session and confirm your selection Details for Advanced Users Please use the professional capabilities of the MindLights software in order to create exciting sessions There is no oth...

Page 23: ...anvas Information symbol for choosing the duration of the session Choice between standard and individual parameters Creation of a new session Extending the session to max 2 hours keyboard shortcut X P...

Page 24: ...Bugs resolved Errors when cloning markers in zoomed view Selection rectangle at the window edge deleting history works as it should EC Declaration of Conformity for the Mindfield MindLights Accordanc...

Page 25: ...48 Ihre Notizen...

Reviews: