Installing Your Analyzer
4-6
(
Figure 4-1
)
;
Figure 4-1 Diluent container
2. Take out the diluent container and place it on or below the countertop;
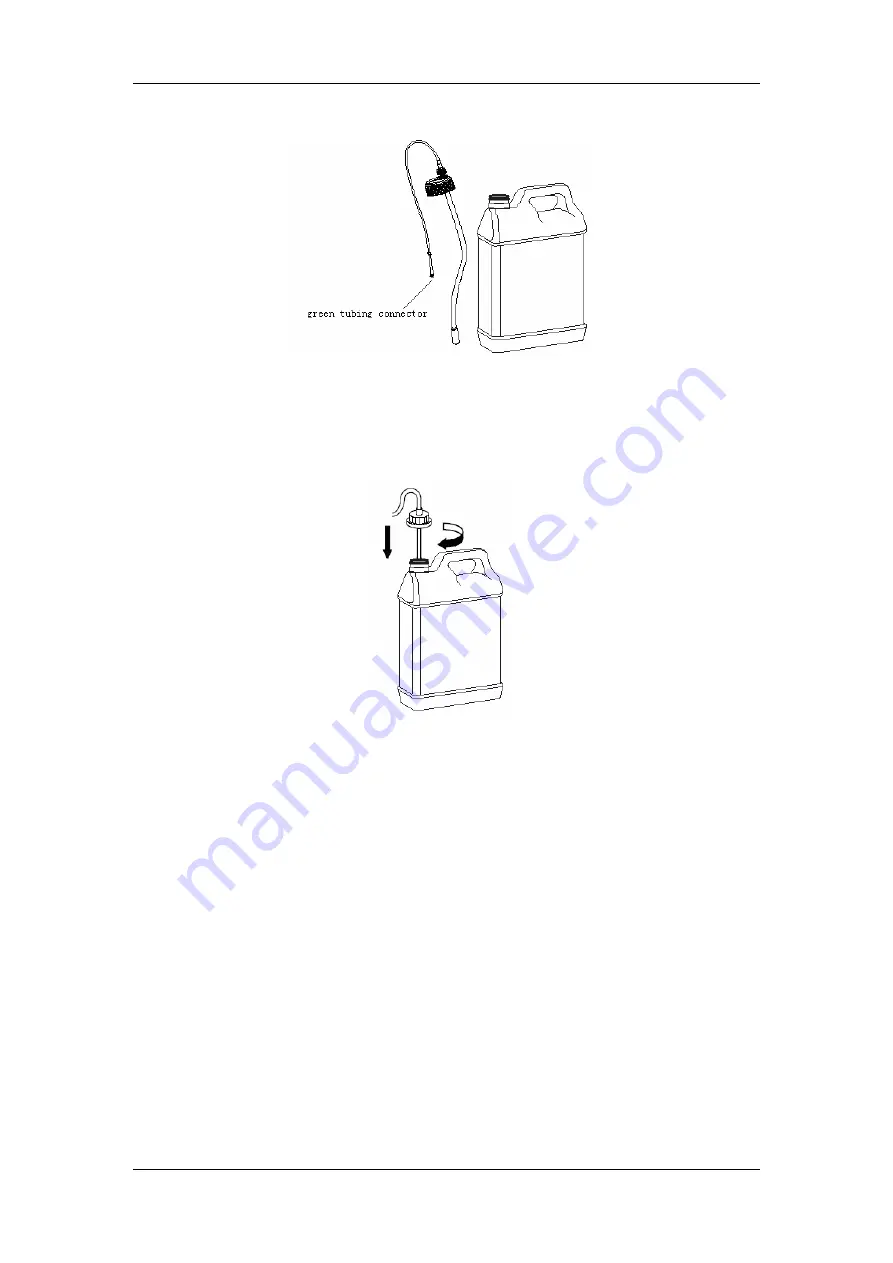
3. Remove the container cap and insert the tube end that has no connector into the diluent
container and tighten the cap until properly secured, as Figure 4-2 shows;
Figure 4-2 Insert the tube end into the container
4. Locate the green fitting marked “
DILUENT
” in the lower right corner of the back of the
analyzer;
5. Plug the green connector of the tube into the fitting and turn it clockwise until properly
secured.
Connecting the rinse container
1. Take out the rinse pickup tube (the one with a blue connector) from the accessory box, as
Figure 4-3 shows;
Summary of Contents for BC-2800
Page 1: ...BC 2800 Auto Hematology Analyzer Operator s Manual ...
Page 2: ......
Page 12: ......
Page 24: ...Using This Manual 1 12 Figure 1 4 High voltage warning label 7 High Voltage 7 ...
Page 62: ......
Page 91: ...Customizing the Analyzer Software 5 29 Figure 5 46 Saving changes ...
Page 92: ......
Page 170: ...Using the QC Programs 8 14 Figure 8 18 Transmission dialog box ...
Page 196: ......
Page 248: ......
Page 252: ......
Page 266: ......
Page 284: ...Appendices E 10 Hemoglobin Concentration ...
Page 286: ...P N 2800 20 28795 2 0 ...

