5-11
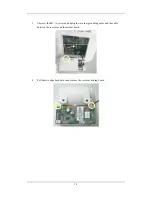
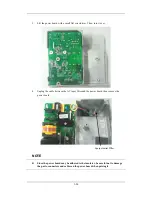
2. Unplug the cables respectively from the button board and the LCD to the backlight
board. Then, unscrew the two M3
×
6 screws to remove the inverter.
5.3.8 Removing the LCD
CAUTION
z
Do not touch the LCD.
z
Disassemble the LCD in an environment as dust-free as possible.
1. Unscrew the eight M3
×
6 screws and remove the LCD with care. Do not touch the LCD
surface and prevent it from being contaminated by dust.
Summary of Contents for BeneView T5
Page 1: ...DPM 6 Patient Monitor Service Manual ...
Page 2: ......
Page 4: ...II FOR YOUR NOTES ...
Page 12: ...6 FOR YOUR NOTES ...
Page 16: ...1 4 FOR YOUR NOTES ...
Page 32: ...2 16 FOR YOUR NOTES ...
Page 68: ...3 36 FOR YOUR NOTES ...
Page 80: ...4 12 FOR YOUR NOTES ...
Page 126: ...5 46 FOR YOUR NOTES ...
Page 133: ...6 7 6 3 3 12 1 Screen Assembly with anti glare screen Exploded View ...
Page 163: ...6 37 6 6 7 BIS Module Exploded View ...
Page 180: ...6 54 FOR YOUR NOTES ...
Page 204: ...A 14 FOR YOUR NOTES ...
Page 205: ......


