System Maintenance
7-10
4. In the upgraded file folder of the corresponding drive (the corresponding drive of the U
disk is G:) , select the files with suffix UPG, and then select OK and press the Set key.
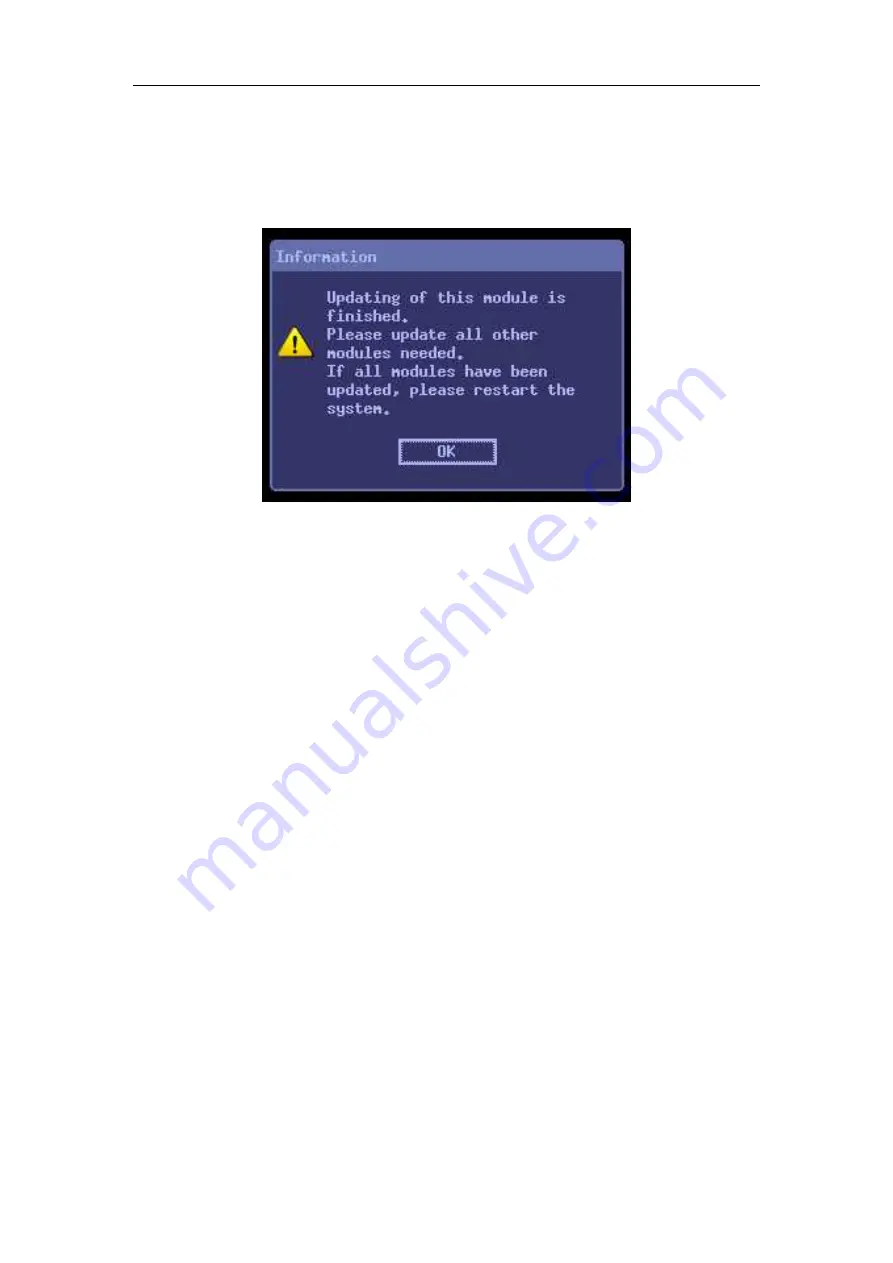
The system starts to upgrade the system software. After the upgrading is completed, the
following dialog box appears:
5. Move the cursor on OK and press the Set key, and the system will upgrade other files in
the upgrading package as per the above procedures. After the upgrading of other files is
completed, the system shall be restarted.
Note: only after the upgrading of all files is completed, will the system be restarted;
otherwise the system may not be initialized.
7.2.4 System recovery
When the system doesn’t respond to any operation or cannot be started, please recover
the system according to the following procedures:
1.
Copy the system recovery data and configuration files package to the U disk.
2. Turn off the machine, insert the U disk to the USB port, and connect the recovery
dog
(
2105-20-40622
)
to the parallel port.
3. Turn on the machine, and the system will automatically enter recovery. The following
message pops up, stating: “Notify: Rescue is successful, please eject rescue disks &
dog and then restart. This indicates that the system is recovered successfully. Then
restart the system.
Summary of Contents for DC-6
Page 1: ...DC 6 DC 6T DC 6Vet Diagnostic Ultrasound System Service Manual...
Page 2: ......
Page 20: ...2 1 2 System Overview 2 1 System Appearance 2 1 1 Complete System with CRT Monitor...
Page 23: ...System Overview 2 4 2 2 LCD Monitor...
Page 26: ...System Overview 2 7 2 2 3 Lever of upper support arm...
Page 66: ...4 1 4 System Structure and Assembly Disassembly 4 1 Exploded View of Complete System...
Page 101: ...System Structure and Assembly Disassembly 4 36 Power boards Card detacher...
Page 191: ...P N 2105 20 40473 V10 0...


