6-8 Display & Cine Review
Review screen (press <Review> to enter).
1. In the above condition, press <Cursor> to show the cursor and click the target image file.
2. 3 buttons will appear to the right of the image, click
A B
to select the image for
comparison marked by a
.
If the wrong image has been chosen, click
to cancel the selection of this image.
Tip: for B mode image, you can select at most 4 images; for M single mode image, you
can select at most 2 images.
3. Repeat the above steps to add other image files for comparison.
4. Click [Compare] to enter image compare mode.
5. Review images from different image windows. Press the <Dual> or <Quad> key to
switch the active image window.
The window with the highlighted “M” mark is the currently activated window.
6. Save the image if necessary.
7. Click [Return] on the screen or press <Freeze> to exit image compare.
Image compare of different exams for the same animal:
c) Select different exams in the iStation screen, then select [Review Image] in the
menu which appears to enter the Review screen.
In the Review screen, click [Exam History] to select the exam. Click to select the image to be
compared in different exams, and click [Compare].
6.6
Preset
Open [Setup]
→
[System Preset]
→
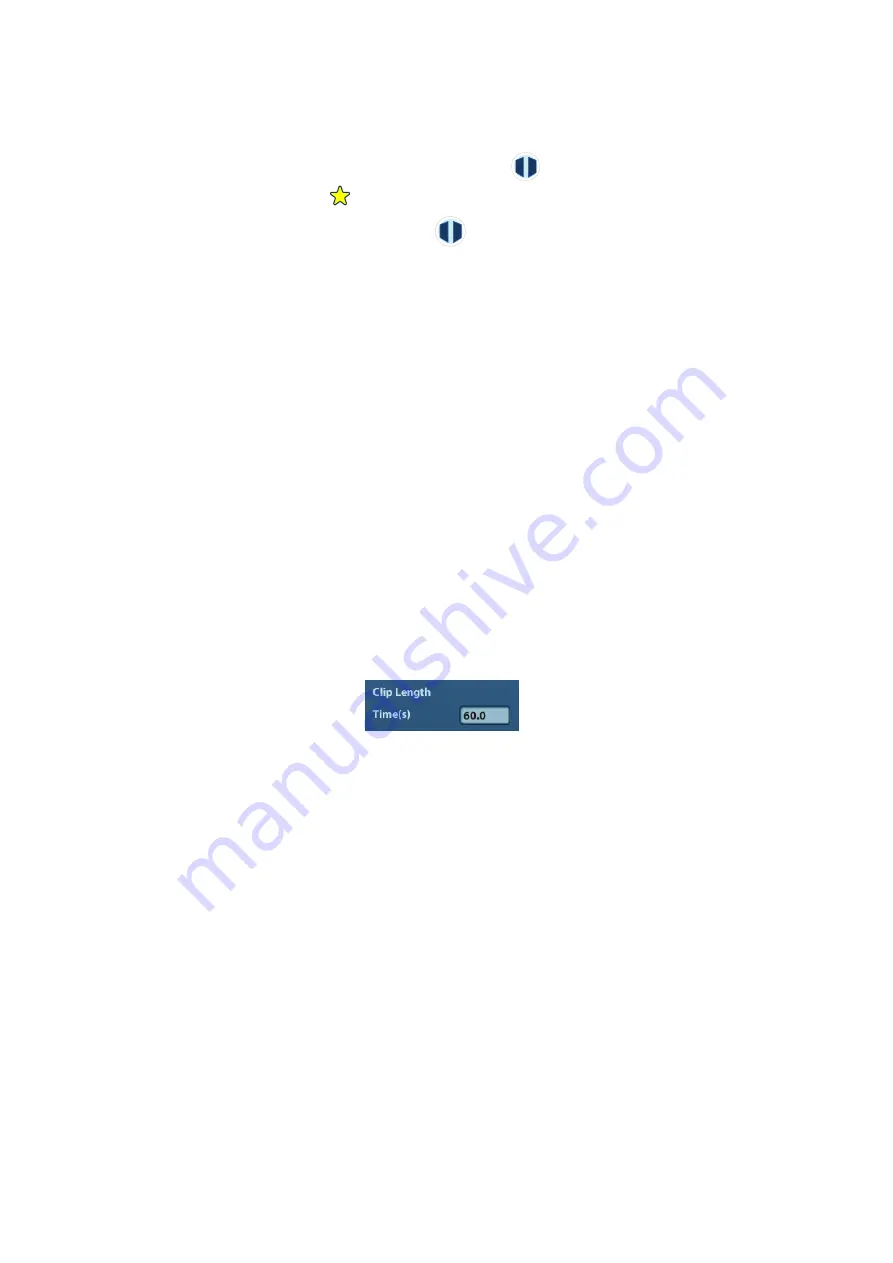
[General] to preset the cine storage length.
Clip length: 1~60s.
Summary of Contents for DP-50 Exp Vet
Page 2: ......
Page 34: ...2 6 System Overview 2 6 Introduction of Each Unit Right View Left View...
Page 42: ......
Page 68: ......
Page 128: ......
Page 148: ......
Page 166: ...10 18 DICOM For details on tast manager see 9 6 Animal Task Manager...
Page 180: ......
Page 220: ......
Page 224: ......
Page 236: ......
Page 242: ......
Page 248: ......
Page 342: ...D 2 Printer Adapter Type Model SONY X898MD...
Page 343: ...P N 046 017713 02 1 0...


