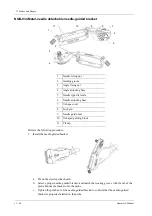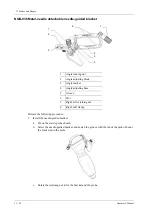
13 Probes and Biopsy
Operator’s Manual
13 - 39
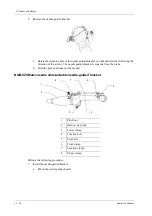
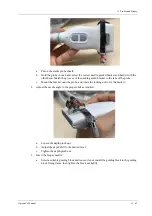
b.
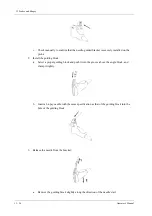
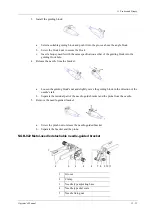
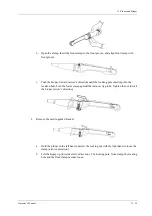
Open the clamp. Insert the front clamp to the front groove, and align front clamp with
front groove.
c.
Push the biopsy forward (arrow’s direction) until the locating pole inserting into the
location hole. Turn the lower clamp against the intra-cavity probe. Tighten the nut to lock
the biopsy (arrow’s direction)
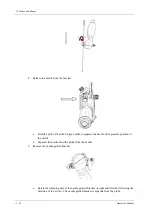
2.
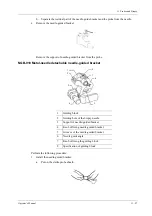
Remove the needle-guided bracket:
a.
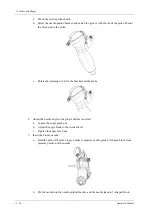
Hold the prober in the left hand; unscrew the locking nut with the right hand to loose the
clamp (arrow’s direction).
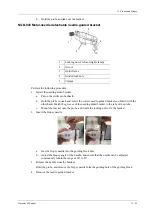
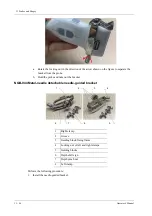
b.
Lift the biopsy up (towards arrow’s direction). The locating pole, front clamp, the locating
hole and the front clamp become loose.
Summary of Contents for TE X
Page 2: ......
Page 15: ...Contents Operator s Manual ix I Indications for use I 1...
Page 16: ......
Page 24: ...This page intentionally left blank...
Page 110: ...This page intentionally left blank...
Page 168: ...This page intentionally left blank...
Page 188: ...This page intentionally left blank...
Page 266: ...This page intentionally left blank...
Page 274: ...This page intentionally left blank...
Page 278: ...This page intentionally left blank...
Page 298: ...H 2 Operator s Manual H Probe Dimensions Length Height Max Width Max...
Page 328: ...This page intentionally left blank...
Page 329: ......
Page 330: ...P N 046 023006 00 2 0...


