Probes and Biopsy 13-35
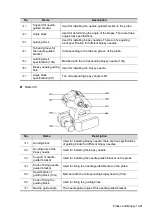
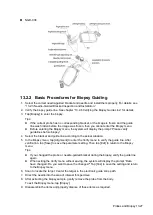
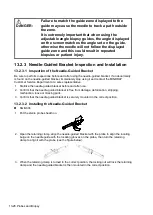
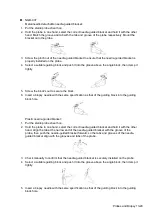
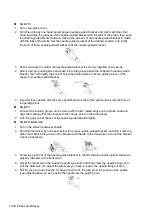
4. Hold the transducer. Press the biopsy needle pressure position to separate it from needle
guided V-shaped block.
5. Put the needle into the needle guided-bracket, and the needle leans to V-shaped block.
6. Hold the transducer, and release the pressure position of the needle. Adjust the needle-type
adjusting nut manually (following the direction of the arrow). The needle moves smoothly at
the vertical direction due to its gravity.
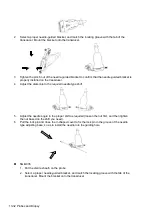
CAUTION:
Ensure that all guide parts are properly fixed prior to performing a
biopsy.
Summary of Contents for TE5
Page 1: ...TE7 TE5 Diagnostic Ultrasound System Operator s Manual Basic Volume ...
Page 2: ......
Page 6: ......
Page 12: ......
Page 24: ......
Page 36: ......
Page 54: ......
Page 110: ......
Page 115: ...Display Cine Review 6 5 6 Tap Return on the screen or tap Freeze to exit image compare ...
Page 120: ......
Page 124: ......
Page 156: ......
Page 174: ......
Page 192: ...12 18 Setup Select Advanced and do as follows Select MAPS and do as follows ...
Page 202: ...13 2 Probes and Biopsy C5 2s L12 4s L7 3s P4 2s L14 6s C11 3s L14 6Ns V11 3Ws P7 3Ts 7LT4s ...
Page 226: ...13 26 Probes and Biopsy NGB 034 NGB 035 ...
Page 250: ......
Page 272: ......
Page 276: ...A 4 Wireless LAN Tap Add Manually create a network profile to set ...
Page 282: ......
Page 318: ......
Page 322: ......
Page 323: ...P N 046 006959 07 1 0 ...

