7-22 Structure and Assembly/Disassembly
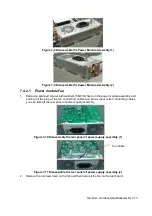
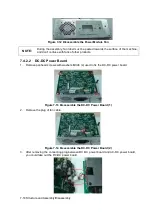
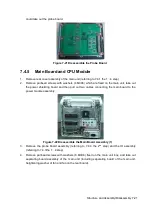
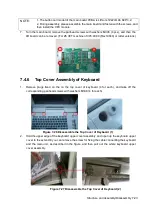
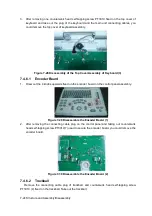
Figure 7-23 Disassemble the Main Board Assembly (2)
5. When removing panhead screws with washers (4 M3X6) used to fix the CPU module, you
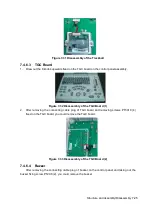
can take out the CPU module.
Figure 7-24 Disassemble the CPU module
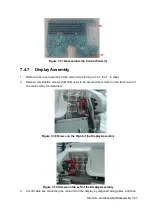
6. After removing the CPU module, Remove panhead screws with washers (12 M3X6) fixed on
the main unit box, you can take off the board. Remove the HDD in back of the board, the left
is main board.
Figure 7-25 Disassemble the Main Board
NOTE:
1.
You can’t draw out the CPU module abruptly, but you would pull it out after
loosening the board from the left/right side to avoid damaging the main board
FPGA.
2.
After replacing the CPU module, key file must be generated once again according
to the new MAC address and written into HDD of the machine. Or else, the
configuration function of the product will be lost.
Summary of Contents for Z6
Page 2: ......
Page 14: ......
Page 16: ...2 2 Product Specifications Left side 9 4 7 5 6 8 ...
Page 72: ......
Page 119: ...Structure and Assembly Disassembly 7 35 图 7 59 Disassembly of Speaker 8 ...
Page 120: ......
Page 132: ......
Page 142: ......
Page 152: ......
Page 168: ......
Page 171: ...Phantom Usage Illustration B 3 ...
Page 172: ......
Page 173: ...P N 046 010452 00 5 0 ...


