System Installation 3-15
a) Download the ppd file from HP official website (contact R&D engineer if necessary), and copy
the ppd file to the storage device (USB disk as an example).
b) Connect the U disk to the USB port nearside the control panel of ultrasound system, click the
icon to pop up the screen, select the U disk to run the ppd file and finish the installation.
Add network printer
1.
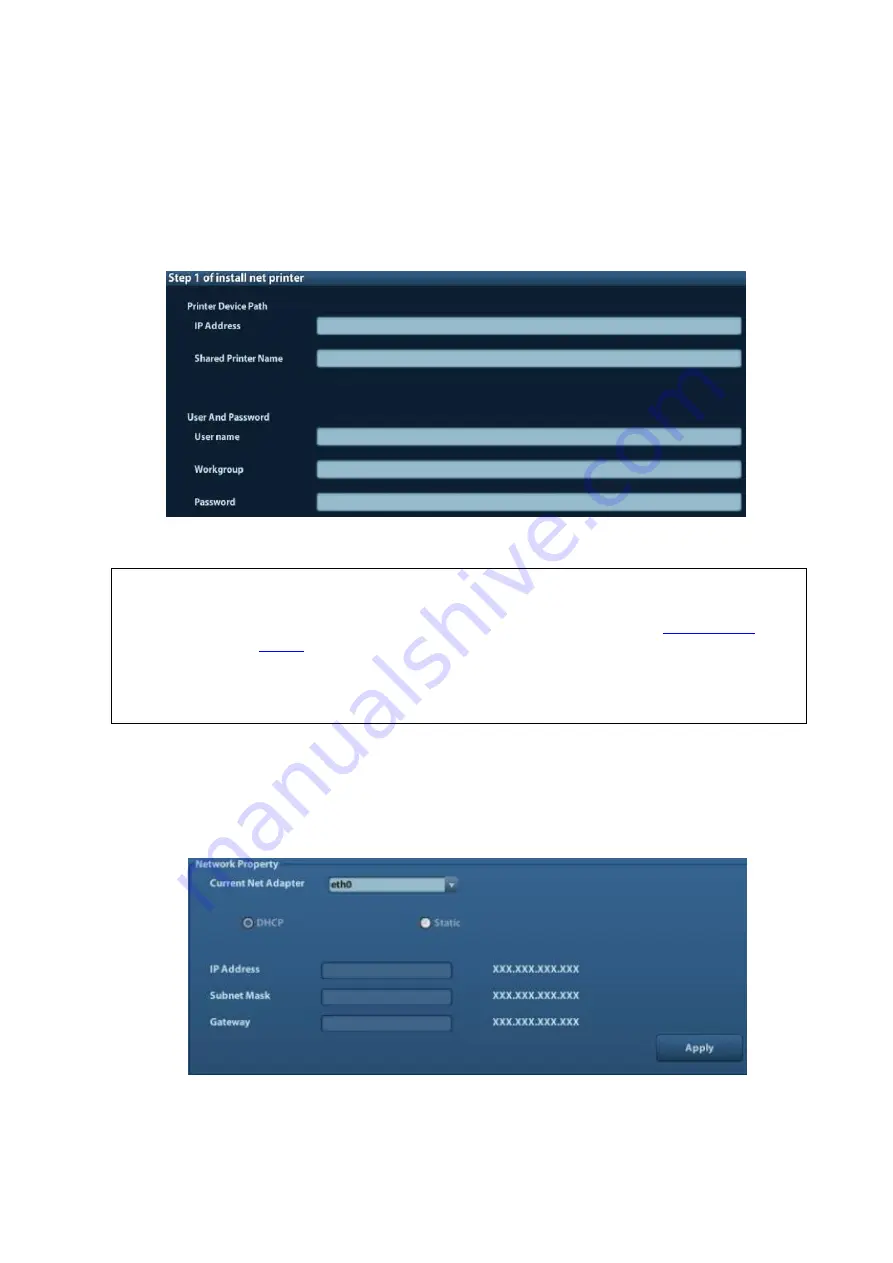
In “Printer Driver” screen, click [Add Network Printer] to pop up the screen, enter the necessary
information (IP address, shared printer name, server name, domain name and password).
2. After successful connection, the newly added network printer name will be shown in the printer
driver list.
NOTE:
1.
Before connect the network printer, make sure the ultrasound system and the
printer are in the same network domain, and the network is working normally.
2.
The IP address and the server name should be valid, e.g.
, otherwise, the system will fail to connect.
3.
If the server has set accessing limitation, the system will prompt a dialogue
box to identify the user. Enter the correct user name, domain name and
password, and then click [OK].
3.5.5
Network Preset
3.5.5.1
Network Preset
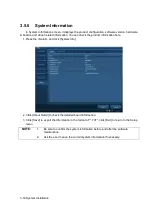
Open “[Setup]→[Network Preset]” to enter the screen.
1)
Please select the network type according the actually status, Select “DHCP”, click [OK].
2)
Or, select “Static”, and input the IP address, subnet mask and gateway, then click [OK].
Summary of Contents for Z6
Page 2: ......
Page 14: ......
Page 16: ...2 2 Product Specifications Left side 9 4 7 5 6 8 ...
Page 72: ......
Page 119: ...Structure and Assembly Disassembly 7 35 图 7 59 Disassembly of Speaker 8 ...
Page 120: ......
Page 132: ......
Page 142: ......
Page 152: ......
Page 168: ......
Page 171: ...Phantom Usage Illustration B 3 ...
Page 172: ......
Page 173: ...P N 046 010452 00 5 0 ...


