


ZS3 Service Manual
Page 243 of 295
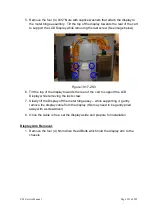
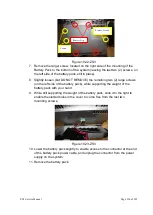
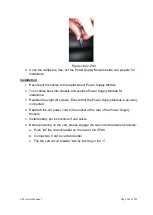
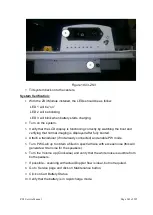
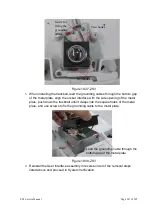
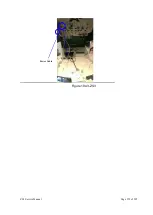
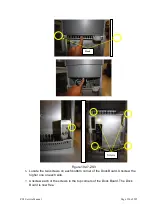
Figure 19.33-ZS3
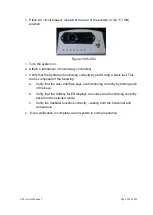
7.
Tilt system back onto the casters.
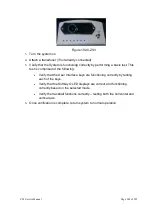
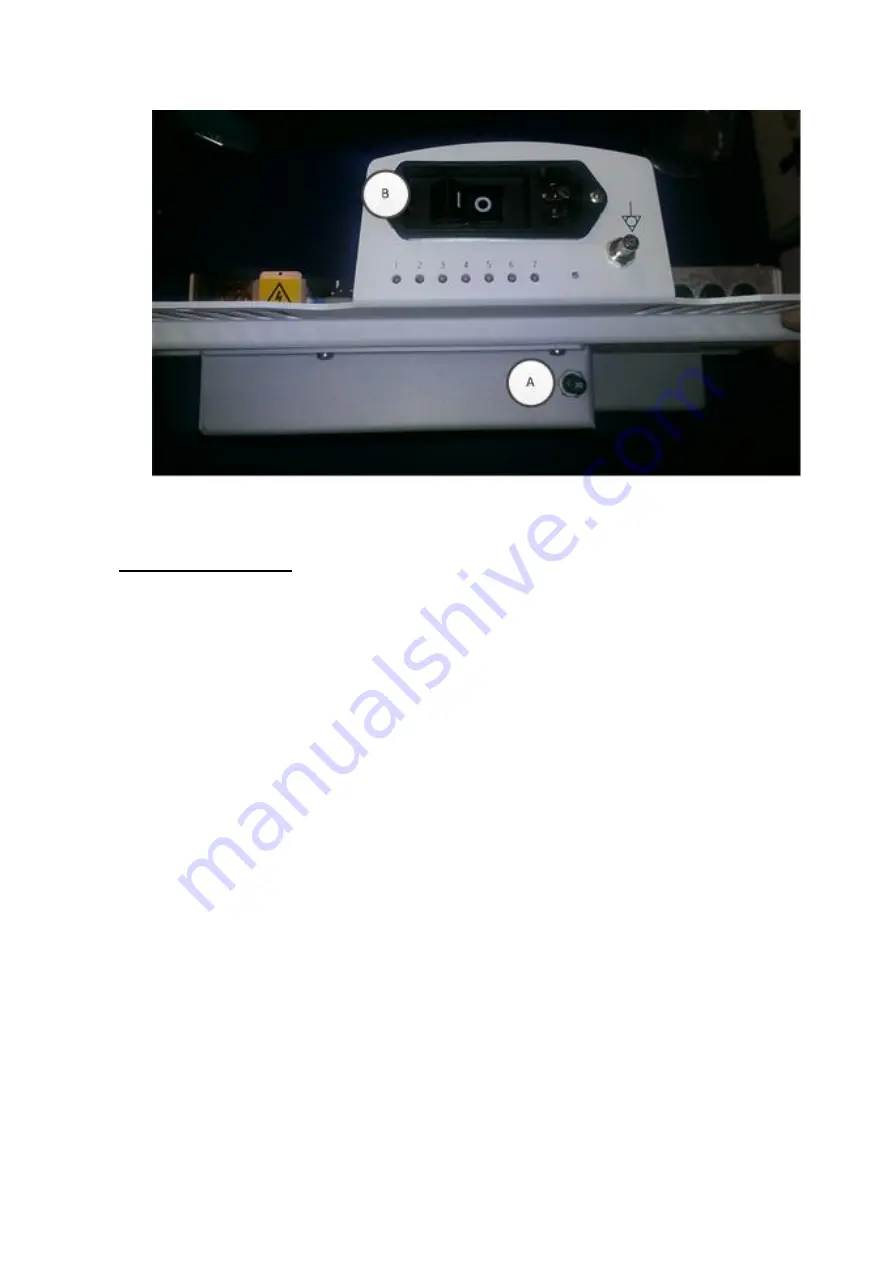
System Verification:
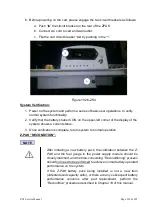
1.
With the ZS3 Module installed, the LEDs should be as follow:
LED 1 will be “on”
LED 2 will be blinking
LED 3 will blink when battery starts charging.
2.
Turn on the system.
3.
Verify that the LCD display is functioning correctly by watching the boot and
verifying that normal imaging is displayed after fully booted.
4.
Attach a transducer (if not already connected) and enable PW mode.
5.
Turn PW Gain up to obtain a filled in spectral trace with excess noise (this will
generate white noise for the speakers)
6.
Turn the Volume up (Clockwise) and verify that the white noise is audible from
both speakers.
7.
If possible
– scanning with actual Doppler flow is ideal, but not required.
8.
Go to Service page and click on Maintenance button.
9.
Click on Cart Battery Status.
10.
Verify that the battery is in rapid charge mode.
Summary of Contents for Zonare ZS3
Page 1: ...ZS3 Diagnostic Ultrasound System Service Manual ...
Page 120: ...ZS3 Service Manual Page 120 of 295 FTP Setup Enters Setup Network FTP ...
Page 124: ...ZS3 Service Manual Page 124 of 295 ...
Page 131: ...ZS3 Service Manual Page 131 of 295 13 System Diagrams ...
Page 132: ...ZS3 Service Manual Page 132 of 295 Power Block Diagram Figure 13 1 ZS3 Power Block Diagram ...
Page 133: ...ZS3 Service Manual Page 133 of 295 Cabling Diagram Figure 13 2 ZS3 Cabling Diagram ...
Page 138: ...ZS3 Service Manual Page 138 of 295 Figure 14 6 ZS3 ...
Page 185: ...ZS3 Service Manual Page 185 of 295 17 Preventative Maintenance Forms ...
Page 217: ...ZS3 Service Manual Page 217 of 295 Figure 18 8 ZS3 ...
Page 252: ...ZS3 Service Manual Page 252 of 295 Figure 19 43 ZS3 Power Cable USB Cable ...
Page 295: ...P N 046 014026 00 2 0 ...


