User Manual of DH-300/400 Full Automatic Soldering Robot
29
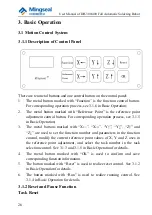
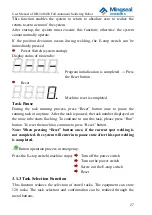
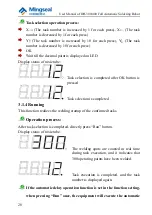
delay operation according to the set time. The initial setting is no this
function.
3.1.5 Reference Point Adjustment
This function realizes the reference point adjustment of the existing tasks. If the
reference point of the workpiece to be welded needs adjustment, it can be
realized through this function. The adjusted reference point is simultaneously
shifted according to the adjusted value together with the starting point of the
task.
This function can be executed only when there are tasks. The adjustment range
of reference point is ±99.9mm. If the adjustment range of reference point is
exceeded, limit error will be prompted. The solution is to adjust the reference
point again.
Operation process:
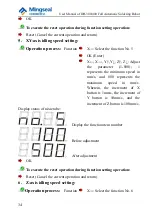
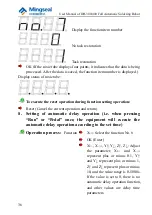
Task selection
Reference point (The reference point is raised by a certain
height from the starting point according to the set value)
Press “Cylinder ↓”, and then use X→, X←, Y↑, Y↓, Z↑
and Z↓ to adjust X-axis positive direction, X-axis negative
direction, Y-axis positive direction, Y-axis negative
direction, Z-axis positive direction and Z-axis negative
direction respectively, meanwhile the current adjustment
value of reference point is displayed on LED in mm, and
the adjustment unit can be set according to Function 3; if
any direction button is pressed continuously, there will be
the function of continuous adjustment.
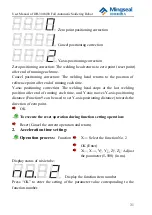
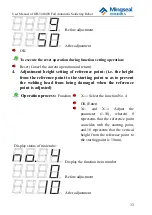
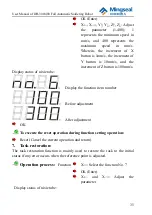
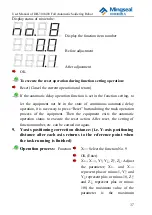
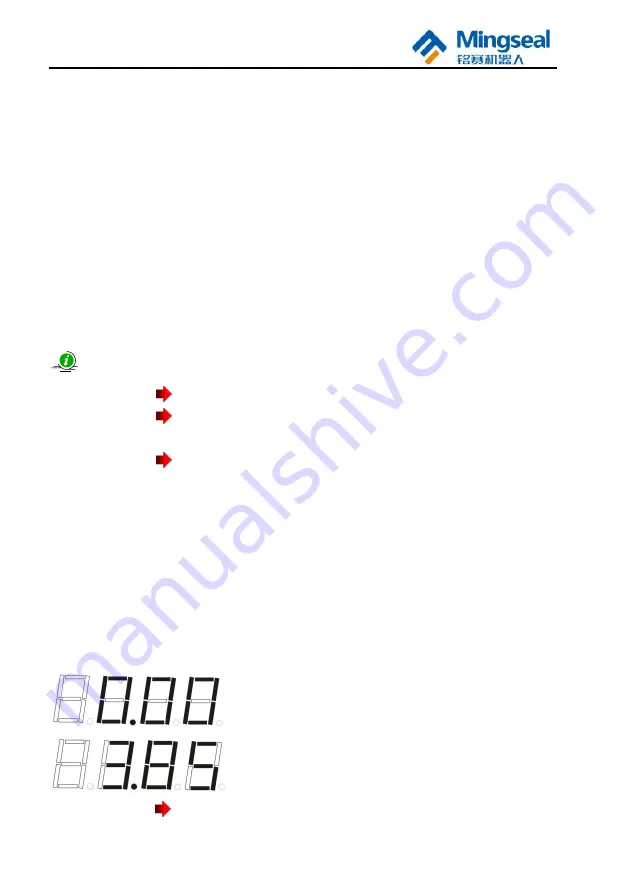
Display status of nixie tube:
Adjustment status of reference point
Adjustment of reference point is completed
OK (Adjustment of reference point is valid and saved)

