Mini-Cam
and pressing the relevant
and/or
key.
n
When all
Header Information
pages have been completed press
.
n
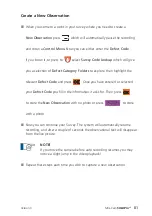
Now you can enter some
Text Comments
which will appear in the final
report document along with the observations.
n
After entering your comments press
to prepare for starting
the Survey.
n
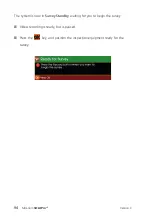
The screen will say “
Ready for Survey
” and informs you to press the
‘Record’ key when you want to begin. Press
now and this
information box will disappear.
n
The screen will now display a live picture with your chosen
Header
Information
showing on-screen.
Start Your Survey
n
Get your inspection equipment into position.
n
Start your recording by pressing the
key. A red recording symbol
will appear in the
Status Box
on the right of the screen which indicates
your video recording and survey has begun. After a few seconds the
on-screen video text will automatically disappear so that you can proceed
with survey.
80
Version C
Summary of Contents for Proteus Lite
Page 1: ...Original Instruction Manual Version C...
Page 2: ...2 Version C Mini Cam Proteus Lite...
Page 108: ...108 Version C Mini Cam Proteus Lite...
Page 112: ...112 Version C Mini Cam Proteus Lite...
Page 113: ...113 Version C Mini Cam Proteus Lite Notes...
Page 114: ...114 Version C Mini Cam Proteus Lite Notes...
Page 115: ......

