10
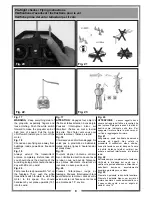
Fig. 21
ELEVATION ANGLE
Normally the plane should fly straight.
If the plane has a pitch up, it shows
that the nose is too light. You must
adjust the elevation angle from the V-
tail by adding a washer between the V-
tail and the fuselage, see drawing
(Pitch down).
We recommand you use a washer of
1mm to begin and when necessary
adjust until the plane flies straight.
Fig. 22
If the plane has a pitch down, it shows
that the nose is too heavy. You must
adjust the elevation angle from the V-
tail by adding a washer between the V-
tail and the fuselage, see drawing
(Pitch up). We recommand you use a
washer of 1 mm to begin and when
necessary adjust until the plane flies
straight.
FLYING
A
WELL
SET-UP
SAILPLANE IS REALLY ENJOYING.
TAKE YOUR TIME TO COMPLETE
THIS IMPORTANT STEP.
Fig. 21
EQUILIBRAGE
Normalement votre avion doit voler
horizontalement. Si l’avion vole avec le
nez en l’air (centrage arrière), c’est
qu’il est trop léger de l’avant. Dans ce
cas, avancez la batterie de propulsion
vers l'avant au plus près du moteur et
ajustez l’angle des empennages en
ajoutant une rondelle entre le fuselage
et l’embase avant au niveau de la vis
de fixation des empennages (voir
schéma calage à piquer).
Nous vous recommandons d’utiliser
pour commencer une rondelle
d'épaisseur 1mm. Vous pourrez alors
ajoutez des rondelles jusqu’à ce que
votre avion vole horizontalement.
Fig. 22
Si l’avion pique anormalement du nez
(centrage avant), c’est qu’il est trop
lourd de l’avant. Vous devrez dans ce
cas reculer la batterie de propulsion au
maximum vers la platine radio et
ajustez l’angle des empennages en
ajoutant une rondelle entre le fuselage
et l’embase arrière au niveau de la vis
de fixation des empennages (voir
schéma calage à cabrer).
Nous vous recommandons d’utiliser
pour commencer une rondelle
d'épaisseur 1mm. Vous pourrez alors
ajoutez des rondelles jusqu’à ce que
votre avion vole horizontalement.
PILOTEZ UN AVION SAIN EST
NETTEMENT PLUS AGREABLE
ALORS NE BACLEZ PAS CETTE
ETAPE TRES IMPORTANTE.
Fig. 24
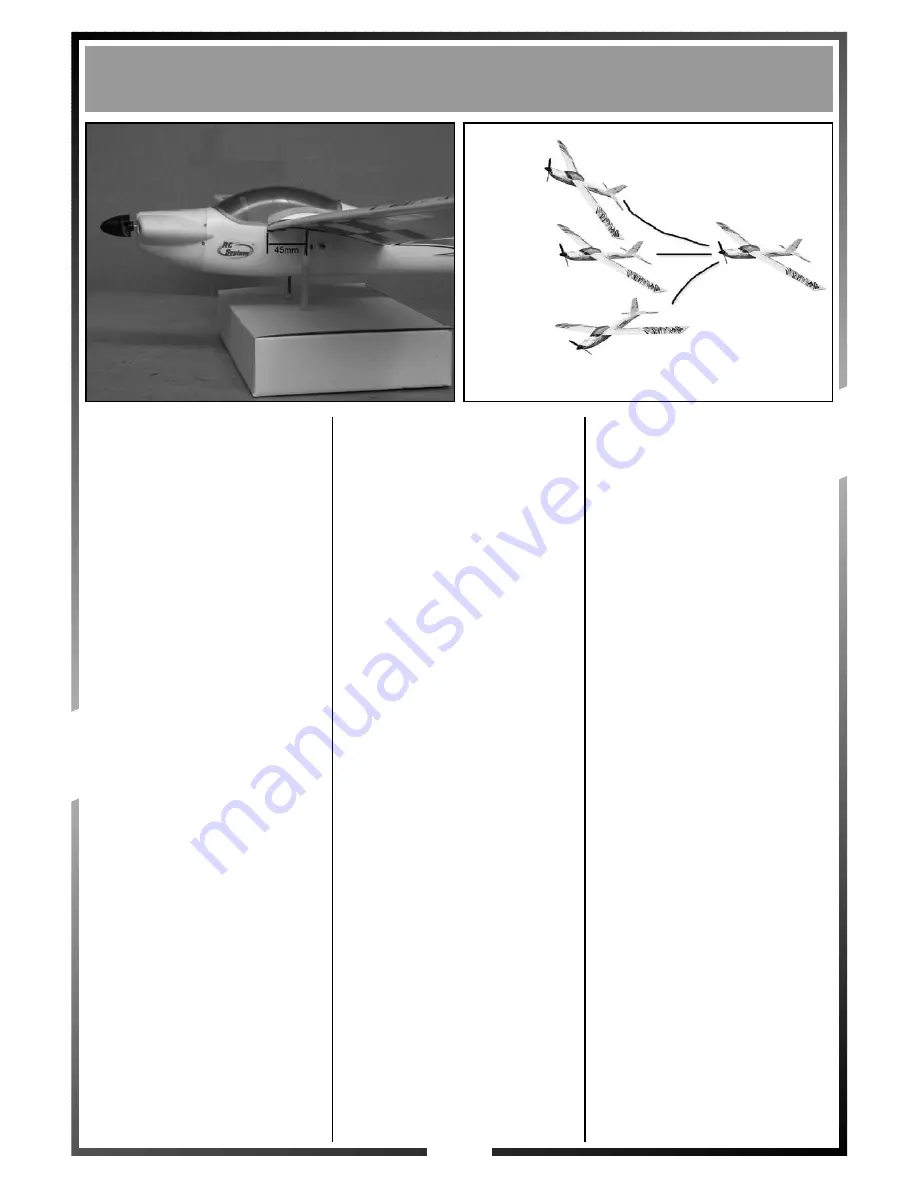
CENTRAGGIO STATICO
Il centraggio statico è fondamentale
per un efficace funzionamento del
modello. Per fare un centraggio
corretto del modello posizionate due
biro (o altro) sotto l’ala precisamente a
45mm dal bordo di entrata dell’ala del
MiniMandy. Se il modello è centrato
correttamente rimmarrà perfettamente
in equilibrio . Altrimenti se il modello
tende ad abbassare la coda, avanzate
leggermente
il
pacco
batterie,
viceversa se il modello tende ad
abbassare il muso arretrate il pacco
batterie fino a raggiungere la posizione
necessaria a tenere il modello
perfettamente in equilibrio. Eseguite
questa
operazione
con
molta
attenzione e verificate, prima di ogni
volo, di installate la batteria nella
giusta
posizione
ricavata
dal
centraggio statico.
Fig. 25
VERIFICA CENTRAGGIO
Il vostro aeromodello dovrà volare
orizzontalmente. Per ottenere questo
risultato è necessario che il centraggio
statico sia corretto. Se il modello tende
ad alzare il naso (cabrato) significa
che è troppo leggero davanti. Spostate
la batteria in avanti verso il motore .
Se il modello tende a buttar giù il naso
(picchiato) significa che è troppo
pesante daventi. Arretrate la posizione
della batteria verso l’impianto radio.
PILOTARE UN AEROMODELLO
BEN CENTRATO E’ MOLTO PIU’
D I V E R T E N T E E S I C U R O P E R -
TANTO NON SALTATE QUESTO
PUNTO COSI’ IMPORTANTE.
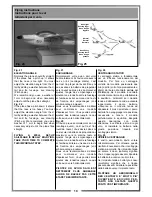
Flying instructions
Instructions pour le vol
Istruzioni per il volo
Fig. 24
Fig. 25
Nose light
Nez trop léger
Naso troppo
leggiero
Normal
Normal
Normale
Nose heavy
Nez trop lourd
Naso troppo
pesante

