mi niDSP Ltd, Hong Kong /
/ Features and speci fi cations subject to change wi thout pri or noti ce
11
2
I
NSTALLATION AND SETUP
2.1
H
ARDWARE CONNECTIVITY
All connections to the nanoAVR are made on the rear panel.
2.1.1
HDMI input and output
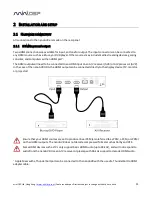
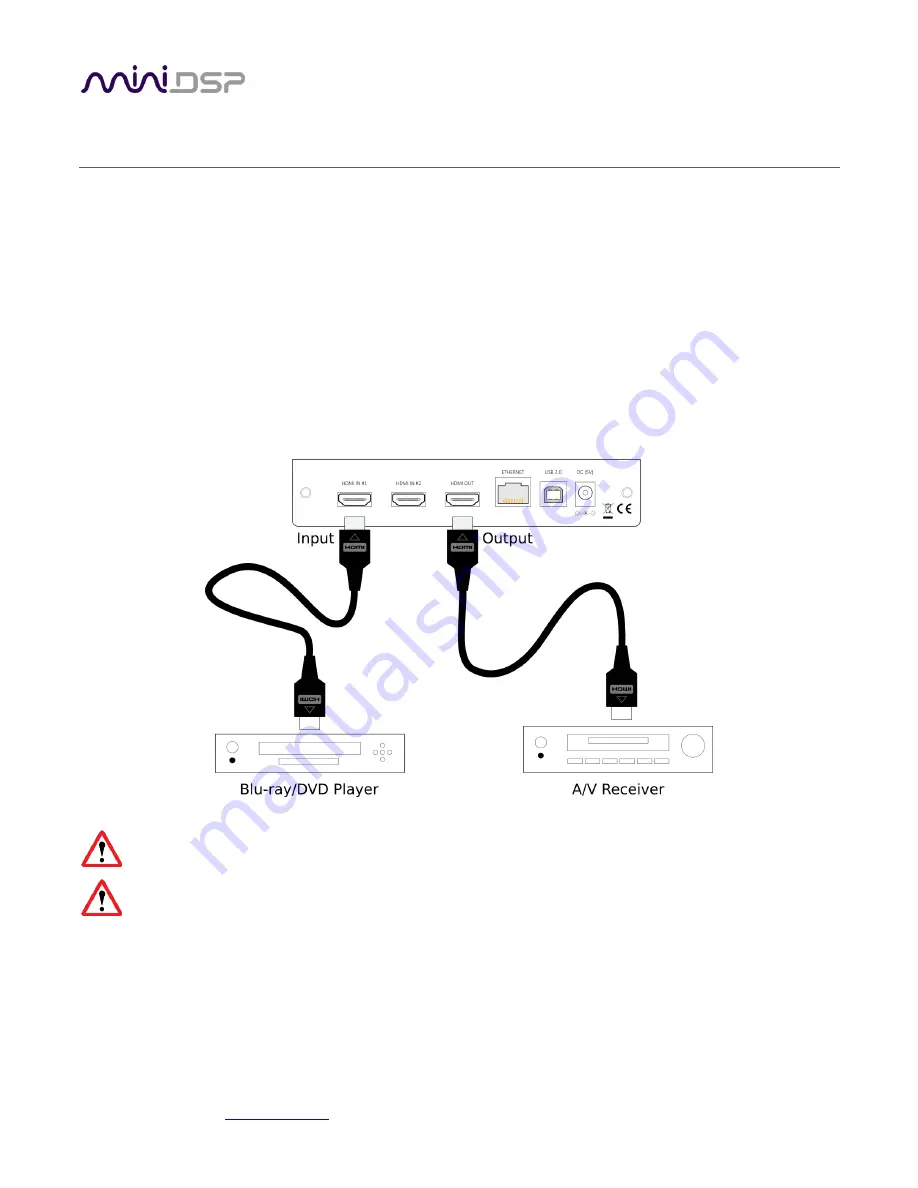
Two HDMI connections are available for input, and one for output. The input connectors can be connected to
any HDMI source such as a Blu-ray or DVD player. Other sources may include media streaming devices, gaming
consoles, and computers with an HDMI port
†
.
The HDMI output will need to be connected to an HDMI input on an A/V receiver (AVR) or A/V processor (AVP).
In the case of the nanoAVR HDA, the HDMI output can be connected directly to the display device (TV, monitor,
or projector).
Ensure that your HDMI sources are set to produce linear PCM (also referred to as PCM, L-PCM, or LPCM)
on their HDMI outputs. The nanoAVR does not decode compressed formats such as Dolby and DTS.
Some HDMI devices such as TVs only support basic HDMI Audio (up to 48 kHz), and will not respond to
audio from the nanoAVR. Use an A/V receiver or preamp with 96 kHz support to decode HDMI audio.
†
Apple Macs with a Thunderbolt port can be connected to the nanoAVR with the use of a Thunderbolt to HDMI
adapter cable.


