background image


Minitar MVA11A   


VoIP ATA (SIP) 


Quick 

Installation 

Guide


Summary of Contents for MVA11A

Page 1: ...Minitar MVA11A VoIP ATA SIP Quick Installation Guide ...

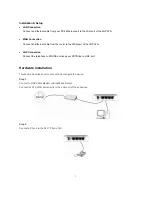
Page 2: ... router to the WAN port of the VoIP ATA z VoIP Connection Connect the telephone to PHONE port and your PSTN line to LINE port Hardware Installation This section describes how to connect and configure the device Step 1 Connect to DSL Cable Modem or Broadband Router Connect the ATA WAN port directly to the LAN port of these devices Step 2 Connect a Phone to the RJ 11 Phone Port ...

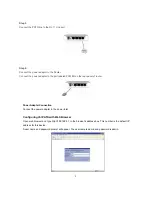
Page 3: ...ER on the rear panel of router Power Adapter Connection Connect the power adapter to the power inlet Configuring VoIP ATA with Web Browser Open web browser and type http 192 168 3 1 in the browser s address box This number is the default IP address for this device A user name and password prompt will appear The username is admin and password is admin ...

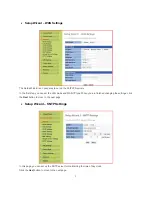
Page 4: ... first step you can set the LAN mode and WAN IP type When you are finished changing the settings click the Next button to move to the next page Setup Wizard SNTP Settings In this page you can set up the SNTP server for maintaining the time of day clock Click the Next button to move to the next page ...

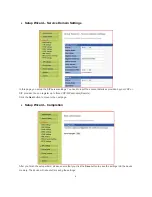
Page 5: ...rovided by your VSP or SIP provider You can register up to three VSP SIP accounts Realms Click the Next button to move to the next page Setup Wizard Completion After you finish the setup wizard please ensure that you click the Save button to save the settings into the device memory The device will reboot after saving the settings ...

Page 6: ...al 1 Insert the CD into your CD ROM and the CD will Auto Run Package Contents VOIP ATA unit AC Power Adaptor RJ 11 RJ 45 cable User Guide on CD Quick Installation Guide MVA11A Quick Installation Guide 2008 Minitar Corporation ...

Reviews: