10
NOTE: Before starting installation, make sure power is turned off at the circuit breaker.
ATTENTION: The Energy Policy act of 2005 requires this fan to be equipped with a limiting device.
If lamping exceeds 75 watts the ceiling fan light kit will shut off automatically.
CAUTION: The light source is designed for this specific application and can overheat if serviced by
untrained personnel. If any servicing is required, the product should be returned to an authorized
service facility for examination or repair.
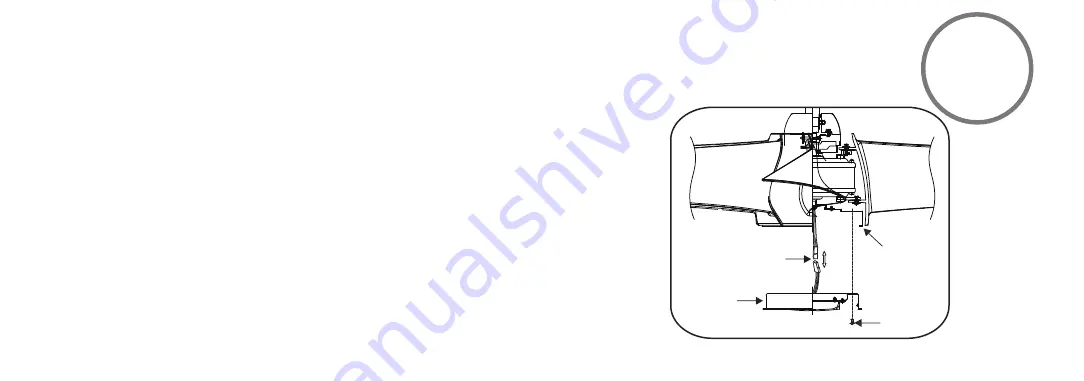
Step 1. Remove 1 of the 3 screws from the mounting plate and keep it for future use. Loosen the
other 2 screws. (Do not remove)
Step 2. While holding the LED light kit under the fan motor assembly, make the 2-pin wire
connections: (Fig. 18)
- White to white - Blue to black
Step 3. Place the key holes on the LED light kit over the 2 screws previously loosened from the
mounting plate, turn LED light kit until it locks in place at the narrow section of the key holes.
Secure by tightening the 2 screws previously loosened and the one previously removed. (Fig. 18)
INSTALLING THE LED LIGHT KIT
Fig. 18
SCREWS
LED LIGHT
KIT
MOUNTING
PLATE
WIRE CONNECTOR


