4
Basic Functions
4-12
Di551/Di650
3
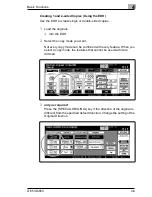
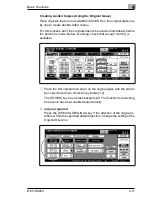
only as required
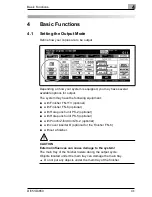
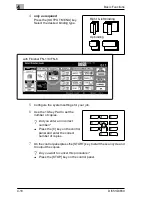
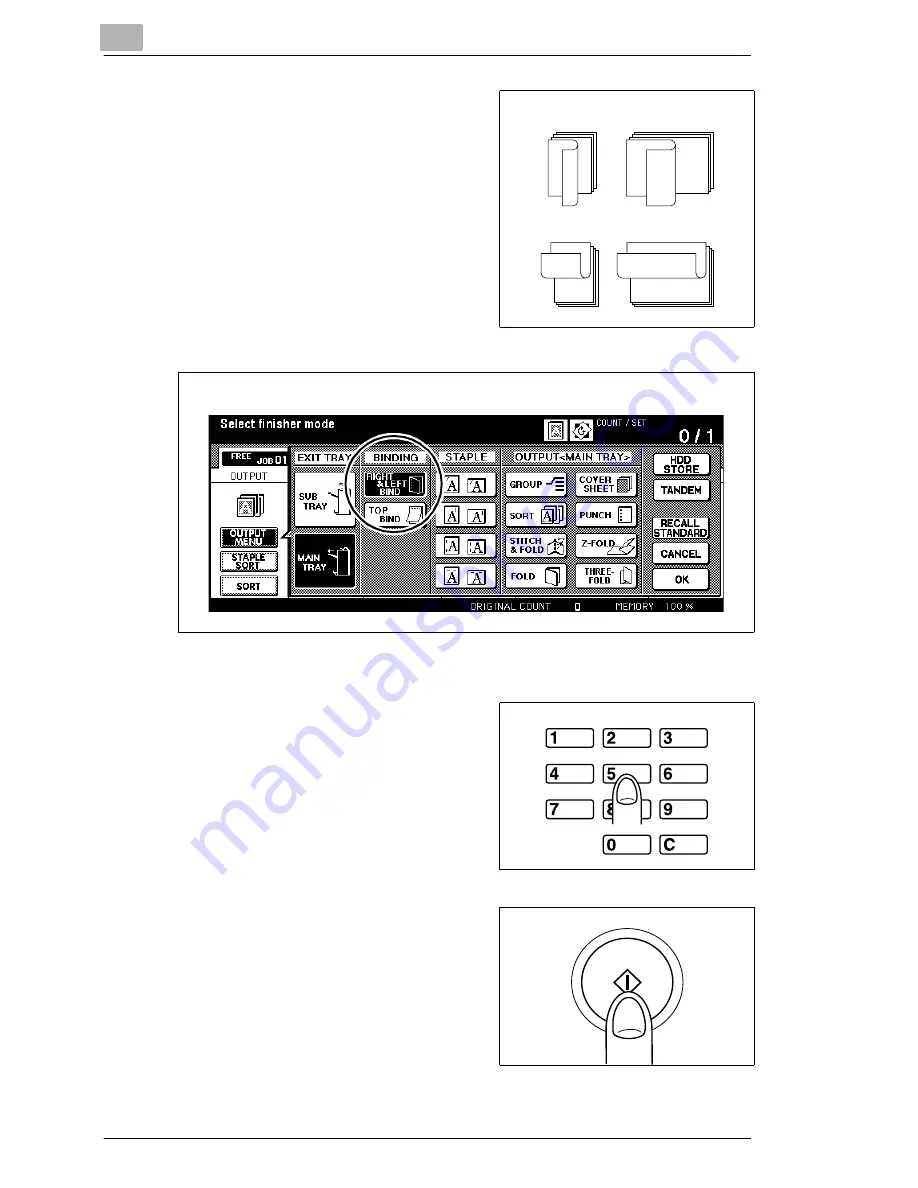
Press the [OUTPUT MENU] key.
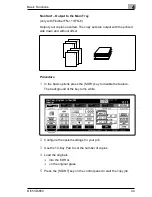
Select the desired binding type.
4
Configure the system settings for your job.
5
Use the 10-Key Pad to set the
number of copies.
?
Did you enter an incorrect
number?
➜
Press the [C] key on the control
panel and enter the correct
number of copies.
6
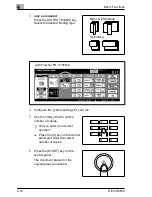
Press the [START] key on the
control panel.
The document placed on the
original glass is scanned.
3
1
2
3
1
2
1
2
3
1
2
3
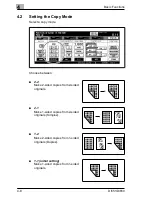
Right & left binding
Up binding
with Finisher FN-113/FN-6
Summary of Contents for Di551
Page 1: ...The essentials of imaging www minoltaeurope com User Manual Di551 Di650 ...
Page 2: ......
Page 8: ...IVZ 6 Di551 Di650 ...
Page 22: ...1 Introduction 1 14 Di551 Di650 ...
Page 82: ...2 Getting to Know Your System 2 60 Di551 Di650 ...
Page 98: ...3 Initial Steps 3 16 Di551 Di650 ...
Page 122: ...4 Basic Functions 4 24 Di551 Di650 ...
Page 124: ...5 Applications CD 5 2 Di551 Di650 ...
Page 126: ...6 Network Functions CD 6 2 Di551 Di650 ...
Page 128: ...7 Settings in Key Operator Mode CD 7 2 Di551 Di650 ...
Page 140: ...8 Troubleshooting 8 12 Di551 Di650 5 Close the finisher door ...
Page 142: ...8 Troubleshooting 8 14 Di551 Di650 5 Close the finisher door ...
Page 144: ...8 Troubleshooting 8 16 Di551 Di650 5 Close the finisher door ...
Page 170: ...9 Appendix 9 26 Di551 Di650 ...

