44
R
ECORDING MODE
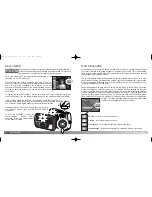
The self-timer will delay the release of the shutter for approximately two
or ten seconds after the shutter-release button is pressed. This function
can be used in the single-frame advance redording mode.
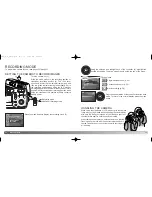
When the mode is set, the indicator will be displayed at the
right side on the LCD monitor (1).
With the camera on a tripod, compose the picture. Focus lock
cannot be used. Press the shutter-release button all the way
down to begin the countdown (2). Because focus and
exposure are determined when the shutter-release button is
pressed, do not stand in front of the camera when taking a self-
timer image.
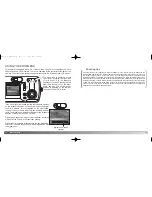
During the ten second countdown, the self-timer lamp on the front of the camera (3) will
start to blink slowly. The red indicator lamp (4) next to the viewfinder will glow steadily.
A few seconds before the exposure, the self-timer lamp will blink rapidly. The
indicator lamp blinks slowly, and is accompanied by the operation beep.
The self-timer lamp will glow steadily just before the shutter fires.
Pressing the down key of the controller (5) can also set to
the self-timer mode. Press until the desired mode is
displayed.
To stop the countdown, press the
shutter-release button before
exposure. Press the shutter-release
button again to restart.
SELF-TIMER
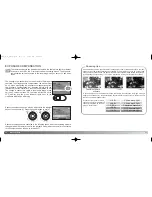
White balance is the camera’s ability to make different types of lighting appear neutral.
The effect is similar to selecting daylight or tungsten film, or using color compensating
filters in conventional photography. One automatic and four preset white-balance settings
are available in all recording modes.
The automatic white balance compensates for the color temperature of a scene. In most
cases, the auto setting will balance the ambient light and create beautiful images, even
under mixed-lighting conditions. When the built-in flash is used, the white balance is set
for the color temperature of the flash.
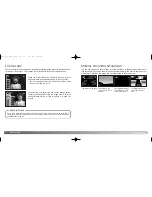
Preset white-balance settings must be set before the image is taken. When one of the
preset white-balance settings is selected, an indicator will be displayed on the LCD
monitor to indicate the active white-balance setting. An auto white balance indicator will
not be displayed. The effect is immediately visible on the monitor. To record the ambient
light, set the flash mode to flash cancel (p. 31). The built-in flash can be used with preset
white-balance, but will create a pinkish or blueish cast with the fluorescent and tungsten
settings. The flash is daylight balanced and will produce good
results with the daylight and cloudy settings.
WHITE BALANCE
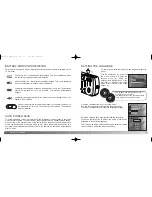
Cloudy - for overcast outdoor scenes.
Incandescent - for incandescent lighting: household filament light bulbs.
Fluorescent - for fluorescent lighting: office ceiling lights.
Sunny - for outdoor and sunlit subjects.
45
1
4
5
3
2
100
100
2729_E_A_print.qxd 03.7.11 11:11 AM Page 44


