Basic
Custom1 Custom2
LCDbrightness
Format
Power save
Language
English
1 min.
–
–
98
99
S
ETUP MODE
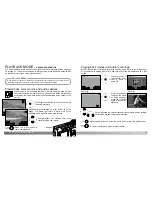
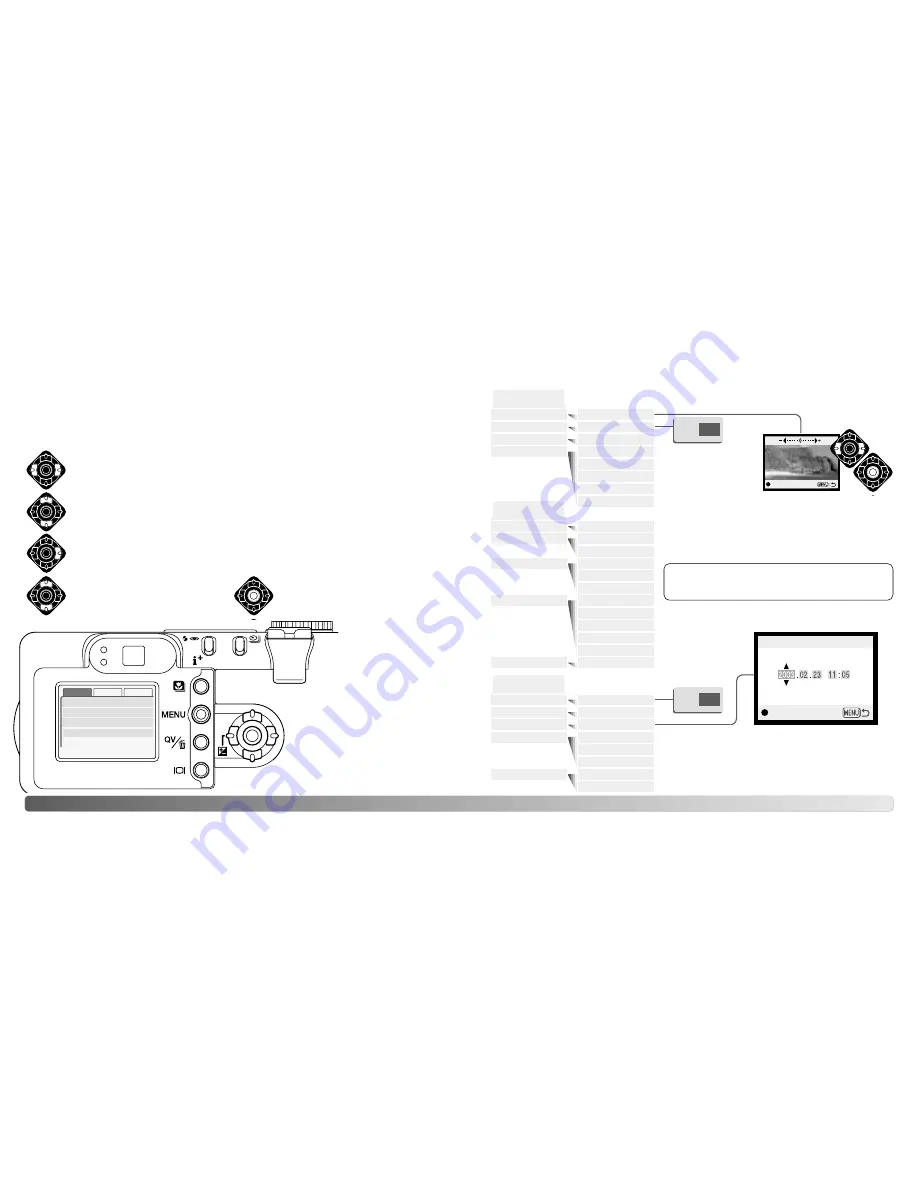
To access the menu, simply turn the mode dial to the setup position. The left/right and
up/down keys of the controller are used to move the cursor in the menu. Pressing the
central button of the controller will enter a setting.
Once a setting has been
selected, the cursor will
return to the menu
options and the new
setting will be displayed.
Setting can continue to
be made.
Choosing “Yes” on
the confirmation
screens will execute
the operation, “No”
will cancel it.
Yes
No
Yes
No
On the date/time setting screen, use the left/right
keys of the controller to select the year, month, day,
hour, or minute. The up/down keys are used to
change the value. Press the central button of the
controller to set the calendar and clock.
Navigating the setup menu
LCD brightness
Format
Language
Basic
Enter
Enter
1, 3, 5, 10 min.
Español
Japanese
English
Deutsch
Français
Power save
File # memory
Folder name
Custom 1
On / Off
Standard form
1
Audio signals
Date form
2
Off
1
Shutter FX
2
Off
Reset default
Date/Time set
Custom 2
Enter
Enter
MM/DD/YYYY
Date format
YYYY/MM/DD
DD/MM/YYYY
NTSC
Video output
1 (Low) - 3 (High)
Volume
PAL
Refer to the following sections for descriptions
of the menu options and their settings.
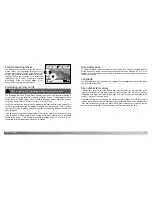
Use the left/right keys to
adjust the monitor
brightness. Press the central
button to set the level.
Noise reduction
On / Off
Custom
Custom record
Press the central button of the
controller to select the highlighted
setting.
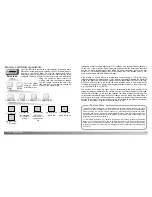
The basic tab at the top of the menu will be highlighted. Use the left/right keys of the
controller to highlight the appropriate menu tab; the menu will change as the tabs are
highlighted.
When the desired menu section is displayed, use the up/down keys to scroll through
the menu options. Highlight the option whose setting needs to be changed.
With the menu option to be changed highlighted, press the right controller key; the
settings will be displayed with the current setting highlighted. To return to the menu
options, press the left key.
Use the up/down keys to highlight
the new setting. If “Enter” is
displayed, press the central button
to continue.
:enter
Date/Time set
Summary of Contents for DiMAGE F200
Page 1: ...INSTRUCTION MANUAL E...


