110
111
D
ATA
-
TRANSFER MODE
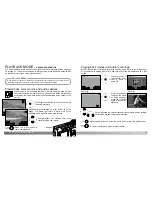
Choose the recommended search for a
suitable driver. Click “Next.”
Choose to specify the location of the
driver. The browse window can be used to
indicate the driver location. The driver
should be located in the CD-ROM drive at
:\Win98\USB. When the location is shown
in the window, click “Next.”
The driver needs only to be installed once. If the driver cannot be installed automatically,
it can be installed manually with the operating system’s add-new-hardware wizard; see
the instructions on the following page. During installation, if the operating system
requests the Windows 98 CD-ROM, insert it into the CD-ROM drive and follow the
accompanying instructions on the screen. No special driver software is required for other
Windows or Macintosh operating systems.
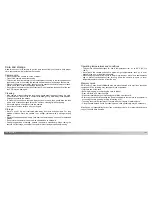
Before connecting the camera to the
computer, place the DiMAGE Viewer
CD-ROM in the CD-ROM drive. The
DiMAGE installer menu should
automatically activate. To
automatically install the Windows 98
USB driver, click on the starting-up-
the-USB-device-driver-installer
button. A window will appear to
confirm that the driver should be
installed; click “Yes” to continue.
Automatic Installation
Manual Installation
To install the Windows 98 driver manually, follow the instructions in the connecting-the-
camera-to-a-computer section on page 108.
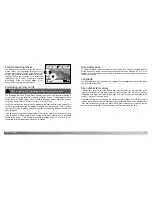
When the camera is plugged into the
computer, the operating system will detect
the new device and the add-new-hardware-
wizard window will open. Place the DiMAGE
Viewer CD-ROM in the CD-ROM drive.
Click “Next.”
(Continued on the next page)
Connecting to Windows 98 and 98 Second Edition
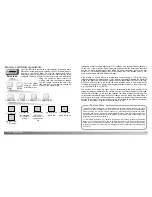
When the driver has been
successfully installed, a window will
appear. Click “OK.” Restart the
computer and connect the camera
(p. 108) to complete the operation.
Summary of Contents for DiMAGE F200
Page 1: ...INSTRUCTION MANUAL E...

