84
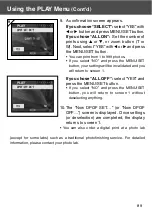
7. Images selected at Step 6 on page 83 are
surrounded by a yellow frame. When you
have finished selecting images, use
,
,
, or
to select “END”, and then press the
MENU/SET button. (Go to Step 8)
To select other images, repeat the selection
procedure. (Return to Step 6)
• To select multiple images, repeat Steps 6 and
7.
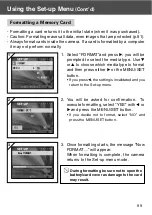
8. A confirmation screen appears. To carry out
erasing, select “YES” with
or
, then
press the MENU/SET button.
• If you select “NO” and press the MENU/SET
button, you will return to screen 1 without
erasing anything.
9. Once erasing starts, “THIS DELETE…” is
displayed. Once erasing is completed, the
disply returns to screen 1.
Using the PLAY Menu
(Cont’d)
7
8
Summary of Contents for Dimage G500
Page 1: ...E INSTRUCTION MANUAL...


