– 78 –
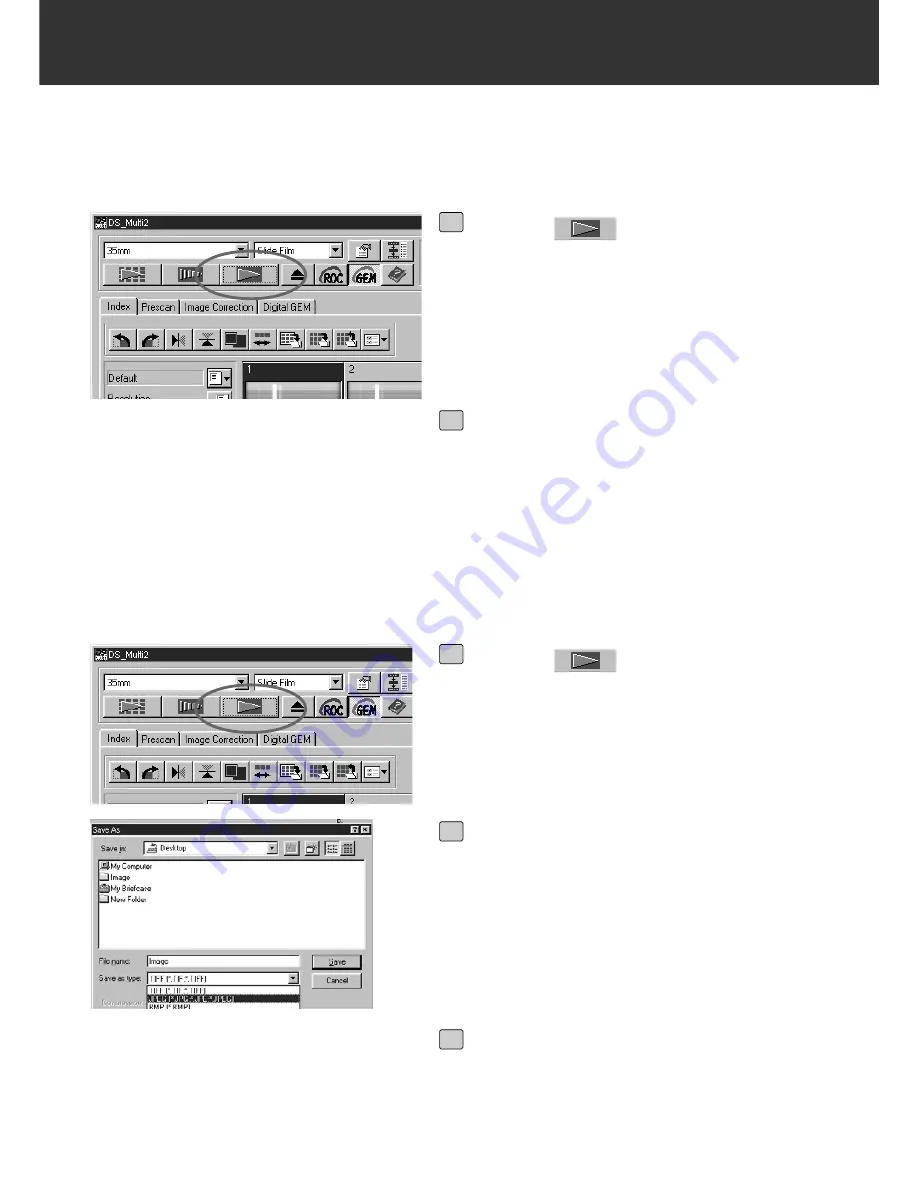
FINAL SCAN
After cropping frames, correcting images and specifying the scanning settings, the final scan is
performed.
When using Twain Driver/Plug-in Software
Click on
in the Main window.
• The final scan will begin.
• When the final scan is complete, the final
scan images will appear in the window of the
image editing application you use.
1
Perform suubsequent operations
according to the instruction for your
image editing application.
• For details, see the instruction manual for the
image editing application.
2
When Using the Utility Software
Click on
in the Main window.
• The standard save dialog box for your oper-
ating system will appear.
1
Enter the desired file name and select
the file destination.
2
Select the file type from the [Save as
type] list box (or the file format drop-
down list).
3
Summary of Contents for Dimage Scan Multi II
Page 1: ...Software Instruction Man Software Instruction Manual ual...
Page 107: ...107 JOB FILE LIST 35 MM...
Page 109: ...109 JOB FILE LIST 6 X 4 5...
Page 111: ...111 JOB FILE LIST 6 X 6...
Page 113: ...113 JOB FILE LIST 6 X 7...
Page 115: ...115 JOB FILE LIST 6 X 8...
Page 117: ...117 JOB FILE LIST 6 X 9...
Page 119: ...119 JOB FILE LIST APS...
Page 121: ...121 JOB FILE LIST 16 MM...
Page 123: ...123...
Page 125: ......


