18
5.1. Image Orientation
Button
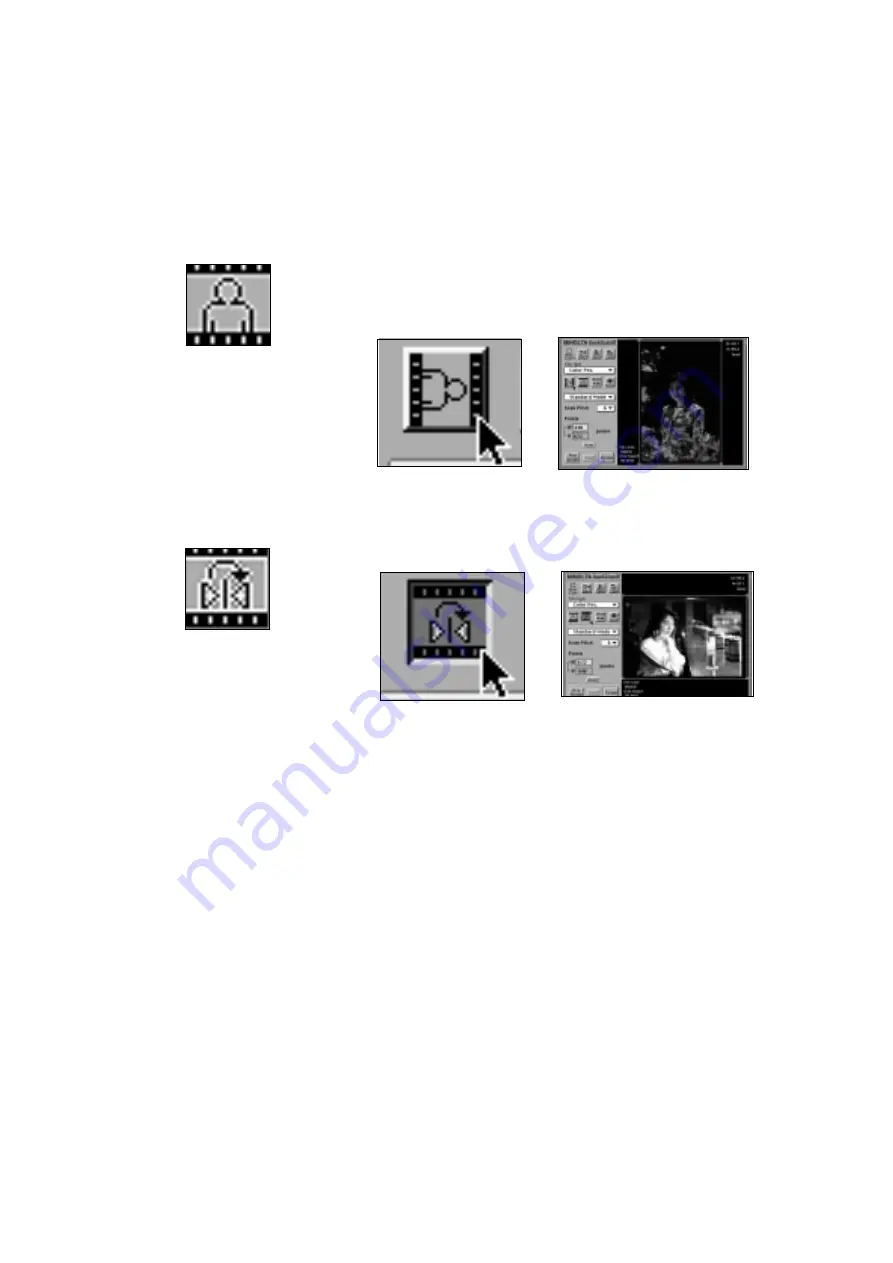
The image orientation button enables you to specify the correct
orientation of your image before scanning. The image in a
horizontal orientation is the default position. Click the image
orientation button to rotate the picture 90
。
clockwise. The preview
image will reflect this change.To change the rotation to counter-
clockwise, press and hold the Option key while you click the
image orientation button.
5.2. Flip Button
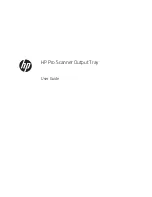
The flip button enables you to reverse the image before scanning.
The default position is the image viewed from the film base side.
Click the flip button to flip the image left-to-right horizontally. The
preview image will reflect this change.
6. SELECTING THE
SCAN MODE
You can select any of three scan modes: Standard, Pixel, or Print
modes.
Standard Mode
This mode is the easiest and quickest to use because the print size
and pixel number is automatically selected.
Pixel Mode
In this mode you can set the pixel size and scanning area. This
enables you to match the image size to the size of the screen when
the monitor is your final image medium.
Print Mode
Print mode is useful when you need to control the final image
resolution to match your printer and to set the final image size.
5. SCAN SETTINGS
The scan pitch is the number
that determines how many pixels
will form a single output signal.
The lower the scan pitch, the
higher the final image resolution,
and the larger the file size.
Summary of Contents for QuickScan 35
Page 8: ...8 NAMES OF PARTS 1 SCANNER ...
Page 31: ...9223 2880 11 P9506 A506 ...
Page 32: ...INSTRUCTION MANUAL ...


