10
Using IP Scanner
10-24
Scanner Mode
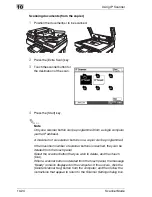
Scanning documents (from the copier)
1
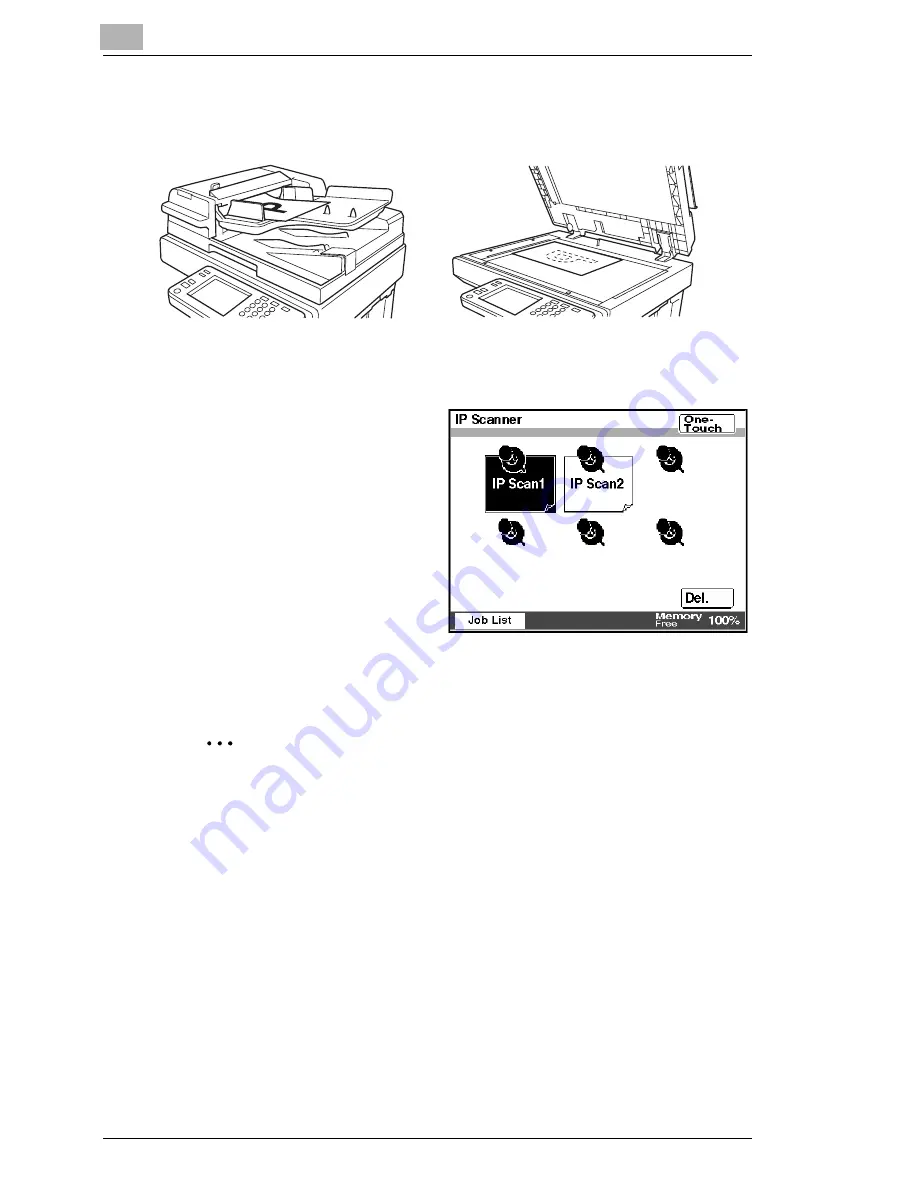
Position the document(s) to be scanned.
2
Press the [Extra Scan] key.
3
Touch the scanner button for
the destination of the scan.
4
Press the [Start] key.
✎
Note
Only one scanner button can be programmed from a single computer
(same IP address).
A maximum of six scanner buttons on a copier can be programmed.
If the maximum number of scanner buttons is reached, they can be
deleted from the touch panel.
Select the scanner button that you wish to delete, and then touch
[Del.].
When a scanner button is deleted from the touch panel, the message
“Ready” remains displayed on the computer. If this occurs, click the
[Delete Scanner Key] button from the computer, and then follow the
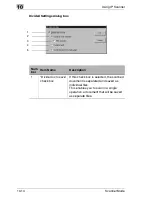
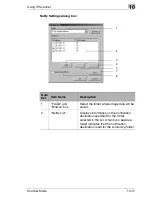
instructions that appear to return to the Scanner Settings dialog box.
Summary of Contents for Scanner Mode
Page 1: ...User Manual 4514 7706 01 Scanner Mode ...
Page 19: ...1 Introduction 1 8 Scanner Mode ...
Page 33: ...2 Overview 2 14 Scanner Mode ...
Page 103: ...5 Performing a Scan to Server FTP Operation 5 12 Scanner Mode ...
Page 113: ...6 Performing a Scan to PC FTP Operation 6 10 Scanner Mode ...
Page 127: ...7 Performing a Scan to HDD Operation 7 14 Scanner Mode ...
Page 183: ...9 Performing a Scan to PC SMTP Operation 9 8 Scanner Mode Scan Area Select the scanning size ...
Page 185: ...9 Performing a Scan to PC SMTP Operation 9 10 Scanner Mode ...
Page 211: ...10 Using IP Scanner 10 26 Scanner Mode ...
Page 217: ...11 Distribution of Fax Documents 11 6 Scanner Mode ...
Page 219: ...12 Network Fax Transmission 12 2 Scanner Mode ...

