Specifying Management Settings
13
Scanner Mode
13-45
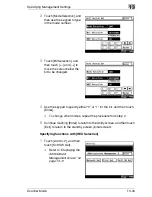
2
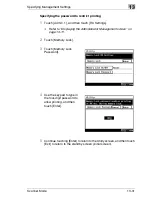
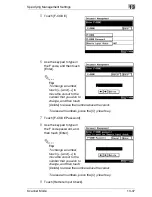
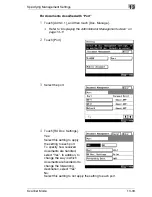
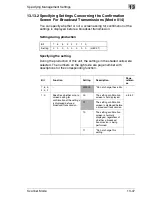
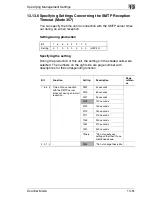
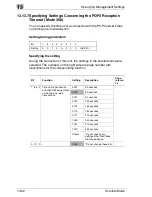
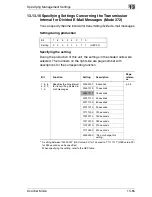
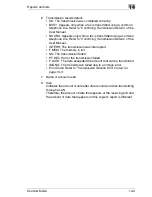
Touch [Mode Selection], and
then use the keypad to type
in the mode number.
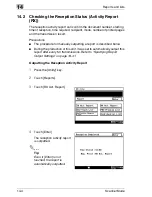
3
Touch [Bit Selection], and
then touch [
←
] and [
→
] to
move the cursor below the
bit to be changed.
4
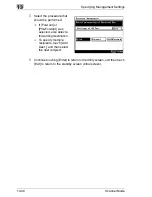
Use the keypad to specify either “0” or “1” for the bit, and then touch
[Enter].
❍
To change other modes, repeat the procedure from step 2.
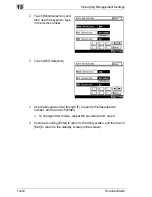
5
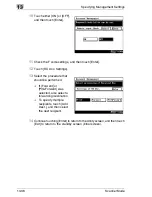
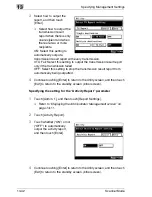
Continue touching [Enter] to return to the Utility screen, and then touch
[Exit] to return to the standby screen (initial screen).
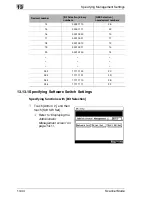
Specifying functions with [HEX Selection]
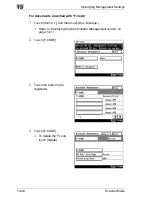
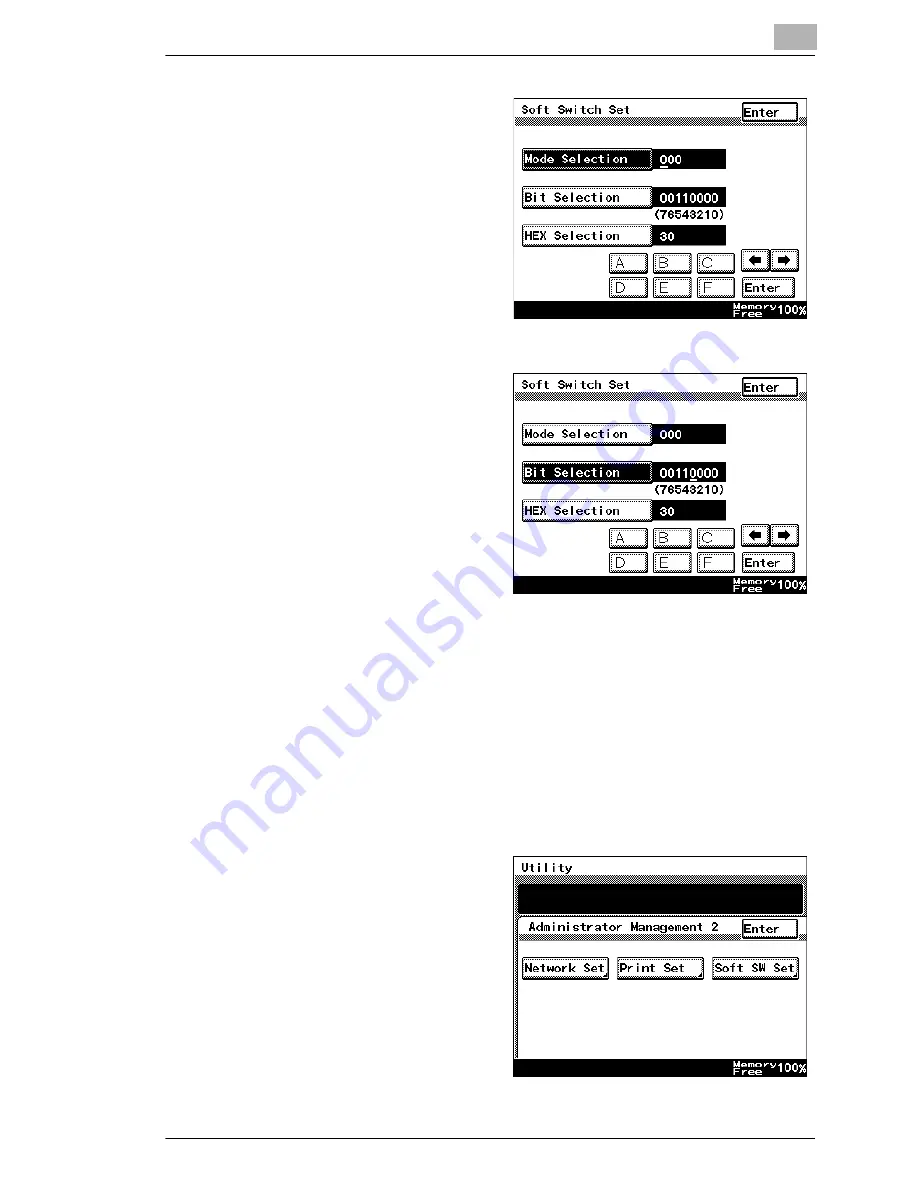
1
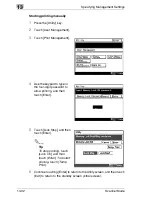
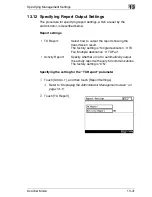
Touch [Admin. 2], and then
touch [Soft SW Set].
❍
Refer to
“Displaying the
Administrator
Management screen” on
page 13-11
Summary of Contents for Scanner Mode
Page 1: ...User Manual 4514 7706 01 Scanner Mode ...
Page 19: ...1 Introduction 1 8 Scanner Mode ...
Page 33: ...2 Overview 2 14 Scanner Mode ...
Page 103: ...5 Performing a Scan to Server FTP Operation 5 12 Scanner Mode ...
Page 113: ...6 Performing a Scan to PC FTP Operation 6 10 Scanner Mode ...
Page 127: ...7 Performing a Scan to HDD Operation 7 14 Scanner Mode ...
Page 183: ...9 Performing a Scan to PC SMTP Operation 9 8 Scanner Mode Scan Area Select the scanning size ...
Page 185: ...9 Performing a Scan to PC SMTP Operation 9 10 Scanner Mode ...
Page 211: ...10 Using IP Scanner 10 26 Scanner Mode ...
Page 217: ...11 Distribution of Fax Documents 11 6 Scanner Mode ...
Page 219: ...12 Network Fax Transmission 12 2 Scanner Mode ...

