Overview
2
Scanner Mode
2-9
2.8
IP Scanner
G
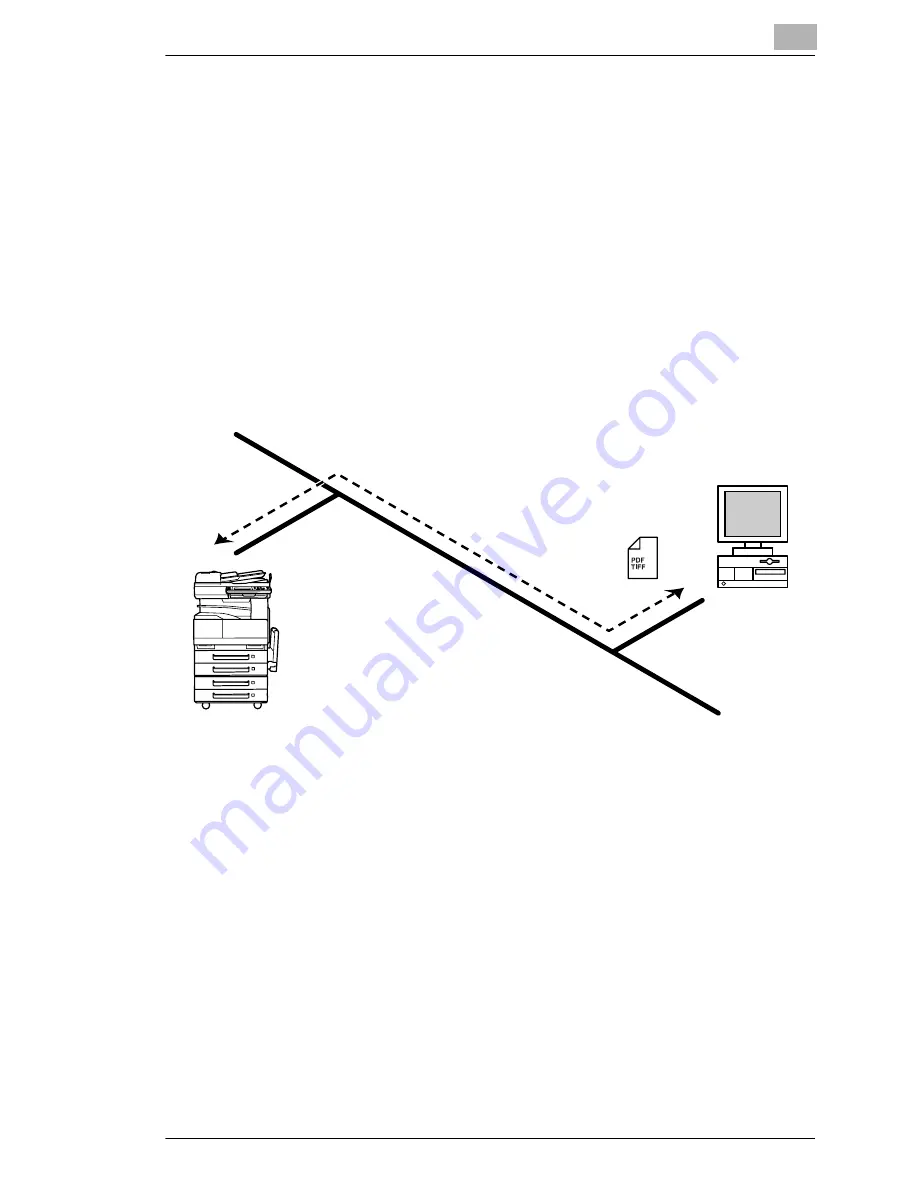
Scan data is sent to a client computer, where it is saved in a folder that
is created using the name of the scanner button.
G
After programming a button (Scan data destination and scan settings)
from the client computer when scanning, a paper document can easily
be saved as an electronic file with just the touch of a button in the
copier’s touch panel.
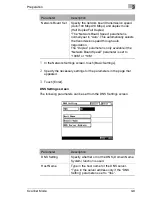
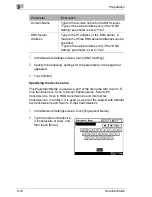
In order to receive the data at a client computer and save it as an
image file, the enclosed utilities IP Scanner and Image Receiver are
required.
G
This function can be used in a network without a LAN if a crossover
cable is used to connect the copier to a client computer. (Network
settings are required.)
1
From the computer, program a button (recipient of the scan data).
2
Touch the programmed button to send the scan image.
3
The sent scan image is received by the recipient computer.
4
The IP Scanner application converts the data to a TIFF or PDF file,
then saves the file in the specified folder.
Client computer
Summary of Contents for Scanner Mode
Page 1: ...User Manual 4514 7706 01 Scanner Mode ...
Page 19: ...1 Introduction 1 8 Scanner Mode ...
Page 33: ...2 Overview 2 14 Scanner Mode ...
Page 103: ...5 Performing a Scan to Server FTP Operation 5 12 Scanner Mode ...
Page 113: ...6 Performing a Scan to PC FTP Operation 6 10 Scanner Mode ...
Page 127: ...7 Performing a Scan to HDD Operation 7 14 Scanner Mode ...
Page 183: ...9 Performing a Scan to PC SMTP Operation 9 8 Scanner Mode Scan Area Select the scanning size ...
Page 185: ...9 Performing a Scan to PC SMTP Operation 9 10 Scanner Mode ...
Page 211: ...10 Using IP Scanner 10 26 Scanner Mode ...
Page 217: ...11 Distribution of Fax Documents 11 6 Scanner Mode ...
Page 219: ...12 Network Fax Transmission 12 2 Scanner Mode ...


