3
Preparation
3-12
Scanner Mode
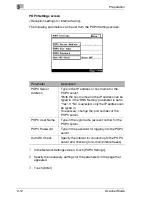
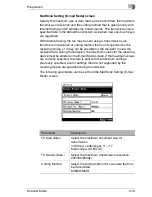
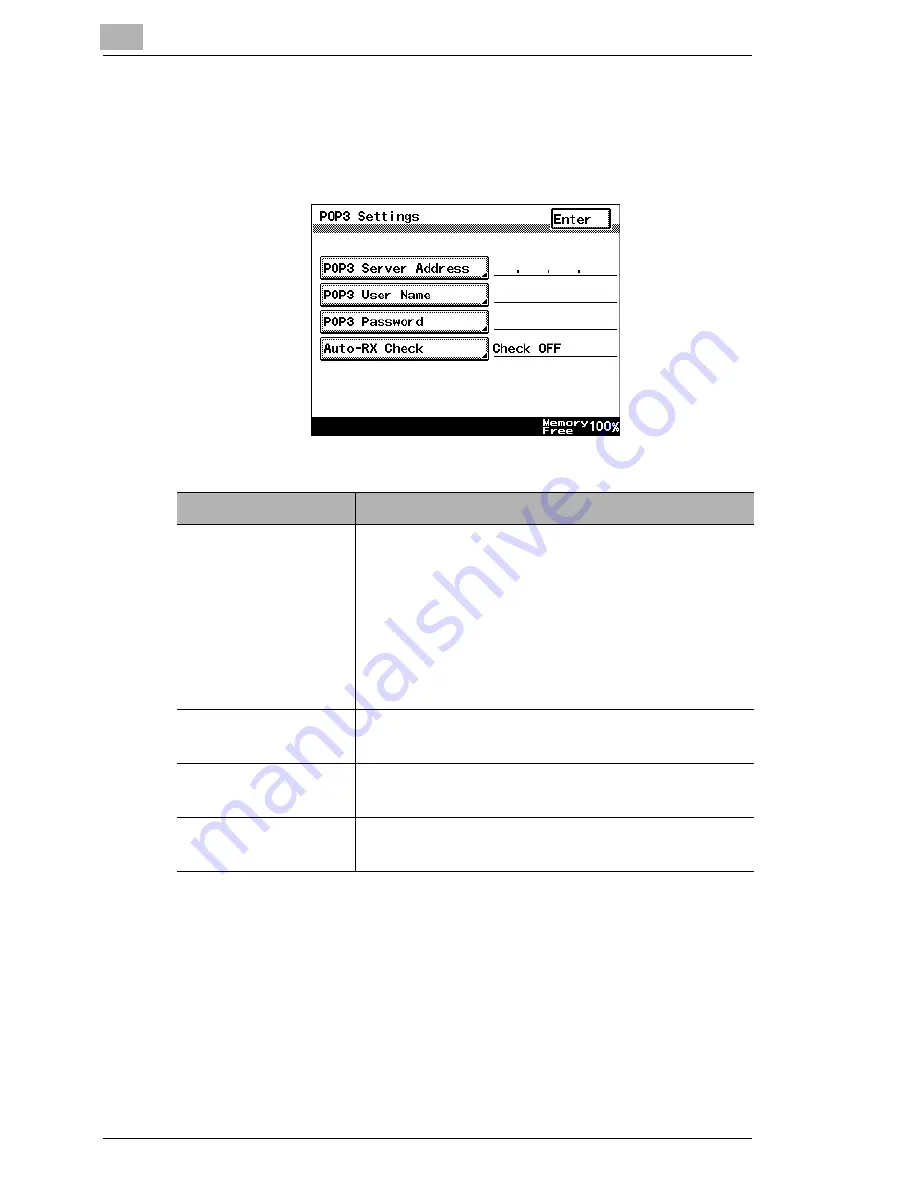
POP3 Settings screen
<Reception settings for Internet faxing>
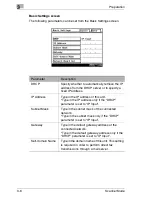
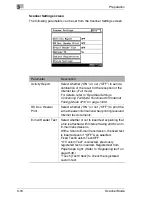
The following parameters can be set from the POP3 Settings screen.
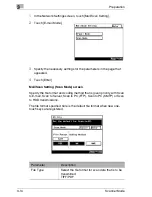
1
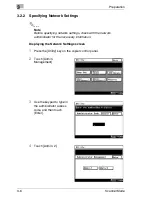
In the Network Settings screen, touch [POP3 Settings].
2
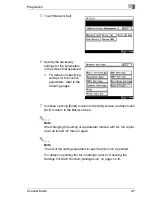
Specify the necessary settings for the parameters in the page that
appeared.
3
Touch [Enter].
Parameter
Description
POP3 Server
Address
Type in the IP address or host name for the
POP3 server.
*Both the host name and the IP address can be
typed in if the “DNS Setting” parameter is set to
“Yes”. If “No” is selected, only the IP address can
be typed in.
If necessary, change the port number of the
POP3 server.
POP3 User Name
Type in the login name (account name) for the
POP3 server.
POP3 Password
Type in the password for logging into the POP3
server.
Auto-RX Check
Specify the interval for connecting to the POP3
server and checking for e-mail (Internet faxes).
Summary of Contents for Scanner Mode
Page 1: ...User Manual 4514 7706 01 Scanner Mode ...
Page 19: ...1 Introduction 1 8 Scanner Mode ...
Page 33: ...2 Overview 2 14 Scanner Mode ...
Page 103: ...5 Performing a Scan to Server FTP Operation 5 12 Scanner Mode ...
Page 113: ...6 Performing a Scan to PC FTP Operation 6 10 Scanner Mode ...
Page 127: ...7 Performing a Scan to HDD Operation 7 14 Scanner Mode ...
Page 183: ...9 Performing a Scan to PC SMTP Operation 9 8 Scanner Mode Scan Area Select the scanning size ...
Page 185: ...9 Performing a Scan to PC SMTP Operation 9 10 Scanner Mode ...
Page 211: ...10 Using IP Scanner 10 26 Scanner Mode ...
Page 217: ...11 Distribution of Fax Documents 11 6 Scanner Mode ...
Page 219: ...12 Network Fax Transmission 12 2 Scanner Mode ...


