- 5 -
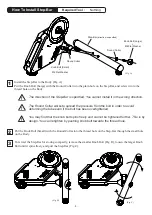
How To Install Sprocket Gear
1
2
3
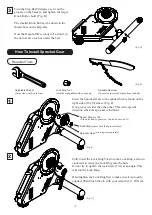
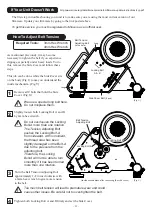
Turn the Step-Bar 90 degrees, set it on the
grooves on the bracket, and tighten the larger
Knob Bolt to hold. (Fig. D)
The smaller Knob Bolt can be stored in the
thread hole on the Step-Bar.
Now the Kagura-DD is ready to be stored in
the narrow area such as under the bed.
(Fig. D)
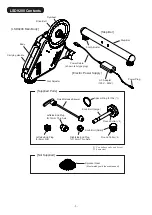
Required Tools
Adjustable Wrench
(Large size would work fine)
Lock Ring Tool
(must be compatible with your gear)
Sprocket Remover
(To remove the sprocket gear from the hub)
(Fig. E)
(Fig. F)
(Fig. G)
Insert the Sprocket Gear to the spline which is found on the
right side of the Flywheel. (Fig. F)
One groove is wider than the other. This is the specific
direction when the sprocket is installed.
Spacer Ring for 10s
(Use on 8s and 9s gears too. You don't use on 11s)
Sprocket Gear
(you prepare separately)
Rock Ring
(comes with the Sprocket Gear)
Fully insert the Lock Ring Tool into the Lock Ring, and turn
clockwise to screw the Lock Ring into the hub.
Do not try to tighten the lock screw if it is at an angle. This
will run the Lock Ring.
Hand tighten the Lock Ring first to make sure it is properly
aligned. Then finish the job with your wrench (30 – 50 Nm).

