7
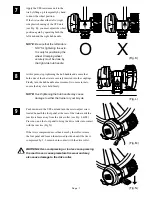
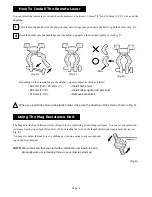
Apply the VFS resistance unit to the
tire by lifting up it temporally by hand
to know the wheel position.
If the tire touches either left or right
side plastic housing of the VFS unit
(see Fig. K), you must adjust the wheel
position again by operating both the
left knob and the right hub handle.
NOTE:
Be sure that the left knob is
NOT for tightening the axle.
It is only for positioning the
wheel. Clamping wheel
securely must be done by
the right side hub handle.
(Fig. K)
O
X
8
At this point, stop tightening the hub handle and ensure that
both ends of the skewer are securely inserted into the couplings.
Finally turn the hub handle a maximum of two more turns to
ensure the bicycle is held firmly.
NOTE:
Over-tightening the hub handle may cause
damage to either the trainer or your bicycle.
(Fig. L)
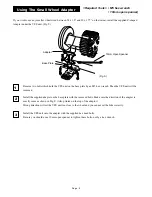
Push downward the VFS unit and turn the micro-adjust screw
located beneath the foot pedal at the rear of the trainer until the
rear tire is 2mm away from the drive roller. (see Fig. L & M)
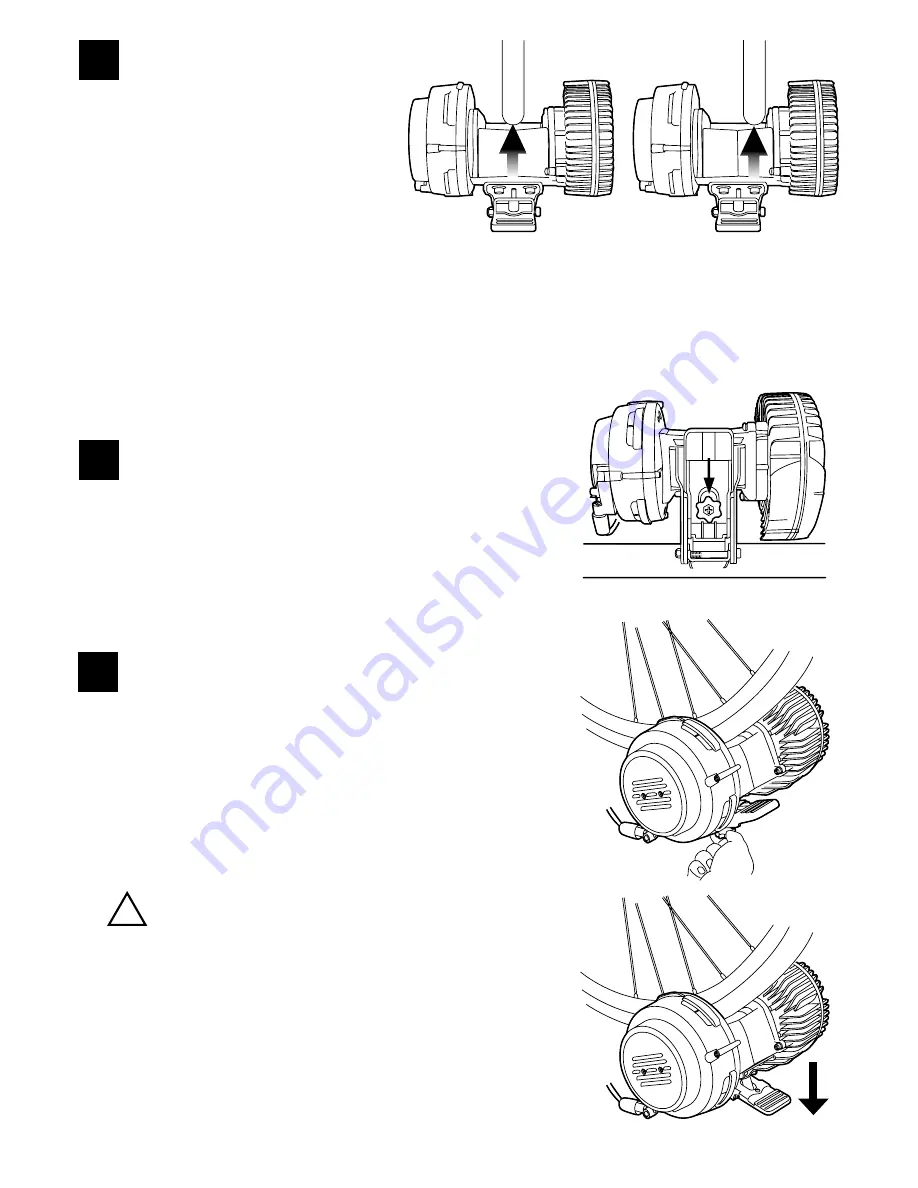
Press down on the foot pedal to bring the drive roller into contact
with the rear tire (Fig. N).
If the tire is compressed more than 4mm by the roller, release
the foot pedal and loosen the micro-adjust knob until the tire is
compressed by 2 - 3mm when in contact with the drive roller.
!
WARNING: Over-compressing or too less com-pressing
the rear tire can cause premature tire wear and may
also cause damage to the drive roller.
9
(Fig. M)
(Fig. N)
Page : 7

