EN-23
Adjusting the Exposure (EV Compensation)
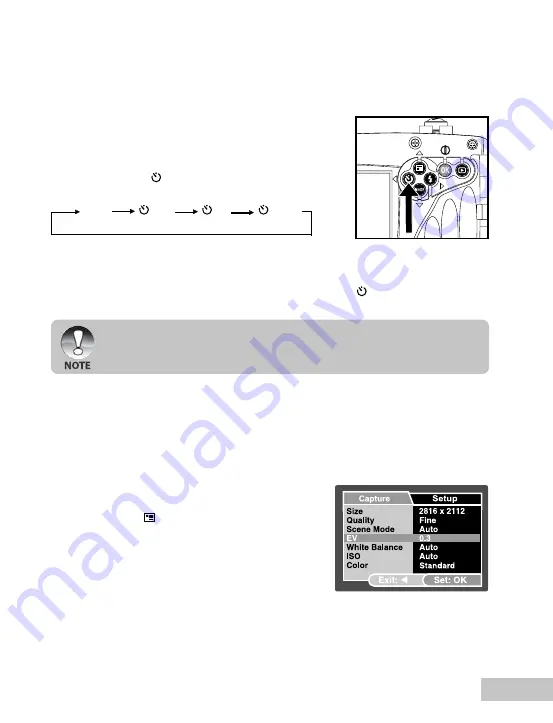
You can manually adjust the exposure determined by the digital camera. Use this
mode when the proper exposure cannot be obtained, for example, when the contrast
(difference) between the light and dark of the subject and the background is extremely
large. The EV compensation value can be set in the range from –2.0EV to +2.0EV.
1. Push and hold the
OK
button until the camera
turns on.
2. Press the
S
/
button.
3. Select [EV] with the
S
/
T
buttons, then
press the
OK
button.
4. Use
S
or
T
button to set the range of EV
compensation value from -2.0EV to +2.0EV,
then press the
OK
button.
5. To exit from the menu, press the
W
button.
Using the Self-Timer
The self-timer can be used in situations such as group shots. When using this option, you
should either mount the camera on a tripod (recommended) or rest it on a flat, level surface.
1. Secure the camera to a tripod or place it on
a stable surface.
2. Push and hold the
OK
button until the camera
turns on.
3. Toggle the
W
/ button until your desired
self-timer mode appears on the LCD monitor.
OFF 10s 2s 10+2s
[
No Indication
]
4. Compose your scene and press the shutter button.
The self-timer function is activated.
The photograph is then taken after the preset time.
To cancel the self-timer at any time, press the
W
/ button to interrupt the
sequence.
After one shot is taken, the self-timer mode is turned off.
If you wish to take another image using the self-timer, repeat these steps.
Ex.: In Camera Mode


