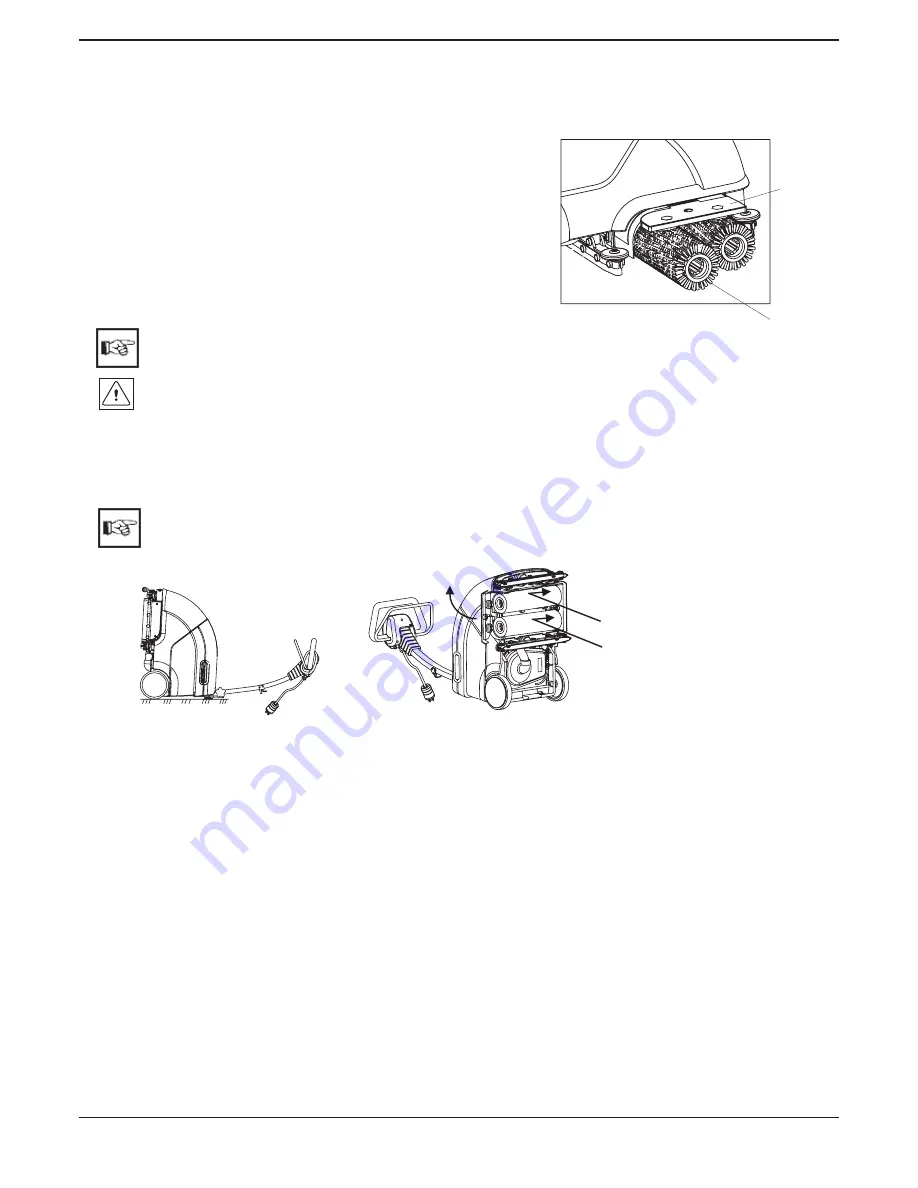
According to the type and degree of soiling, the Port A Scrub14 can be equipped with brushes from the
accessories. Refer to chapter ”Technical Data” on page 17.
Mount / Dismount brushes
Mount Brush
Use the support roller located at the handle side of the Port A Scrub
14 to set the machine into its park position.
Remove screw of the brush cover.
Fasten supplied brushes at the drive rollers at the inside of the
opposite cover.
Close brush cover such that the guiding rollers and the brushes
safely catch.
Brush
Cover
Brush
Dismount Brushes
Use the support roller located at the handle side of the Port A Scrub 14 to set the machine into its park position.
Loosen screw.
Brush maintenance
Fig. 1
Fig. 2
1
2
Remove fresh and soiled water tanks
Use the support roller located at the handle side of the Port A Scrub 14 to set the machine into its park position.
Use the adjustment screw to set the operating handle of the machine into vertical position, and then tilt the
machine down as represented.
Loosen screw and fix the brushes manually as represented in Fig. 2 in direction 1.
Open brush cover in direction 2.
Remove brushes
Clean brush compartment
Insert brushes, close brush cover and secure with screw.
Set Port A Scrub 14 in upright position.
Use adjustment screw to set the operating handle into working position
.
Set front support roller into working position.
Re-insert fresh and soiled water tanks.
11
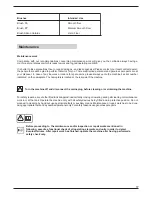
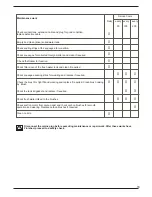
Before cleaning or maintaining the machine as well as before replacing parts of it, turn the machine
off and disconnect the plug.
When mounting, check the safe catching of rollers and brushes..
When inserting the brushes for the next operation, make sure to change position of the brush such
that one- sided brush wearing is precluded.
Summary of Contents for Port A Scrub 14
Page 1: ...PORT A SCRUB 14 Floor Scrubber Drier ...
Page 19: ...19 Port A Scrub 14 Floor Scrubber Drier Spare Parts Manual ...
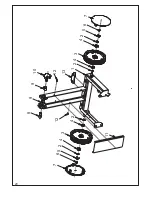
Page 20: ...20 1 4 2 3 4 2 5 6 7 5 6 7 4 2 3 8 9 10 9 2 4 12 11 13 12 ...
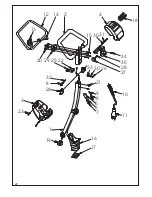
Page 24: ...24 19 5 2 6 12 11 10 18 17 16 3 4 15 13 14 7 1 9 8 16 17 18 20 7 21 ...
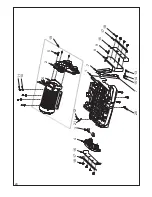
Page 28: ...28 ...
Page 32: ...32 1 16 17 18 1 2 3 21 4 21 6 7 8 15 5 19 20 9 11 10 14 12 13 SQUEEGEE FRONT SQUEEGEE REAR ...
Page 34: ...34 3 4 2 1 16 8 17 6 22 20 9 11 21 12 19 18 7 5 5 5 5 5 5 5 10 15 14 13 23 ...
Page 36: ...36 ...
Page 38: ...38 ...
Page 40: ...40 ...
Page 42: ...42 ...
Page 44: ...15 24 16 19 18 17 21 22 20 23 S1 F1 F2 F3 X1 X2 C2 C1 M1 M2 M3 C3 M2 X4 X3 S2 S3 44 ...
Page 46: ...46 1 2 ...


