


Assembly step 8
Regulator
Check for Leak
Your patio heater has been checked at
all factory connections for leakage. To
check the connection at the gas
hose/regulator/cylinder
1.
Make leakage solution by mixing
50% water with 50% liquid dish soap.
2.
Brush several drops of the solution onto the gas
hose/regulator/cylinder and hose connection
3.
Turn on the gas cylinder valve. Inspect the
connections and look for bubbles
4
. If no bubbles appear the connection is safe
5.
If bubbles appear there is leakage, loosen and
re-tighten this connection. If it still leaks,
please contact customer service on info@uig.biz
or (678) 534 2876
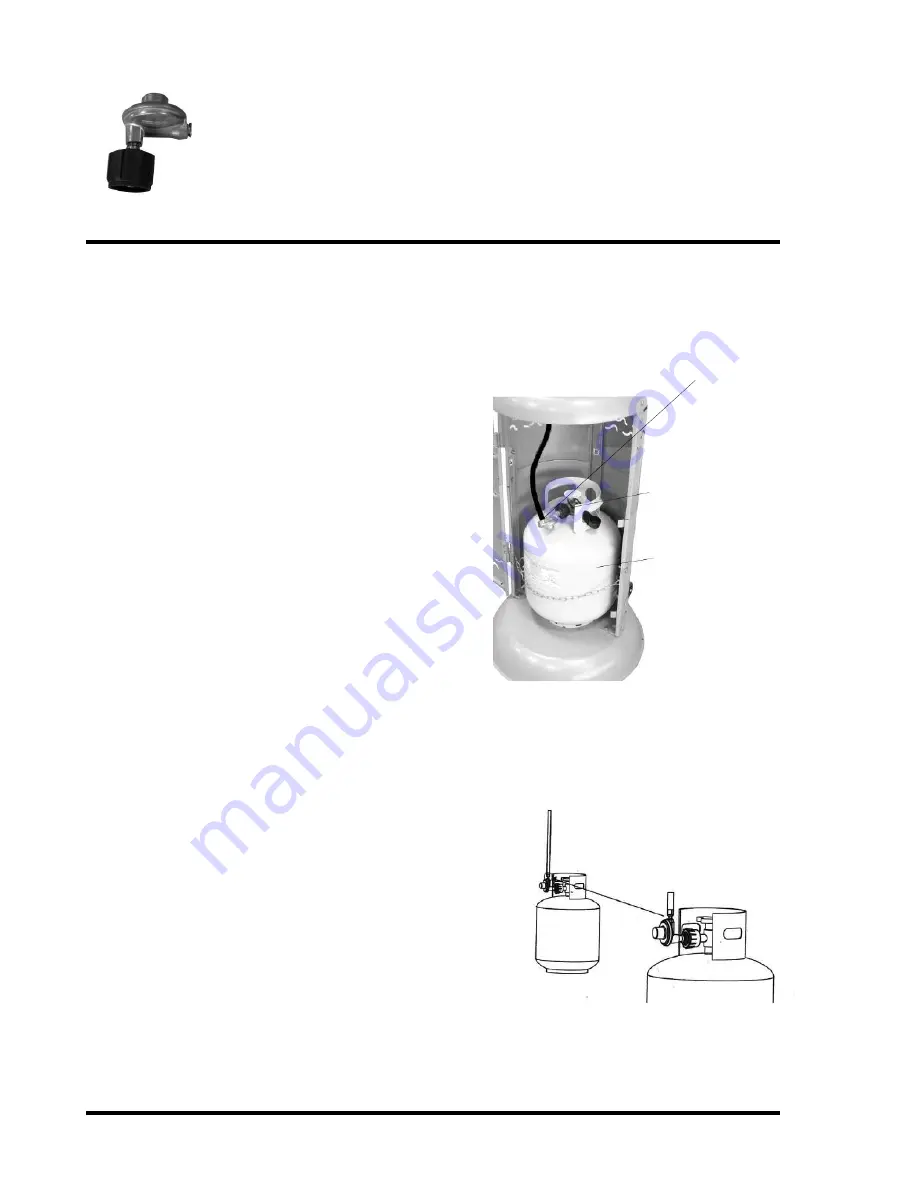
Note:
The Cylinder must be positioned as shown in
the patio heater cylinder chamber to provide vapour
withdrawal.
Page 10
Points for leak testing
Hose / Regulator
Regulator / Cylinder
Connect the lantern hose to the regulator hose and secure tightly with
adjustable wrenches. Then attach the regulator to the cylinder, turn
clockwise to tighten it securely. Place cylinder in position as shown.
Connect
securely with
adjustable
wrenches
Screw regulator
onto gas
cylinder
Position
gas cylinder
inside cylinder
chamber
as shown
securing
with chain.


