128
Configuring Alarms
6
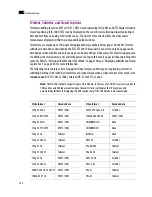
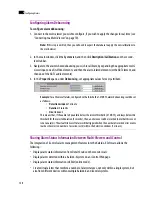
Configuring Alarm Debouncing
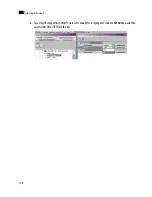
To configure alarm debouncing:
1. Connect to the multi-viewer you wish to configure, if you wish to apply the changes in real time (see
“Connecting to a Multi-Viewer” on page 70).
2. In the main window, click the
System
tab, and then click
Description/Calibrations
on the second-
level tab bar.
3. Navigate to the alarm whose debouncing you wish to calibrate, by expanding the appropriate multi-
viewer input, one of its Video elements, and then the alarm-related elements (or the ABT element, and
then one of the ABT’s audio elements).
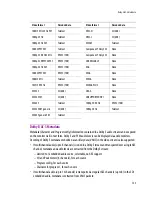
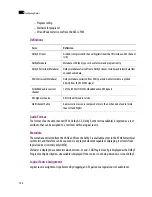
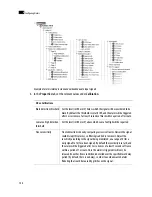
4. In the
Properties
pane, under
Debouncing
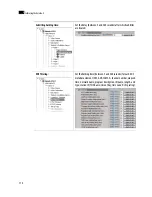
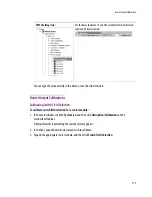
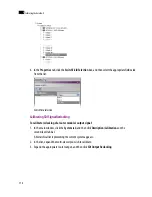
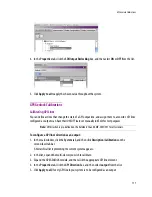
, set appropriate values for every attribute:
Sharing Alarm Status Information Between Multi-Viewers and iControl
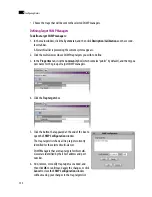
The integration of iControl’s alarm management features into the Kaleido-X Software, allows the
following:
• Display alarm status information from Densité cards on the monitor wall.
• Display alarms detected within a Kaleido-X system on an iControl Web page.
• Display alarm status information in XEdit (online mode).
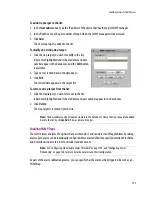
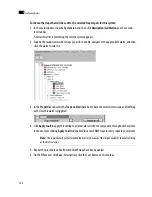
• Create virtual alarms that combine a number of alarm statuses, not only within a single system, but
also from different devices within multiple Kaleido-X and iControl systems.
Note:
If this step is omitted, then you will need to export the database to apply the new calibrations to
the multi-viewer.
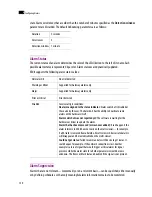
Example:
For a
Silence Left
alarm, configured with a threshold of -47dBFS, alarm debouncing could be set
as follows:
•
Detection window
: 1 minute
•
Duration
: 5 seconds
•
Occurrences
: 2
This means that, if the audio left peak falls below the silence threshold (-47 dBFS), and stays below this
threshold for the selected duration (5 seconds), then an
error event
will be recorded (note that this event
is not an alarm). The actual Silence Left alarm will be triggered when the number of recorded error events
reaches the selected number of occurrences (2) within the detection window (1 minute).
Summary of Contents for Kaleido-X
Page 1: ...Kaleido X User s Manual Part Number M770 2800 111 1 June 2011 ...
Page 8: ...viii toc ...
Page 33: ...Loading a Layout 25 Kaleido X16 ...
Page 34: ...26 Getting Started 2 Kaleido X 4RU ...
Page 152: ...144 Creating Logical Sources 7 ...
Page 178: ...170 Setting Up Rooms 8 ...
Page 244: ...236 Creating Layouts 9 ...
Page 253: ...Detailed Directions 245 3 Under Properties General type a Friendly name for the Action ...
Page 256: ...248 Creating Actions 10 ...
Page 272: ...264 Managing Kaleido RCP2 Users 11 ...
Page 348: ...340 Tally Interface Devices 13 ...
Page 350: ......
Page 352: ...344 Using the Serial to TCP IP Dispatcher 15 ...
Page 406: ...398 Index ...

