168
Setting Up Rooms
8
Adding Displays to Custom Libraries
To add a display to a custom display library:
1. Click the Display button
on the toolbar, and then click the room background to add a display.
Alternatively drag a display from a display library onto the room, or choose a display within an existing
room.
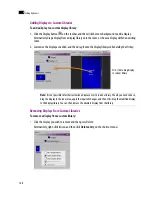
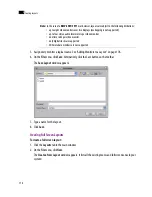
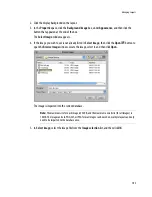
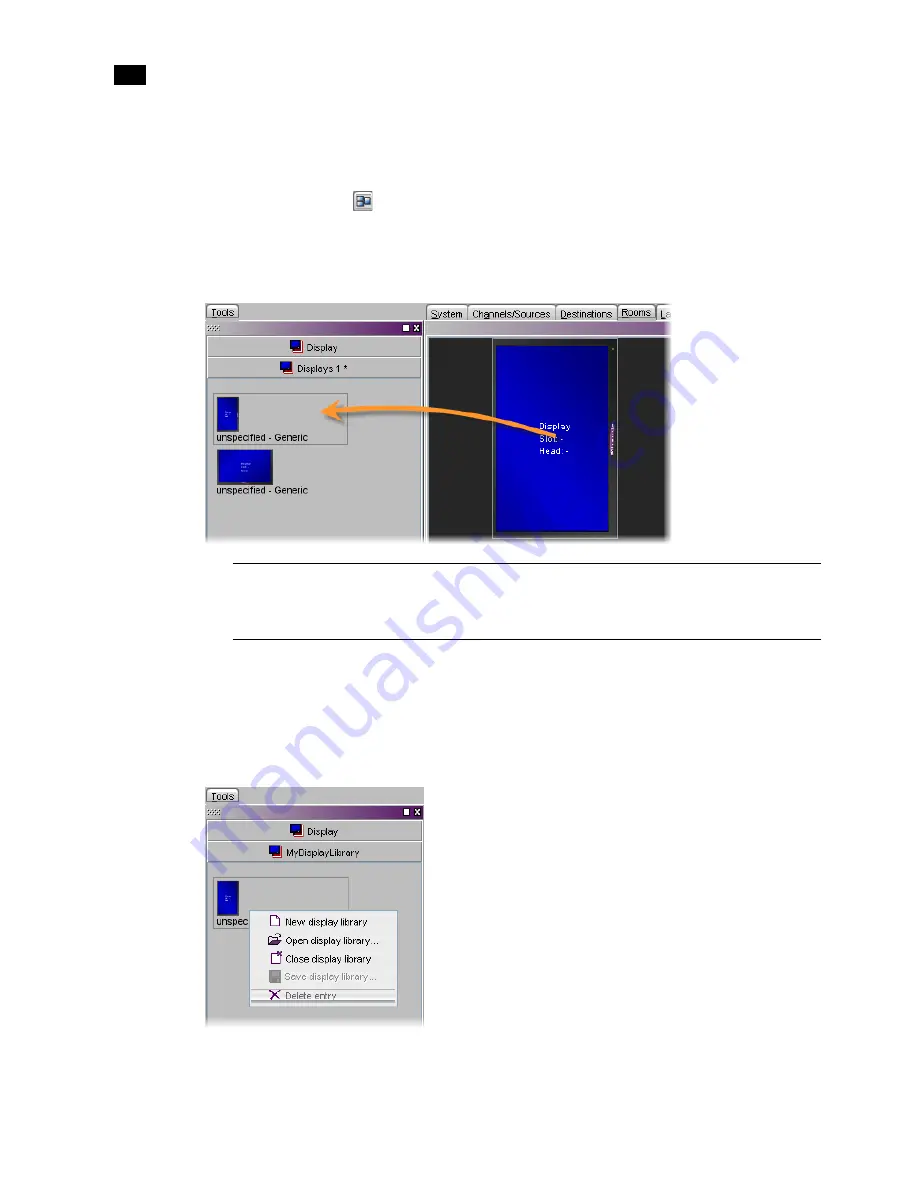
2. Customize the display as needed, and then drag it onto the display library
while holding the Ctrl key
:
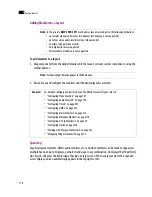
Removing Displays From Custom Libraries
To remove a display from a custom library:
•
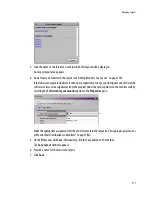
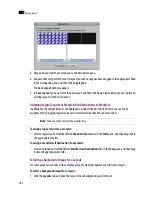
Click the display you wish to remove and then press Delete.
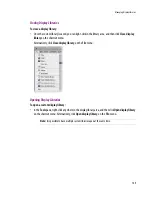
Alternatively, right-click its icon and then click
Delete entry
on the shortcut menu:
Note:
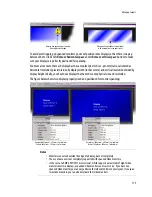
It is not possible to further customize a display once it is inside a library. Should you need to do so,
drag the display to the room area, apply the required changes, and then Ctrl+drag the modified display
to the display library. You can then remove the obsolete display from the library.
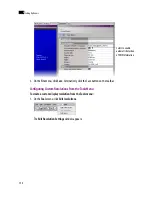
Ctrl+click to drag display
to custom library
Summary of Contents for Kaleido-X
Page 1: ...Kaleido X User s Manual Part Number M770 2800 111 1 June 2011 ...
Page 8: ...viii toc ...
Page 33: ...Loading a Layout 25 Kaleido X16 ...
Page 34: ...26 Getting Started 2 Kaleido X 4RU ...
Page 152: ...144 Creating Logical Sources 7 ...
Page 178: ...170 Setting Up Rooms 8 ...
Page 244: ...236 Creating Layouts 9 ...
Page 253: ...Detailed Directions 245 3 Under Properties General type a Friendly name for the Action ...
Page 256: ...248 Creating Actions 10 ...
Page 272: ...264 Managing Kaleido RCP2 Users 11 ...
Page 348: ...340 Tally Interface Devices 13 ...
Page 350: ......
Page 352: ...344 Using the Serial to TCP IP Dispatcher 15 ...
Page 406: ...398 Index ...

