Managing Layouts
181
To automatically populate a grid-type layout:
1. Add a first monitor to the layout (see “Adding Monitors to a Layout” on page 178, and “Working with
Composite Monitors” on page 225).
2. Position the monitor so that its upper left corner marks the location where you wish to start populating
the grid.
3. Click the monitor, and then click the Auto-layout button (
) on the toolbar.
4. In the
Auto-Layout
window, type the total number of monitors you wish to spread over the area
delimited by the upper left corner of the current monitor and the bottom right corner of the current
head, and then click
OK
.
The first monitor is resized and replicated until the grid area is populated with the specified number of
monitors.
Copying layouts
To copy a layout:
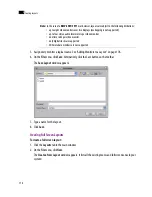
1. Open the layout you wish to duplicate.
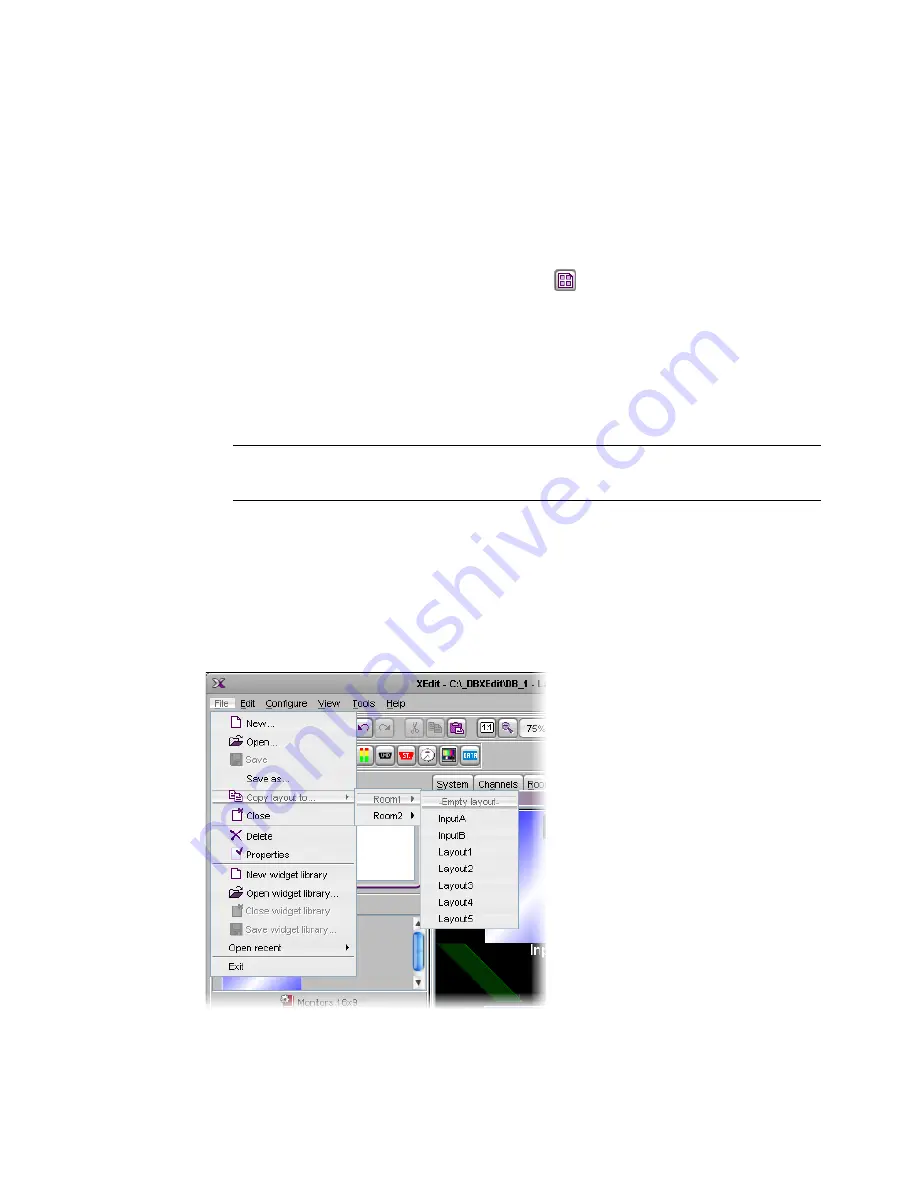
2. On the
File
menu, click
Copy layout to
, point to the appropriate room, and then either select an
existing layout from the list, or click
Empty layout:
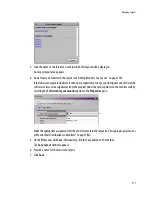
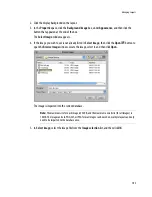
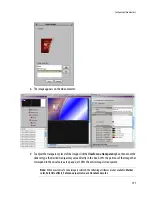
A two-pane window appears. The left pane represents the source layout, and the right pane represents
the destination room where the new layout is to be used:
Note:
To undo this action, you will need to press Ctrl + Z twice: once to remove the copies, and then once
more to restore the first monitor’s initial size.
Summary of Contents for Kaleido-X
Page 1: ...Kaleido X User s Manual Part Number M770 2800 111 1 June 2011 ...
Page 8: ...viii toc ...
Page 33: ...Loading a Layout 25 Kaleido X16 ...
Page 34: ...26 Getting Started 2 Kaleido X 4RU ...
Page 152: ...144 Creating Logical Sources 7 ...
Page 178: ...170 Setting Up Rooms 8 ...
Page 244: ...236 Creating Layouts 9 ...
Page 253: ...Detailed Directions 245 3 Under Properties General type a Friendly name for the Action ...
Page 256: ...248 Creating Actions 10 ...
Page 272: ...264 Managing Kaleido RCP2 Users 11 ...
Page 348: ...340 Tally Interface Devices 13 ...
Page 350: ......
Page 352: ...344 Using the Serial to TCP IP Dispatcher 15 ...
Page 406: ...398 Index ...


