Configuring Clocks
221
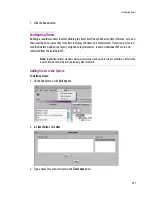
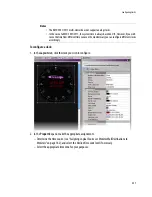
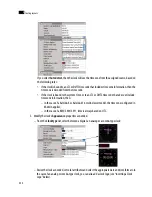
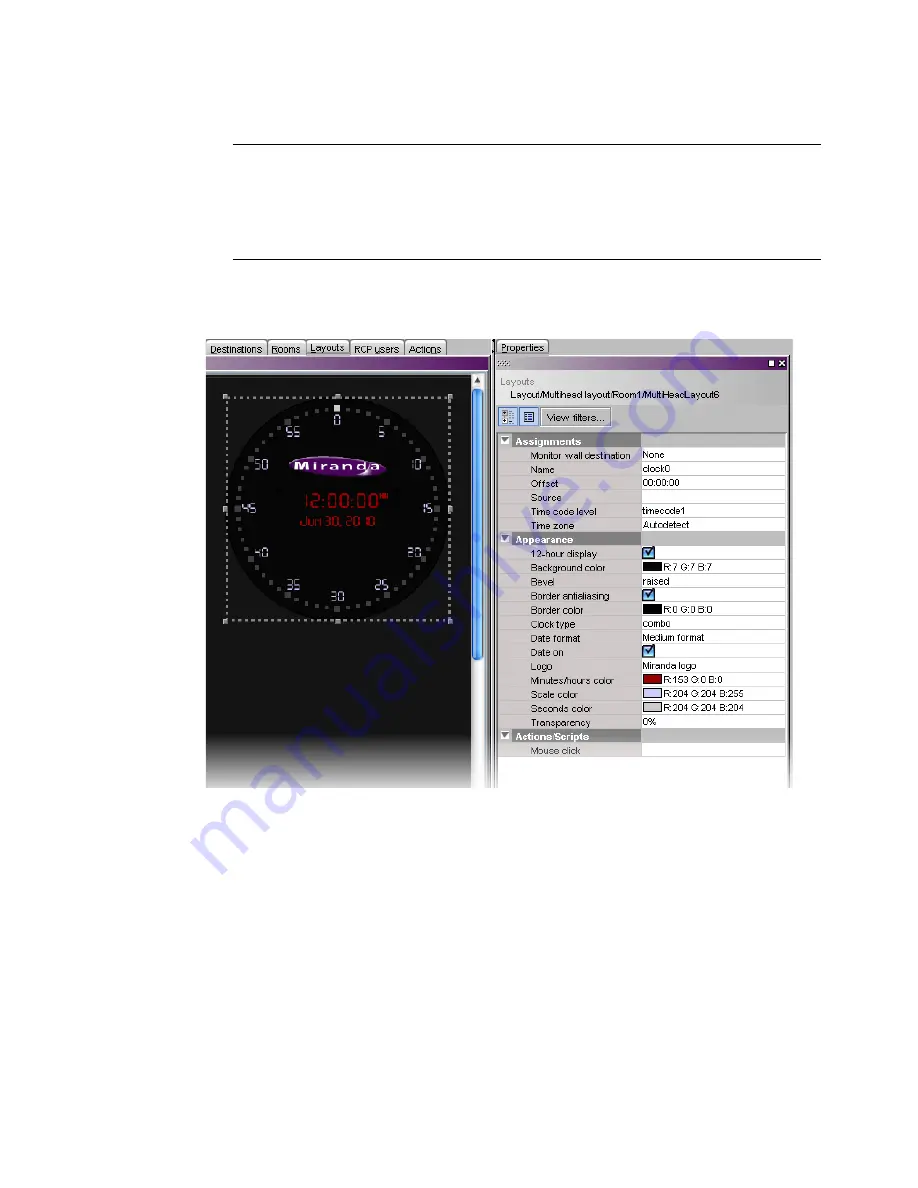
To configure a clock:
1. In the
Layouts
tab, click the clock you wish to configure:
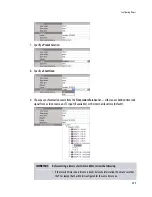
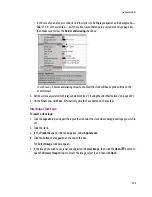
2. In the
Properties
pane, make the appropriate assignments.
– Determine the time source (see “Assigning Logical Sources or Monitor Wall Destinations to
Monitors” on page 182), and select the desired time code level if necessary.
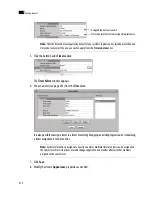
– Select the appropriate time zone for your purposes:
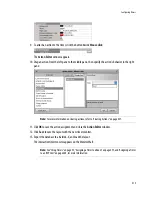
Notes
• The KMV-3901/3911 multi-viewer does not support analog clocks.
• In the case of a KMV-3901/3911, the system time is always based on UTC. However, if you wish
to see the time from different time zones on the monitor wall, you can configure different clocks
accordingly.
Summary of Contents for Kaleido-X
Page 1: ...Kaleido X User s Manual Part Number M770 2800 111 1 June 2011 ...
Page 8: ...viii toc ...
Page 33: ...Loading a Layout 25 Kaleido X16 ...
Page 34: ...26 Getting Started 2 Kaleido X 4RU ...
Page 152: ...144 Creating Logical Sources 7 ...
Page 178: ...170 Setting Up Rooms 8 ...
Page 244: ...236 Creating Layouts 9 ...
Page 253: ...Detailed Directions 245 3 Under Properties General type a Friendly name for the Action ...
Page 256: ...248 Creating Actions 10 ...
Page 272: ...264 Managing Kaleido RCP2 Users 11 ...
Page 348: ...340 Tally Interface Devices 13 ...
Page 350: ......
Page 352: ...344 Using the Serial to TCP IP Dispatcher 15 ...
Page 406: ...398 Index ...

