228
Creating Layouts
9
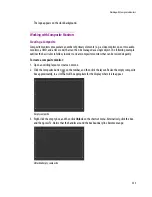
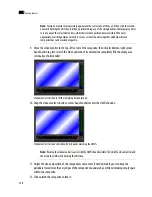
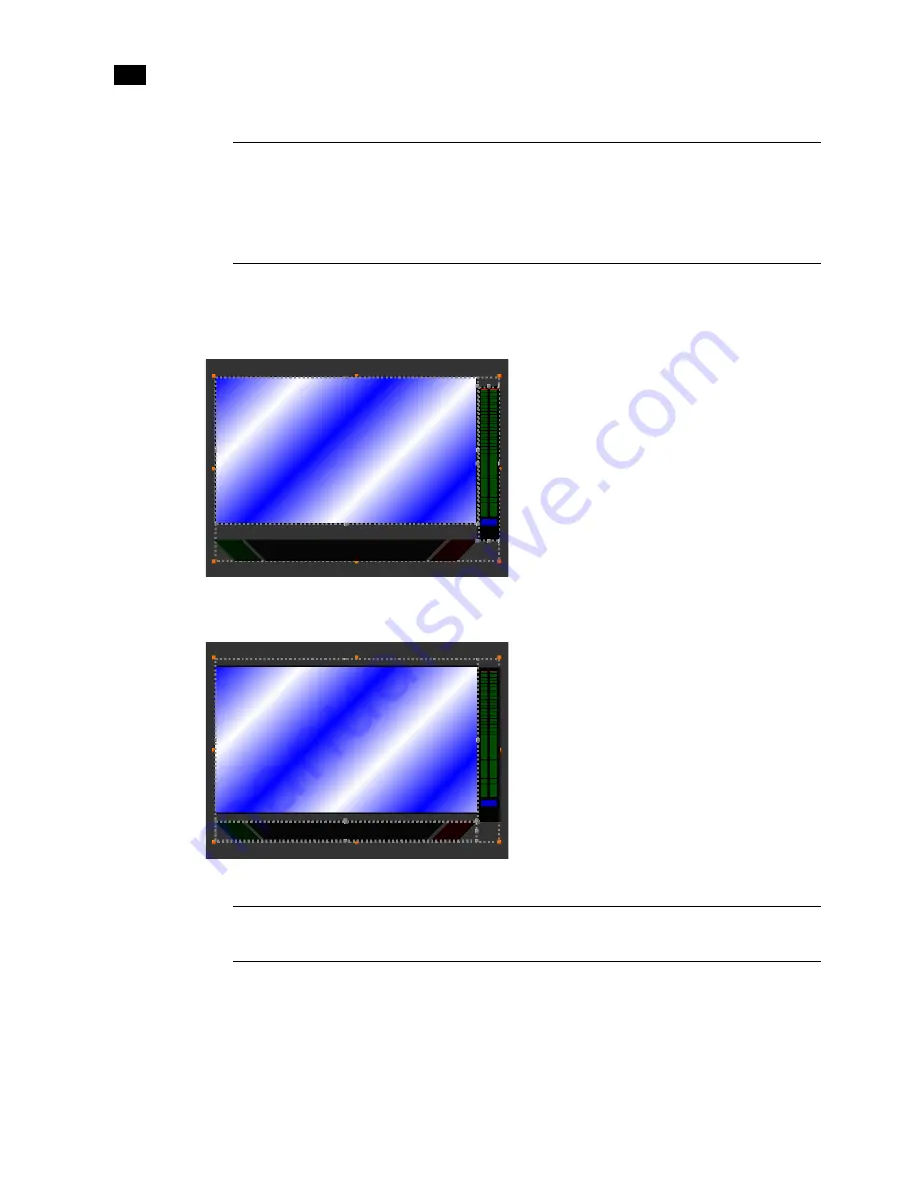
9. Move the video monitor to the top-left corner of the composite, then click its bottom-right corner
handle, and drag it to stretch the video until one of its dimensions completely fills the empty area
(vertically or horizontally):
Video monitor stretched to fill the remaining horizontal area
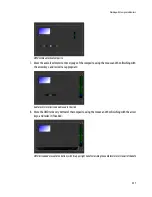
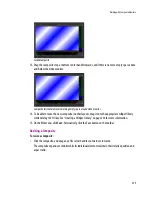
10. Drag the video monitor’s bottom-center handle until it meets the UMD’s bounds:
Video monitor stretched vertically with its bounds matching the UMD’s
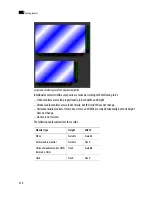
11. Adjust the size and position of the components some more if needed, making sure to keep the
peripheral monitors at the very edges of the composite’s boundary box, while minimizing empty space
within the composite.
12. Click outside the composite to lock it:
Note:
To align a monitor more precisely against another, select one of them, and then click the second
one while holding the Shift key. It is then possible to drag any of the sizing handles (the larger grey dots)
to resize any of the selected monitors, while their relative position remains visible. Whenever
appropriate, matching adjacent monitors’ corner or center handles together will help achieve a
composite that can be resized elegantly.
Note:
Resizing the video monitor is easier with the UMD’s bounds visible: first click the video monitor and
then click the UMD while holding the Shift key.
Summary of Contents for Kaleido-X
Page 1: ...Kaleido X User s Manual Part Number M770 2800 111 1 June 2011 ...
Page 8: ...viii toc ...
Page 33: ...Loading a Layout 25 Kaleido X16 ...
Page 34: ...26 Getting Started 2 Kaleido X 4RU ...
Page 152: ...144 Creating Logical Sources 7 ...
Page 178: ...170 Setting Up Rooms 8 ...
Page 244: ...236 Creating Layouts 9 ...
Page 253: ...Detailed Directions 245 3 Under Properties General type a Friendly name for the Action ...
Page 256: ...248 Creating Actions 10 ...
Page 272: ...264 Managing Kaleido RCP2 Users 11 ...
Page 348: ...340 Tally Interface Devices 13 ...
Page 350: ......
Page 352: ...344 Using the Serial to TCP IP Dispatcher 15 ...
Page 406: ...398 Index ...


