306
Routers & Kaleido-X
12
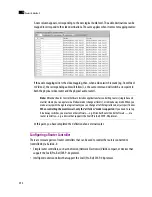
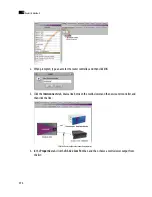
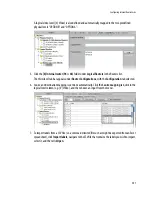
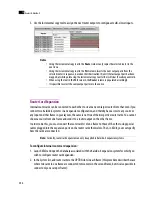
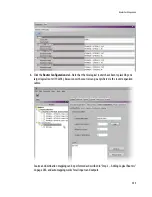
3. Use the incremental copy tool to assign the next router outputs to contiguous multi-viewer inputs.
Router Card Expansion
Internal router cards can be connected to each other to create an even larger router. Note that even if you
connect two Kaleido-X systems in an expansion configuration, and thereby have access to any source or
any input on either frame in your layouts, the same is not true of their respective router cards. You cannot
choose a source from one frame and send it to a router output on the other frame.
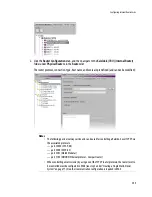
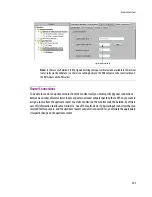
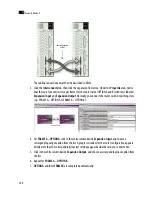
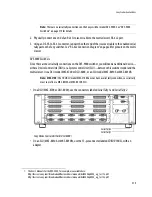
In order to do this, you must connect the router card(s) of one frame to those of the other using special
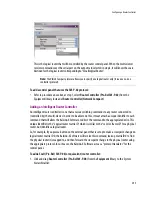
cables plugged into the expansion ports on the router cards themselves. Then, in XEdit, you must specify
how the cards are connected.
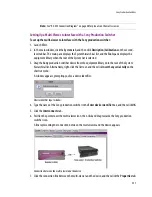
To configure internal router card expansion:
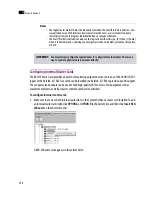
1. Launch XEdit and open the database associated with the Kaleido-X expansion system for which you
wish to configure router card expansion.
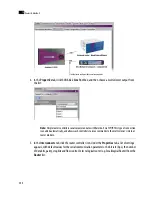
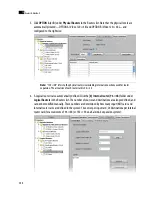
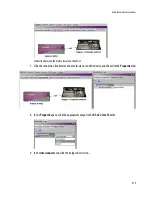
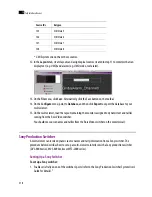
2. In the System list, add router cards to the OPTION slots in each frame (this procedure describes the case
where two cards in one frame are connected to two more in the second frame, but it is also possible to
connect only one card per frame):
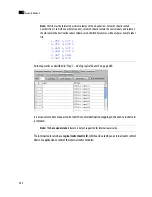
Notes
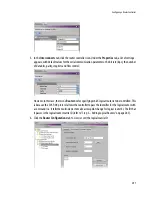
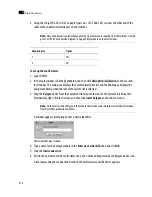
• Using the incremental copy tool in the
Router
column only copies the selected router to the
next rows.
• Using the incremental copy tool in the
Port
column inserts the next output ports from the
selected router in sequence, based on their Destination ID, until the last output port has been
mapped, at which point using the incremental copy tool further will clear the subsequent cells.
• When using the tool in the
Port
column, the
Router
column is populated accordingly.
• It is possible to select the same output port more than once.
Note:
Currently, router card expansion can only be applied to Kaleido-X expansion systems.
Summary of Contents for Kaleido-X
Page 1: ...Kaleido X User s Manual Part Number M770 2800 111 1 June 2011 ...
Page 8: ...viii toc ...
Page 33: ...Loading a Layout 25 Kaleido X16 ...
Page 34: ...26 Getting Started 2 Kaleido X 4RU ...
Page 152: ...144 Creating Logical Sources 7 ...
Page 178: ...170 Setting Up Rooms 8 ...
Page 244: ...236 Creating Layouts 9 ...
Page 253: ...Detailed Directions 245 3 Under Properties General type a Friendly name for the Action ...
Page 256: ...248 Creating Actions 10 ...
Page 272: ...264 Managing Kaleido RCP2 Users 11 ...
Page 348: ...340 Tally Interface Devices 13 ...
Page 350: ......
Page 352: ...344 Using the Serial to TCP IP Dispatcher 15 ...
Page 406: ...398 Index ...

