Creating a Cluster
79
Alternatively, click
No
, if this system is based on an existing multi-viewer system whose room and
layout configurations you wish to reuse. (For instance, you could be converting two 7RU multi-viewers
to an expansion system. Refer to the “Kaleido-X (7RU) Expansion” chapter in the
Kaleido-X (7RU)
Hardware Description & Installation Manual
for more information.)
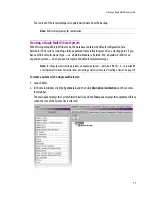
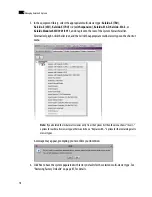
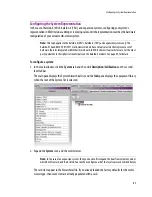
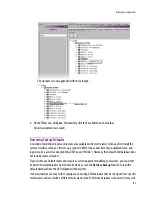
5. Select the relevant peripheral devices in the equipment library and drag them onto the root of the
System hierarchical list in the main window. Alternatively, right-click the list root, and then click the
appropriate peripheral device on the shortcut menu.
All peripheral devices added to the system appear in the System list.
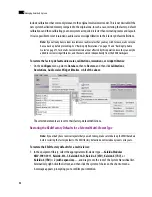
6. If you are going to control the multi-viewer, from a device using one of the supported TCP/IP router
protocols (SW-P-02, SW-P-08, Network Modular, or NVISION), then configure the router level to be
controlled:
— Click the multi-viewer in the System list, and then, in the
Properties
tab, specify the logical router
and level you wish to control, by selecting the appropriate values in the
Router
and
Router level
lists under
TCP/IP Router control
.
7. On the
File
menu, click
Save
. Alternatively, click the Save button on the toolbar.
Changes to the system are saved.
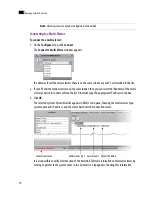
Creating a Cluster
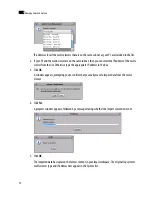
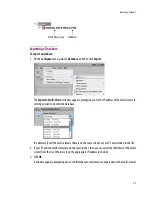
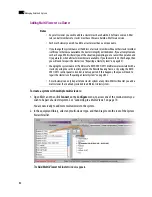
Clusters can only be created and configured in online mode. Creating a cluster involves the following steps:
• connect to a first multi-viewer
• add more multi-viewers
• configure new rooms that include displays fed by the different multi-viewers
• create layouts for the new rooms
• replicate RCP users from one multi-viewer to all other systems that are part of the cluster
• replicate custom display resolutions from one multi-viewer to all others
Note:
Databases created for a KMV-3901/3911, Kaleido-X16, a Kaleido-X (4RU) or a Kaleido-X (7RU)
system are not fully compatible with each other. It is important to select the proper multi-viewer type at
this stage.
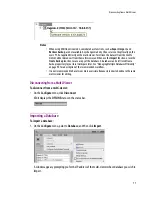
Note:
As of version 5.00 of the Kaleido-X Software, the router selected by default for TCP/IP control is the
.
KX Router
logical router
Summary of Contents for Kaleido-X
Page 1: ...Kaleido X User s Manual Part Number M770 2800 111 1 June 2011 ...
Page 8: ...viii toc ...
Page 33: ...Loading a Layout 25 Kaleido X16 ...
Page 34: ...26 Getting Started 2 Kaleido X 4RU ...
Page 152: ...144 Creating Logical Sources 7 ...
Page 178: ...170 Setting Up Rooms 8 ...
Page 244: ...236 Creating Layouts 9 ...
Page 253: ...Detailed Directions 245 3 Under Properties General type a Friendly name for the Action ...
Page 256: ...248 Creating Actions 10 ...
Page 272: ...264 Managing Kaleido RCP2 Users 11 ...
Page 348: ...340 Tally Interface Devices 13 ...
Page 350: ......
Page 352: ...344 Using the Serial to TCP IP Dispatcher 15 ...
Page 406: ...398 Index ...

