84
Managing Kaleido-X Systems
4
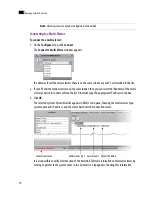
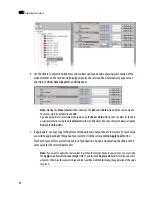
2. In the
Description/Calibrations
tab, remove
System A
from the cluster, and then add it back to the
cluster.
3. If other cluster members were unavailable when the change was made (e.g. if
System A
is a
KMV-3901/3911 whose name or IP address was changed from the Densité frame’s control panel, or
from the KMV-3901/3911 control panel in iControl, then repeat the previous steps for each.
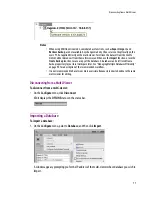
If only the IP address was changed then no further action is required. Otherwise, if the system name
was changed, then proceed as follows.
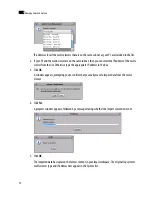
4. Connect to
System A
.
5. Change something in every room (e.g. move a display and then bring it back to its initial position) to
enable the
Save
button.
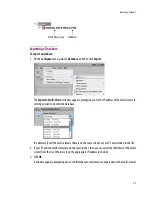
6. Save the room.
This will replicate the proper room configuration to the other members of the cluster. (At the same
time, the layouts will also be updated on all multi-viewers in the cluster.)
Summary of Contents for Kaleido-X
Page 1: ...Kaleido X User s Manual Part Number M770 2800 111 1 June 2011 ...
Page 8: ...viii toc ...
Page 33: ...Loading a Layout 25 Kaleido X16 ...
Page 34: ...26 Getting Started 2 Kaleido X 4RU ...
Page 152: ...144 Creating Logical Sources 7 ...
Page 178: ...170 Setting Up Rooms 8 ...
Page 244: ...236 Creating Layouts 9 ...
Page 253: ...Detailed Directions 245 3 Under Properties General type a Friendly name for the Action ...
Page 256: ...248 Creating Actions 10 ...
Page 272: ...264 Managing Kaleido RCP2 Users 11 ...
Page 348: ...340 Tally Interface Devices 13 ...
Page 350: ......
Page 352: ...344 Using the Serial to TCP IP Dispatcher 15 ...
Page 406: ...398 Index ...

