Safety, Operation, & Maintenance Manual
Linear Cut Processing Systems
91
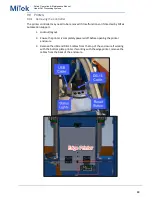
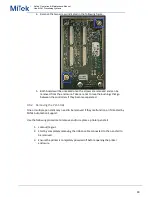
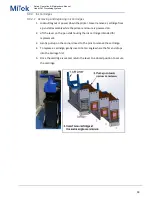
Remove the screw at the top of the stall (if present) and the two screws securing the
bottom of the stall
4.
The pen stall may be removed once all screws are removed.
9.9.3
Cleaning the Printer(s)
Perform these steps anytime the printer has had a break from printing for more than 30
minutes for best printing results.
1.
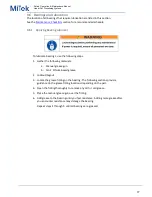
Lockout/tagout.
2.
Ensure the printer is completely powered off before opening the printer
enclosure.
3.
Start by slightly wetting a non-abrasive, lint-free cloth with distilled or
deionized water, or use a wet wipe. Ensure it is not dry as a dry cloth
may cause scratches. You may wish to fold the cloth in quarters to
prevent ink penetrating through to your fingers.
4.
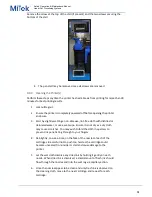
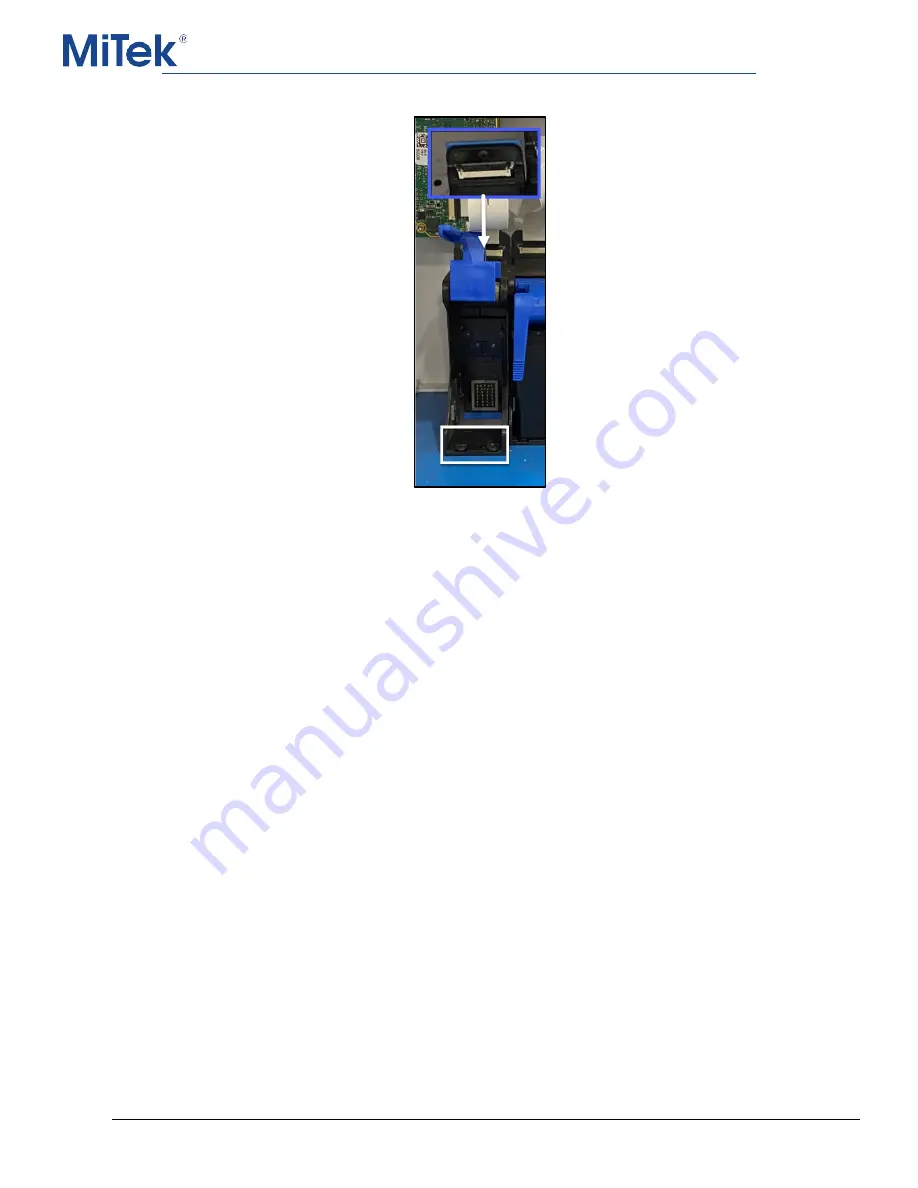
Dab lightly, one-at-a-time, on the face of the nozzles of each of the
cartridges. Be careful not to push too hard as the cartridge could
become unseated from inside its stall and cause damage to the
printer.
5.
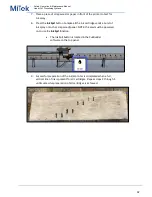
Let the wet cloth dissolve any dried ink by holding it gently on each
nozzle. When dried ink is dissolved, a small amount of fresh ink should
flow through the nozzles and into the wet rag via capillary action.
6.
Once the nozzles appear to be clean and only fresh ink is observed on
the cleaning cloth, move to the next cartridge, and repeat for each
cartridge.

