28
GB
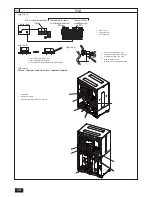
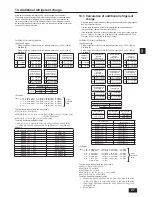
<Example of refrigerant piping connection>
[Fig.10.2.2] (P.10 - 11)
1
&RQQHFWLQJHOERZ,'>@2'>@,QFOXGHGZLWKKHDW
source unit>
2
&RQQHFWLQJSLSH,'>@2'>@,QFOXGHGZLWKKHDWVRXUFH
unit>
3
:DWHUVWRSSHU/LTXLG
4
:DWHUVWRSSHU*DV/RZSUHVVXUH
5
6HDOLQJPDWHULDOIRUZDWHUVWRSSHU/LTXLG
6
6HDOLQJPDWHULDOIRUZDWHUVWRSSHU*DV/RZSUHVVXUH
7
6HDOLQJPDWHULDOIRU¿HOGSLSLQJ/LTXLG+LJKSUHVVXUH
8
6HDOLQJPDWHULDOIRU¿HOGSLSLQJ*DV/RZSUHVVXUH
9
Sealing material for base leg
0
Sealing material for base leg
a
Sealing material for water panel
b
3LSHFRYHU*DV/RZSUHVVXUH
c
Sealing material for drain socket
<A> Front pipe routing
<B>
/RZSUHVVXUHVLGH345<3ā76/08$<6/08$*D<
3ā76/08$<6/08$
<C>
+LJKSUHVVXUHVLGH345<3ā76/08$<6/08$/LTXL<
3ā76/08$<6/08$
A
Shape
B
Without a low-pressure twinning pipe
C
:LWKDORZSUHVVXUHWZLQQLQJSLSH345<3ā76/08$<6/08$21/<
D
Refrigerant service valve pipes
E
)LHOGVXSSOLHGSLSLQJORZSUHVVXUHFRQQHFWLQJSLSH
F
)LHOGVXSSOLHGSLSLQJKLJKSUHVVXUHFRQQHFWLQJSLSH
G
7ZLQQLQJNLWVROGVHSDUDWHO\
H
)LHOGVXSSOLHGSLSLQJORZSUHVVXUHFRQQHFWLQJSLSHWR%&FRQWUROOHU
I
)LHOGVXSSOLHGSLSLQJORZSUHVVXUHFRQQHFWLQJSLSHWRKHDWVRXUFHXQLW
7RDWWDFKWKH7ZLQQLQJSLSHVROGVHSDUDWHO\UHIHUWRWKH
instructions included in the kit.
*2 Connection pipe is not used when the Twinning Kit is attached.
Pipe routing (for PQHY-P·TLMU-A/YLMU-A)
P72
P96, P120
: Use the included connecting pipe
3
to connect.
P72
: Use the included connecting pipe
1
,
2
to connect.
P96, P120
8VHWKHSLSHMRLQW¿HOGVXSSO\DQGWKHLQFOXGHG
connecting pipe
1
to connect.
Pipe routing (for PQRY-P·TLMU-A/YLMU-A)
P72
8VHWKHSLSHMRLQW¿HOGVXSSO\DQGFRQQHFWWRWKH
refrigerant service valve piping.
P96, P120
([SDQGWKHKLJKSUHVVXUHVLGH¿HOGVXSSOLHGSLSLQJ
,'>@DQGFRQQHFWWRWKHUHIULJHUDQW
service valve piping.
P72
: Use the included connecting pipe
1
,
2
to connect.
P96, P120
8VHWKHSLSHMRLQW¿HOGVXSSO\DQGWKHLQFOXGHG
connecting pipe
1
to connect.
6DWLVI\WKHPLQLPXPLQVHUWLRQGHSWKLQWKHWDEOHEHORZZKHQH[SDQGLQJ¿HOG
supplied piping
Pipe diameter
PP>LQ@
Minimum insertion depth
PP>LQ@
5 [7/32] or more, less than 8 [11/32]
6 [1/4]
8 [11/32] or more, less than 12 [1/2]
7 [9/32]
12 [1/2] or more, less than 16 [21/32]
8 [11/32]
16 [21/32] or more, less than 25 [1]
10 [13/32]
25 [1] or more, less than 35 [1-13/32]
12 [1/2]
35 [1-13/32] or more, less than 45 [1-25/32]
14 [9/16]
After evacuation and refrigerant charging, ensure that the handle is fully
open. If keep the valve closed, the high- or low-pressure side of the
UHIULJHUDQWFLUFXLWPD\EHVXEMHFWHGWRDEQRUPDOSUHVVXUHDQGPD\GDPDJH
the compressor, four-way valve, etc.
10.2. Precautions concerning piping
connection and valve operation
Conduct piping connection and valve operation accurately and carefully.
Removing the pinched connecting pipe
When shipped, a pinched connecting pipe is attached to the on site high-
pressure/liquid and low-pressure/gas valves to prevent gas leakage.
Take the following steps
1
through
4
to remove the pinched connecting
pipe before connecting refrigerant pipes to the heat source unit.
1
&KHFNWKDWWKHUHIULJHUDQWVHUYLFHYDOYHLVIXOO\FORVHGFORFNZLVH
2
Connect a charging hose to the service port on the low-pressure/
high-pressure liquid/gas refrigerant service valve, and extract the gas
in the piping between the refrigerant service valve and the pinched
FRQQHFWLQJSLSH7LJKWHQLQJWRUTXH1āP>NJāFP@
3
After vacuuming gas from the pinched connecting pipe, sever the
pinched connecting pipe at the location shown in [Fig.10.2.1] and drain
the refrigerant.
4
After completing
2
and
3
, heat the brazed section to remove the
pinched connecting pipe.
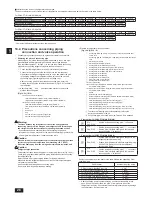
[Fig. 10.2.1] (P.10)
<A> Service valve for refrigerant
/LTXLGVLGHEUD]<3ā76/08$<6/08$
+LJKSUHVVXUHVLGHEUD]HGIRU345<3ā76/08$<6/08$
<B> Service valve for refrigerant
*DVVLGHEUD]<3ā76/08$<6/08$
/RZSUHVVXUHVLGHEUD]HGIRU345<3ā76/08$<6/08$
A
Shaft
B
Service port
C
Cap
D
Pinched connecting pipe severing portion
E
Pinched connecting pipe brazing portion
Warning:
The areas between the refrigerant service valves and the pinched
FRQQHFWLQJSLSHVDUH¿OOHGZLWKJDVDQGUHIULJHUDQWRLO([WUDFWWKHJDV
and refrigerant oil in that section before heating the brazed section.
,IWKHEUD]HGVHFWLRQLVKHDWHGZLWKRXW¿UVWH[WUDFWLQJWKHJDVDQG
refrigerant oil, the pipe may burst or the pinched connecting pipe may blow
RIIDQGLJQLWHWKHUHIULJHUDQWRLOFDXVLQJVHULRXVLQMXU\
Caution:
Place a wet towel on the refrigerant service valve before heating the brazed
VHFWLRQWRNHHSWKHYDOYHWHPSHUDWXUHIURPH[FHHGLQJÛ&>Û)@
'LUHFWWKHÀDPHDZD\IURPWKHZLULQJDQGPHWDOVKHHWVLQVLGHWKHXQLW
Caution:
Refrigerant pipe connection
7KLVSURGXFWLQFOXGHVFRQQHFWLQJSLSHVIRUIURQWSLSLQJ5HIHUWR>)LJ@
Check the high-pressure/low-pressure piping dimensions before connecting
the refrigerant pipe.
Refer to item 9.2 Refrigerant piping system for piping dimensions.
Make sure that the refrigerant pipe does not touch other refrigerants pipes,
unit panels, or base plates.
Use non-oxidative brazing when connecting pipes.
Do not burn the wiring and plate when brazing.
J
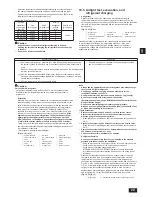
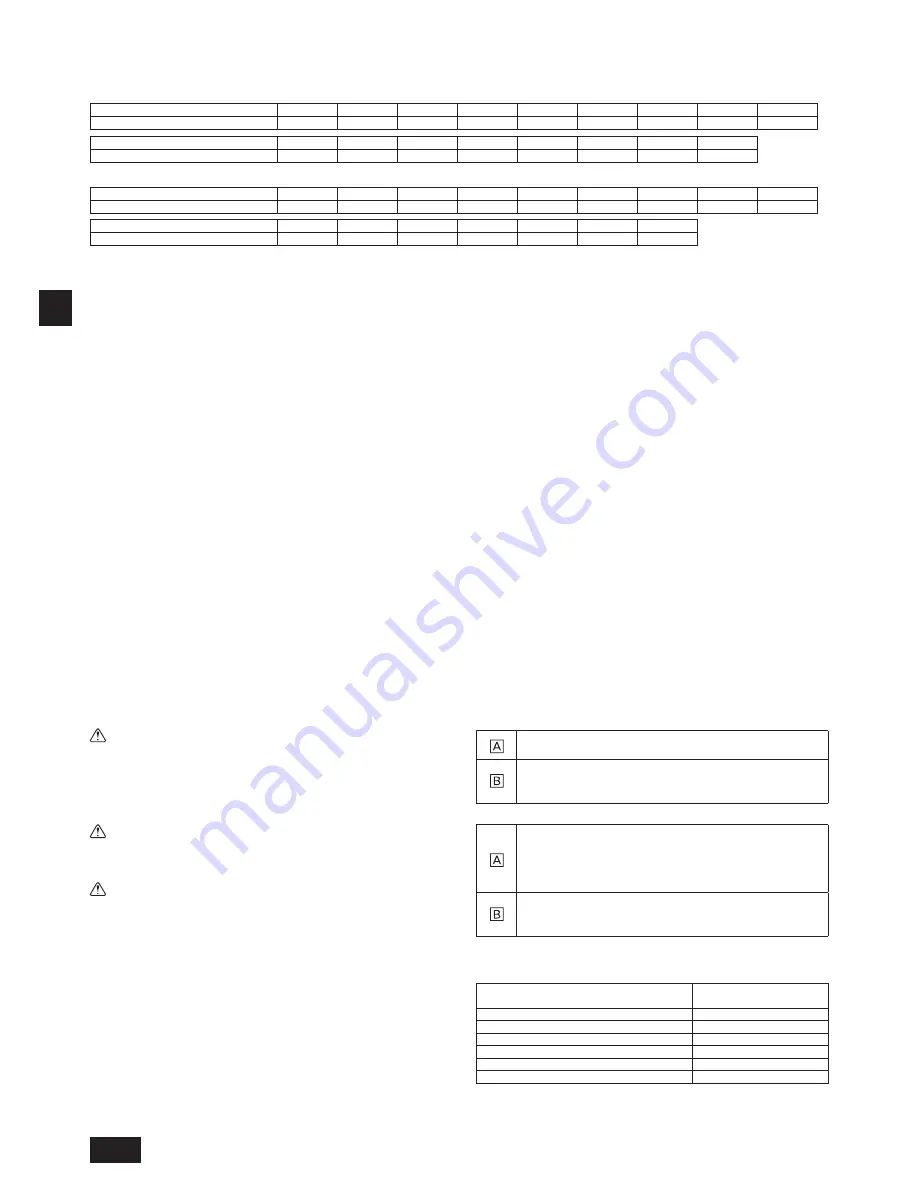
Limitation of the amount of refrigerant to be charged
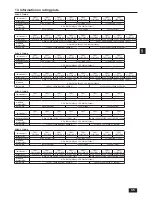
The above calculation result of the amount of refrigerant to be charged must become below the value in the table below.
)RU34+<3ā76/08$<6/08$
Heat source unit model
P72
P96
P120
P144
P144S
P168
P168S
P192
P192S
Maximum amount of refrigerant
*1
kg [LBS]
22.0 [49]
28.5 [63]
29.5 [66]
42.0 [93]
42.0 [93]
51.5 [114]
51.5 [114]
53.5 [118]
53.5 [118]
Heat source unit model
P216
P216S
P240
P240S
P288S
P312S
P336S
P360S
Maximum amount of refrigerant
*1
kg [LBS]
56.0 [124]
55.0 [122]
57.0 [126]
56.0 [124]
67.5 [149]
67.5 [149]
67.5 [149]
70.0 [155]
)RU345<3ā76/08$<6/08$
Heat source unit model
P72
P96
P120
P144
P144S
P168
P168S
P192
P192S
Maximum amount of refrigerant
*1
kg [LBS]
28.0 [62]
32.0 [71]
33.0 [73]
44.0 [98]
44.0 [98]
45.0 [100]
45.0 [100]
52.0 [115]
50.0 [111]
Heat source unit model
P216
P216S
P240
P240S
P288S
P312S
P336S
Maximum amount of refrigerant
*1
kg [LBS]
57.0 [126]
62.0 [137]
58.0 [128]
59.0 [131]
74.0 [164]
74.0 [164]
76.0 [168]
*1: Amount of additional refrigerant to be charged on site
Summary of Contents for CITY MULTI PQHY-P-TLMU-A
Page 55: ......

