31
GB
11.2. Control box and connecting position
of wiring
1
Heat source unit
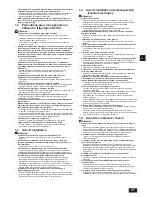
1. Remove the front panel of the heat source unit by unscrewing the screws,
and pushing it up, then pulling it out.
2. Connect the indoor - heat source transmission line to the terminal block
7%
If multiple heat source units are connected in the same refrigerant system,
daisy-chain TB3 (M1, M2,
7HUPLQDORQWKHKHDWVRXUFHXQLWV&RQQHFW
the indoor - heat source transmission line to TB3 (M1, M2,
7HUPLQDORI
only one of the heat source units.
3. Connect the transmission lines for centralized control (between the
centralized control system and the heat source unit of different refrigerant
V\VWHPVWRWKHWHUPLQDOEORFNIRUFHQWUDOL]HGFRQWURO7%,IWKHPXOWLSOH
heat source units are connected to the same refrigerant system, daisy-chain
7%0067HUPLQDORQWKHKHDWVRXUFHXQLWV
*1: If TB7 on the heat source unit in the same refrigerant system is not
daisy-chained, connect the transmission line for centralized control to
7%RQWKH2&,IWKH2&LVRXWRIRUGHURULIWKHFHQWUDOL]HGFRQWURO
is being conducted during the power supply shut-off, daisy-chain TB7
on the OC and OS (In the case that the heat source unit whose power
supply connector CN41 on the control board has been replaced with
CN40 is out of order or the power is shut-off, centralized control will not
EHFRQGXFWHGHYHQZKHQ7%LVGDLV\FKDLQHG
*2: OC and OS of the heat source units in the same refrigerant system are
DXWRPDWLFDOO\LGHQWL¿HG7KH\DUHLGHQWL¿HGDV2&DQG26LQGHVFHQGLQJ
order of capacity (If the capacity is the same, they will be in ascending
RUGHURIWKHLUDGGUHVVQXPEHU
4. The indoor-heat source transmission line, connect the shield ground to the
grounding terminal (
)RUWKHFHQWUDOL]HGWUDQVPLVVLRQOLQHVFRQQHFWWR
WKHVKLHOGWHUPLQDO6RQWKHWHUPLQDOEORFN7%,IWKHKHDWVRXUFHXQLWV
whose power supply connector CN41 is replaced with CN40, short circuit the
VKLHOGWHUPLQDO6DQGWKHJURXQGWHUPLQDO
LQDGGLWLRQWRWKHDERYH
5. Attach the connected wires securely with the cable strap at the bottom of the
terminal block. External force applied to the terminal block may damage it,
UHVXOWLQJLQDVKRUWFLUFXLWJURXQGIDXOWRUD¿UH
Caution:
7LJKWHQWHUPLQDOVFUHZVWRWKHVSHFL¿HGWRUTXH
- Poor wire contact caused by loose screws may result in overheating and
UHVXOWDQW¿UH
- The use of the unit with a damaged circuit board may result in overheating and
UHVXOWDQW¿UH
Note:
7LJKWHQWHUPLQDOVFUHZVWRWKHVSHFL¿HGWRUTXH
7HUPLQDOEORFN7%7/080VFUHZa>1āP@
7HUPLQDOEORFN7%</080VFUHZa>1āP@
7HUPLQDOEORFN7%7%0VFUHZa>1āP@
Make sure that the spring washers are parallel to the terminal block.
Make sure that the wires are securely fastened to the terminal screws.
Drive the screws straight down, and use caution not to damage the
screw heads.
Install the ring terminals back to back so that the screws can be driven
straight down.
Make an alignment mark with a permanent marker across the screw
head, washer, and terminal after tightening the screws.
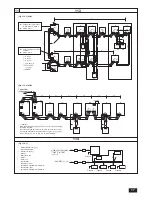
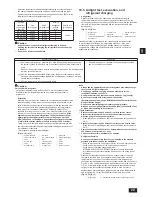
[Fig. 11.2.1] (P.14)
A
Power source
B
Transmission line
C
Ground terminal
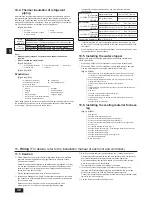
[Fig. 11.2.2] (P.14)
A
Terminal block with loose screws
B
Properly installed terminal block
C
Spring washers must be parallel to the terminal block.
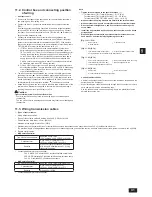
[Fig. 11.2.3] (P.14)
A
Power wires, transmission lines
B
'DLV\FKDLQWUDQVPLVVLRQOLQHVRQO\
C
7HUPLQDOEORFNV7%7%7%
D
Make an alignment mark.
E
Install the ring terminals back to back.
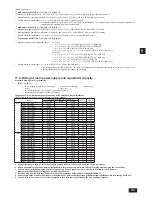
[Fig. 11.2.4] (P.14)
A
Cable strap
B
Power source cable
C
*URXQGWHUPLQDOIRU¿HOGZLULQJFRQQHFWLRQ
2
Conduit tube installation
Hammer the knockout holes for the conduit tube located on the base and the
bottom part of the front panel.
When installing the conduit tube directly through the knockout holes, remove
burrs and protect the tube with masking tape.
Use the conduit tube to narrow the opening if there is a possibility of small
animals entering the unit.
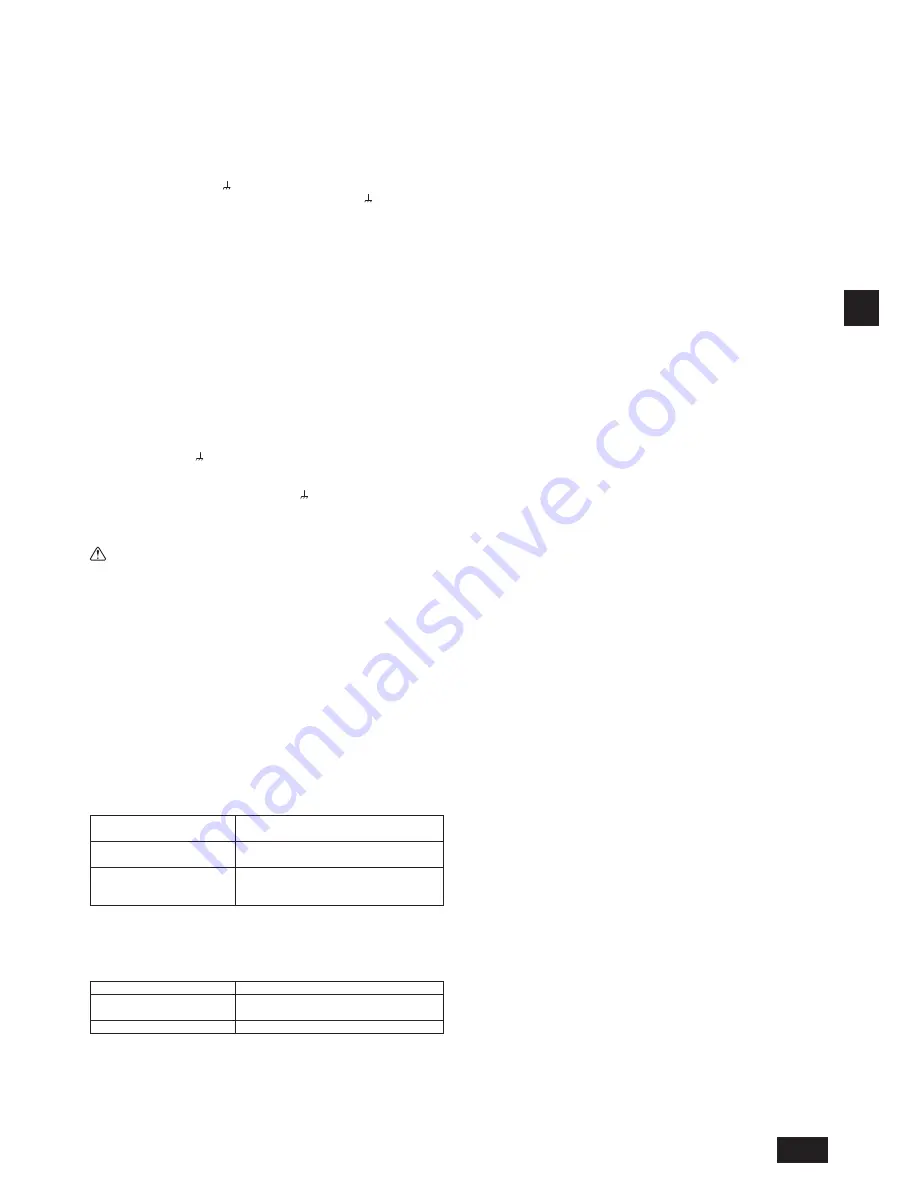
11.3. Wiring transmission cables
1
Types of control cables
1. Wiring transmission cables
Types of transmission cables: Shielding wire CVVS, CPEVS or MVVS
Cable diameter: More than 1.25 mm
2
[AWG16]
Maximum wiring length: Within 200 m [656ft]
Maximum length of transmission lines for centralized control and indoor/heat source transmission lines: 500 m [1640ft] at the maximum
7KHPD[LPXPOHQJWKRIZLULQJEHWZHHQSRZHUVXSSO\XQLWIRUWUDQVPLVVLRQOLQHVIRUFHQWUDOL]HGFRQWURODQGHDFKKHDWVRXUFHXQLWDQGV\VWHPFRQWUROOHULVP>IW@
2. Remote control cables
ME Remote Controller
Type of remote control cable
Sheathed 2-core cable
&99VKLHOGHG&996&3(96RU0996
Cable diameter
0.3 to 1.25 mm
2
[AWG 22 to 16]
(0.75 to 1.25 mm
2
>$:*WR@
Remarks
When 10 m [32ft] is exceeded, use cable
ZLWKWKHVDPHVSHFL¿FDWLRQVDV:LULQJ
transmission cables.
*
Connected with simple remote controller.
&996099639&LQVXODWHG39&MDFNHWHGVKLHOGHGFRQWUROFDEOH
&3(963(LQVXODWHG39&MDFNHWHGVKLHOGHGFRPPXQLFDWLRQFDEOH
CVV: PVC insulated PVC sheathed control cable
MA Remote Controller
Type of remote control cable
6KHDWKHGFRUHFDEOHXQVKLHOGHG&99
Cable diameter
0.3 to 1.25 mm
2
[AWG 22 to 16]
(0.75 to 1.25 mm
2
>$:*WR@
Remarks
Within 200 m [656ft]
*
Connected with simple remote controller.
Summary of Contents for CITY MULTI PQHY-P-TLMU-A
Page 55: ......

