1
OPERATING SP MENU
1
Press CAMERA/PLAY button to switch the camera to
CAMERA mode.
In CAMERA mode,
mark is displayed on the upper right of
the LCD.
2
Press SET button for more than 3 seconds.
MENU is displayed.
3
Press COLOR and MULTI buttons at the same time for 3
seconds.
SP MENU is displayed.
4
Select your desired item by pressing T (+) or W (-) button.
5
Press SET button to open the item.
6
Press T (+) or W (-) button to change the setting.
7
Press SET button.
The changed value is saved.
If you wish to cancel the setting, select <BACK and press SET
button.
8
Select <EXIT to go back to CAMERA mode.
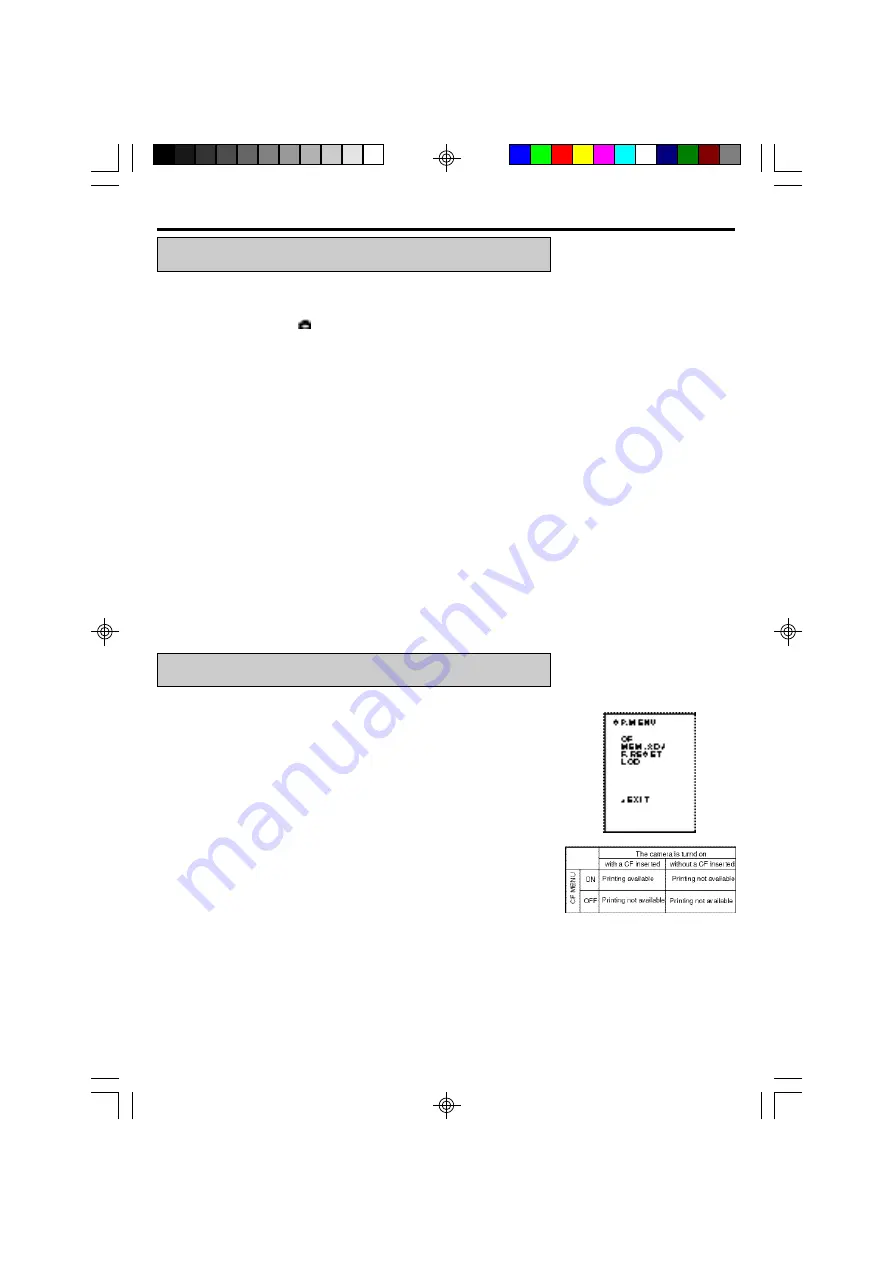
SP. MENU (SPECIAL MENU)
CF
Selects whether a Compact Flash is used or not.
ON
Uses a Compact Flash.
OFF
Does not use a Compact Flash.
•
A Compact Flash can be used when the camera is turned on
with the Compact Flash inserted. If a Compact Flash is inserted
after turing the camera power on, it is not available.
•
Compact Flash is a trademark of SanDisk Corporation.
MEM.ADJ
Memorizes the settings made by the installer in A, B
or C.
•
When selecting RESET on MENU, all the settings of MENU
and SUB MENU are reset to the settings of A, B or C.
F.RESET Selects whether all the settings except LCD reset to the
factory settings or not.
YES
All the settings except LCD are reset to the factory
settings after holding SET button for 5 seconds.
CANCEL Cancels resetting to the factory settings.
LCD
Adjusts LCD conditions.
COL.
Adjusts the color of the LCD.
BRIGHT
Adjsuts the contrast of the LCD.
Summary of Contents for DIS900D
Page 1: ...ID PHOTO SYSTEM DIS900D OPERATION MANUAL ...
Page 22: ...22 8 ADVANCED SETTING MENU CHART ...
Page 23: ...23 ...
Page 36: ...2 MENU CHART ...
Page 37: ...3 ...


