


GCH15010
51
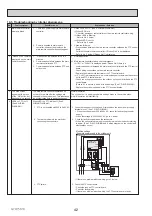
DISASSEMBLY PROCEDURE
PHOTOS
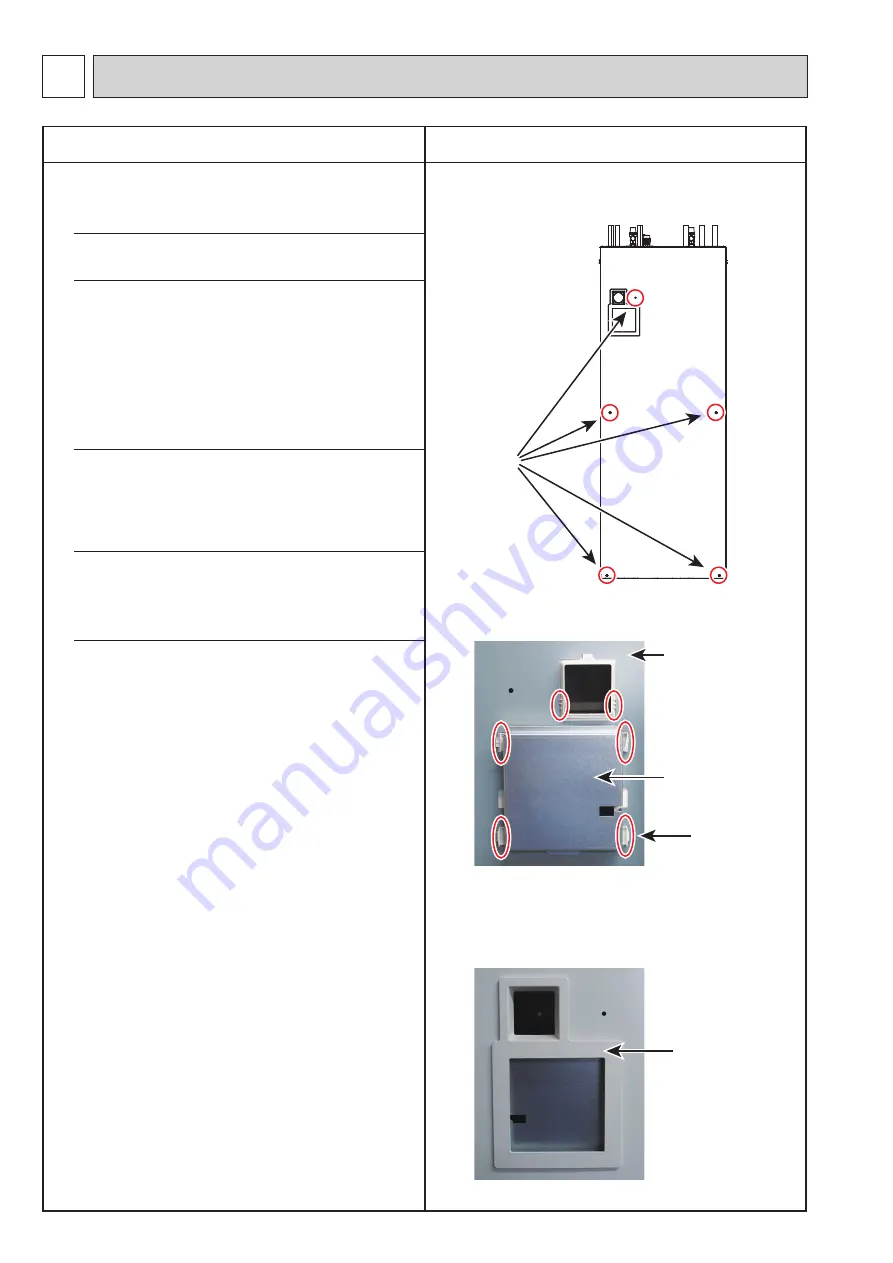
Figure 1
Photo 2-1
Photo 2-2
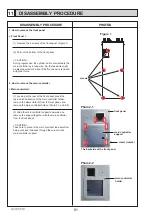
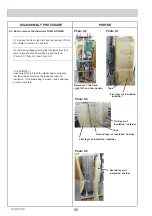
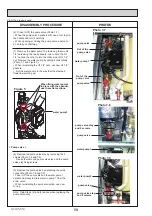
1. How to remove the front panel
< Front Panel >
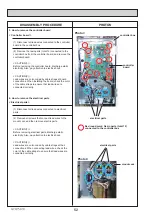
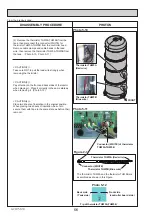
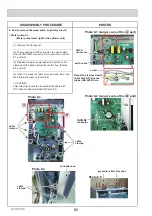
2. How to remove the main controller
< Main controller >
(1) Remove the 5 screws of the front panel. (Figure 1)
(1) Looking at the rear of the front panel, press the
resin notched section of the main controller holder,
remove the claws (total 6) from the front panel, and
remove the main controller holder. (Photo 2-1 and 2-2)
(2) Slide the main controller support upwards, and
remove the support together with the main controller
from the front panel.
(2) Pull out the bottom of the front panel.
< CAUTION >
During regular use, the cylinder unit is connected to the
main controller by a lead wire. So, the lead wire might
be disconnected or broken if the front panel is removed
with great force.
< CAUTION >
Take care to prevent the main controller lead wire from
being cut since it passes through the cutout on the
main controller support.
main controller
support
front panel
The backside of the front panel
claws ( total 6 )
main controller
holder
screws
DISASSEMBLY PROCEDURE
11


