GCH15010
52
DISASSEMBLY PROCEDURE
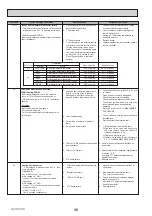
PHOTOS
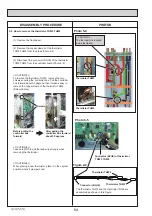
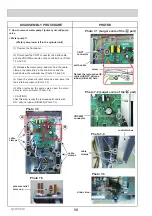
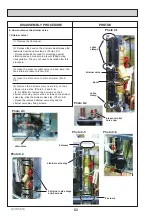
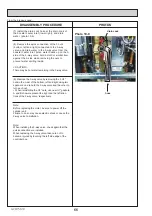
Photo 3
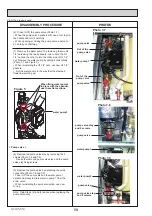
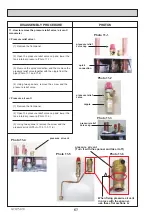
Photo 4
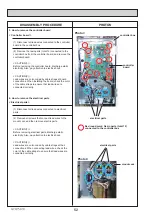
3. How to remove the controller board
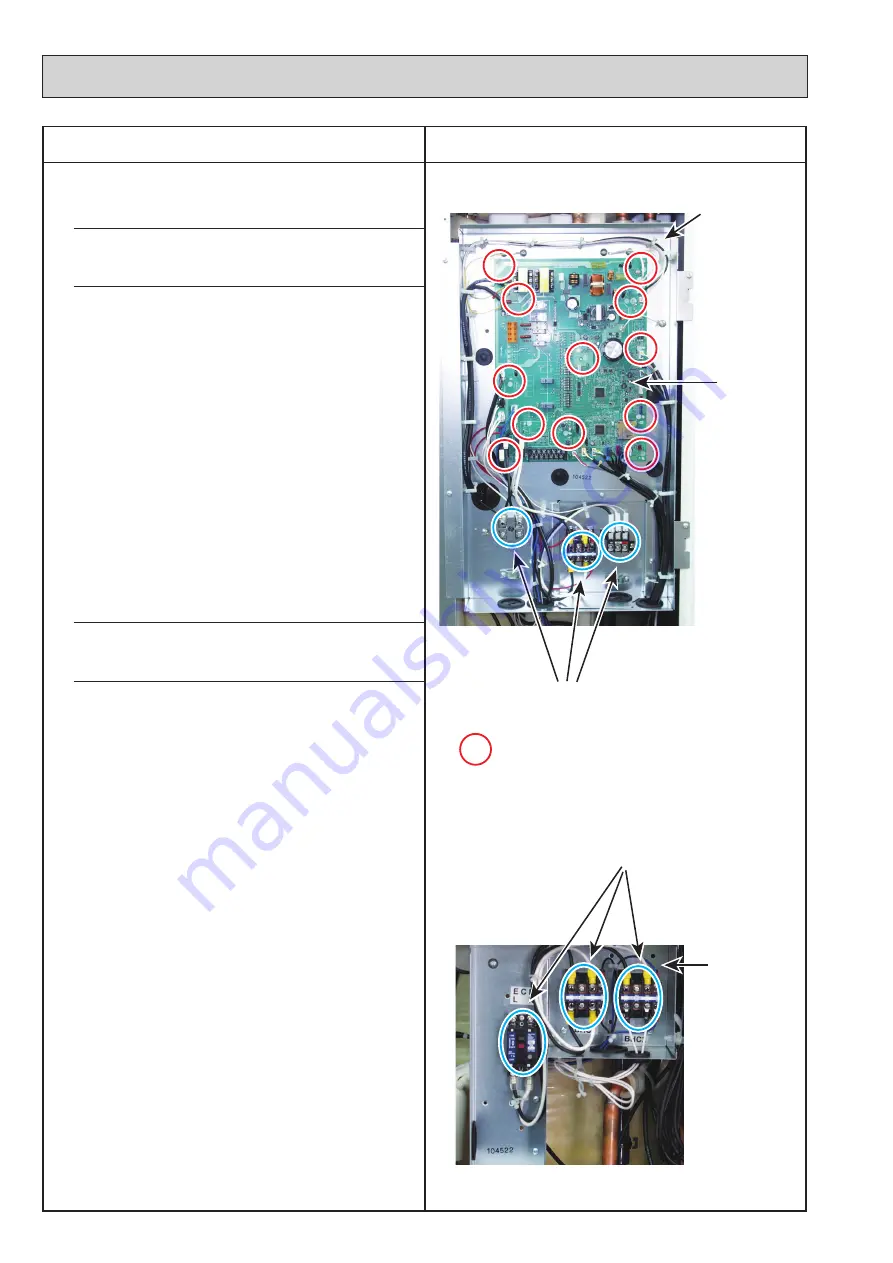
< Controller board >
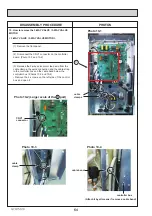
controller
board
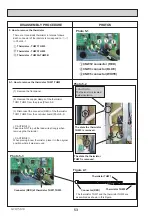
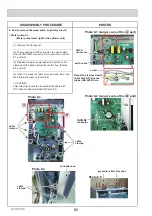
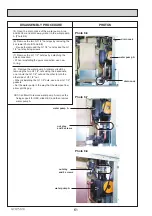
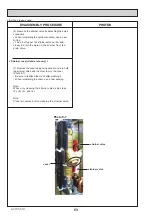
4. How to remove the electrical parts
< Electrical parts >
(1) Disconnect all lead wires connected to the controller
board in the controller box.
(2) Remove the resin parts (total 12) connected to the
controller box from the controller board, and remove the
controller board.
< CAUTION(1) >
Before removing the controller board, discharge static
electricity. Also, pay attention to electric shock.
< CAUTION(2) >
Lead wires are color-coded by cable straps at board
connections. When installing the board, check the color
of the cable straps to ensure that lead wires are
connected correctly.
< CAUTION(2) >
Lead wires are color-coded by cable straps at their
connections. When connecting lead wires, check the
color of the cable straps to ensure that lead wires are
connected correctly.
(1) Disconnect all lead wires connected to electrical
parts.
(2) Remove all screws that connect lead wires to the
mount cont, and then remove electric parts.
< CAUTION(1) >
Before removing electrical parts, discharge static
electricity. Also, pay attention to electric shock.
electrical parts
Red round mark: Resin parts (total 12)
connected to the controller box
mount cont
controller box
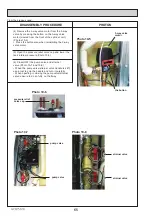
electrical parts

