
GCH15010
62
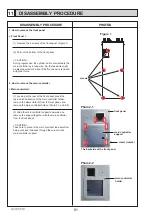
PHOTOS
DISASSEMBLY PROCEDURE
Photo 9-1
Photo 9-4
Photo 9-5
Photo 9-6
Photo 9-2
Photo 9-3
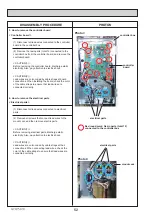
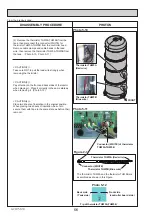
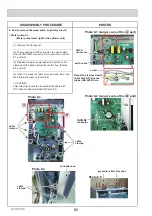
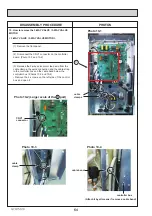
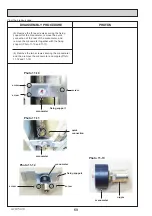
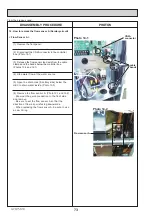
9. How to remove the strainer valve
< Strainer valve >
(1) Remove the front panel.
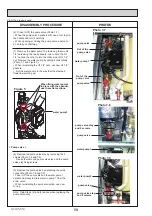
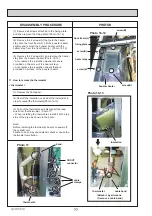
(2) Release the band on the strainer valve.Release the
lead wire from the cable clamps. (Photos 9-1)
5HOHDVHGEDQGVDUHXVHGIRUSURWHFWLQJDJDLQVW
YLEUDWLRQDQGDVDPHDVXUHWRSUHYHQWIDOOLQJGXULQJ
transportation. They do not need to be retied after this
SURFHGXUH
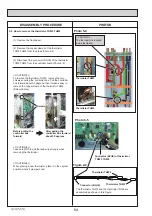
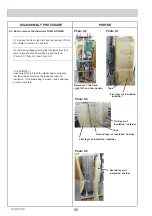
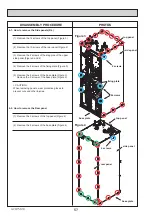
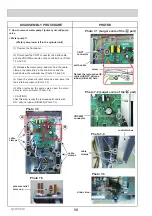
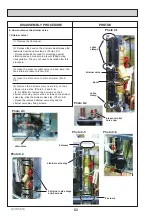
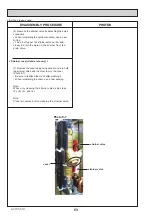
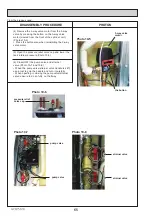
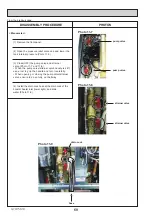
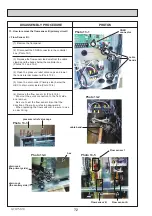
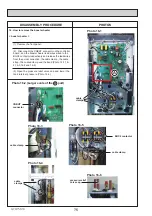
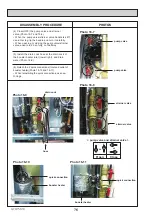
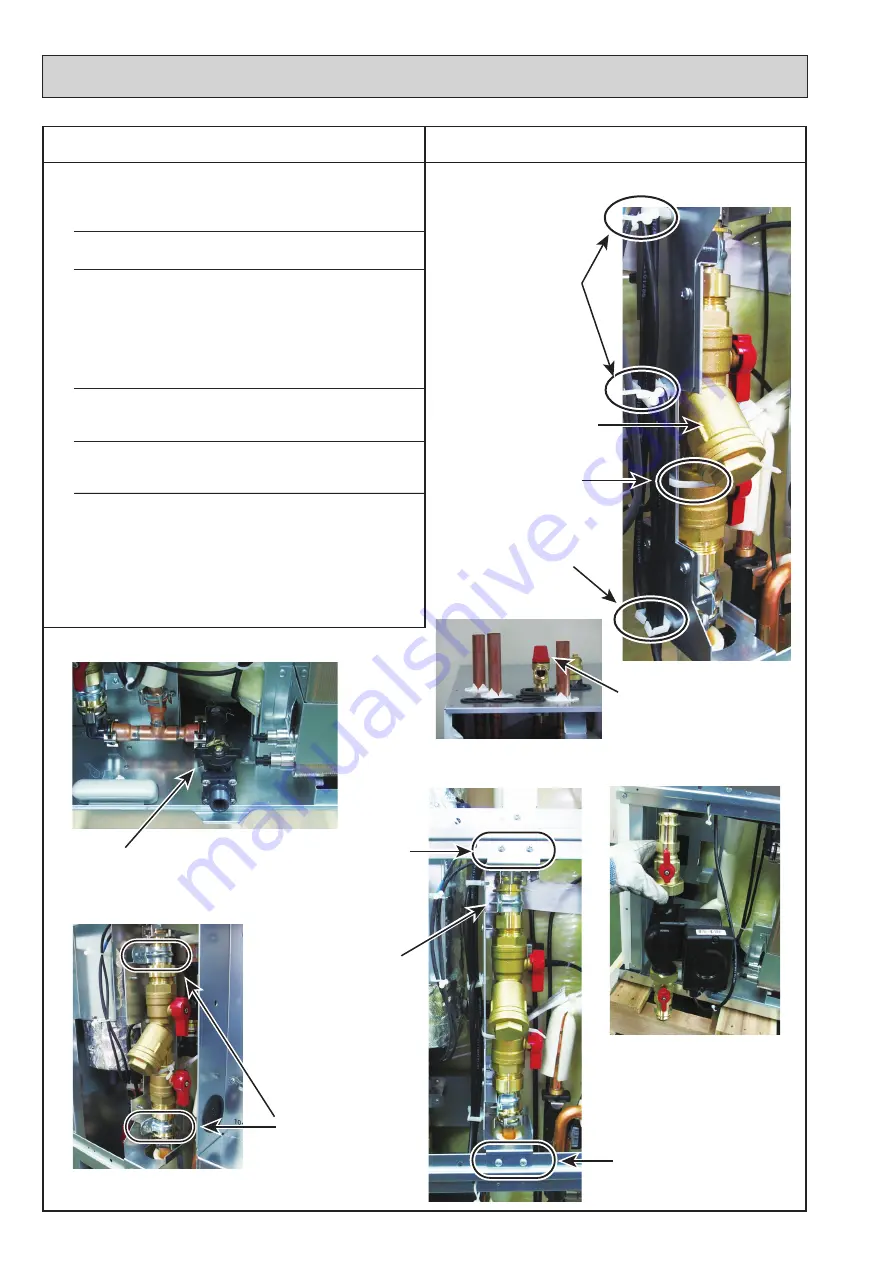
(5) Remove the 2 screws (only near side) on the 2
strainer valve stay. (Photo 9-4 and 9-6)
,)LWLVGLIILFXOWWRUHPRYHWKHVFUHZVRQWKH
strainer valve stay, remove the 4 screws on the strainer
valve stay, slide the strainer valve stay. (Photo 9-5)
5HXVHWKHUHPRYHGVWUDLQHUYDOYHVWD\DQGWKH
VWUDLQHUYDOYHVWD\IL[LQJVFUHZV
band
strainer valve
2 strainer valve stays
and 2 screws
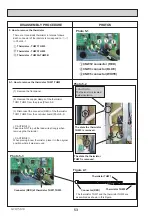
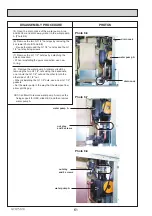
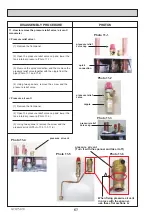
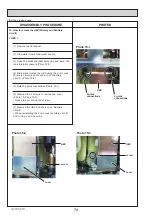
pressure relief
valve cap
drain valve
strainer valve stay
2 screws
2 screws
(3)
2SHQWKHSUHVVXUHUHOLHIYDOYHFDSDQGORZHUWKH
WDQNLQWHUQDOSUHVVXUH
(Photo 9-2)
(4) Open the drain valve to drain all water.(Photo
9-3)
cable
clamp
cable
clamps


