INSTALLATION
5
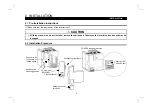
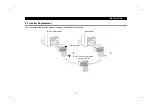
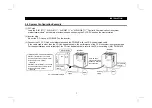
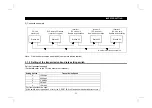
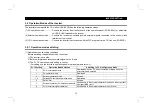
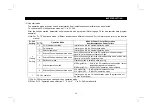
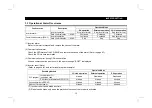
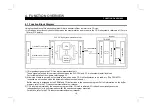
(1) Remove the front cover and option wiring port cover. (Refer to the inverter manual.)
(2) Remove the sponge from the inboard option connector, align the option unit connector with the inboard option connector
of the inverter, and securely insert it far enough into the inverter.
(3) Securely fix the top and bottom of the option unit to the inverter with the accessory mounting screws. If the screw holes do
not match, check for insecure connector insertion. The connector may not have been inserted securely.
(4) Reinstall the front cover to the inverter. (Refer to the inverter manual.)
Note: 1. While the inboard option is plugged in, store the option wiring port cover carefully.
2. When this option is plugged in, the protective structure of the inverter is the open type (IP00).
3. If the inverter cannot recognize the plugged-in option, the E.OPT error appears. (Refer to the inverter manual.)


