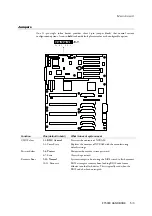
W o r k i n g i n s i d e t h e s y s t e m
2/4 FT5000 HANDBOOK
Add-in boards
Installing an add-in board
1.
Remove access cover as detailed in the previous section.
2.
Remove add-in board from its protective wrapper. Be careful not to touch the components or
gold edge connectors. Place board component-side up on an antistatic surface.
3.
Record the serial number of the add-in board in your equipment log.
4.
Set jumpers or switches according to the manufacturer’s instructions.
5.
Remove and save the expansion slot cover from the chosen slot.
6.
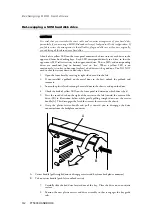
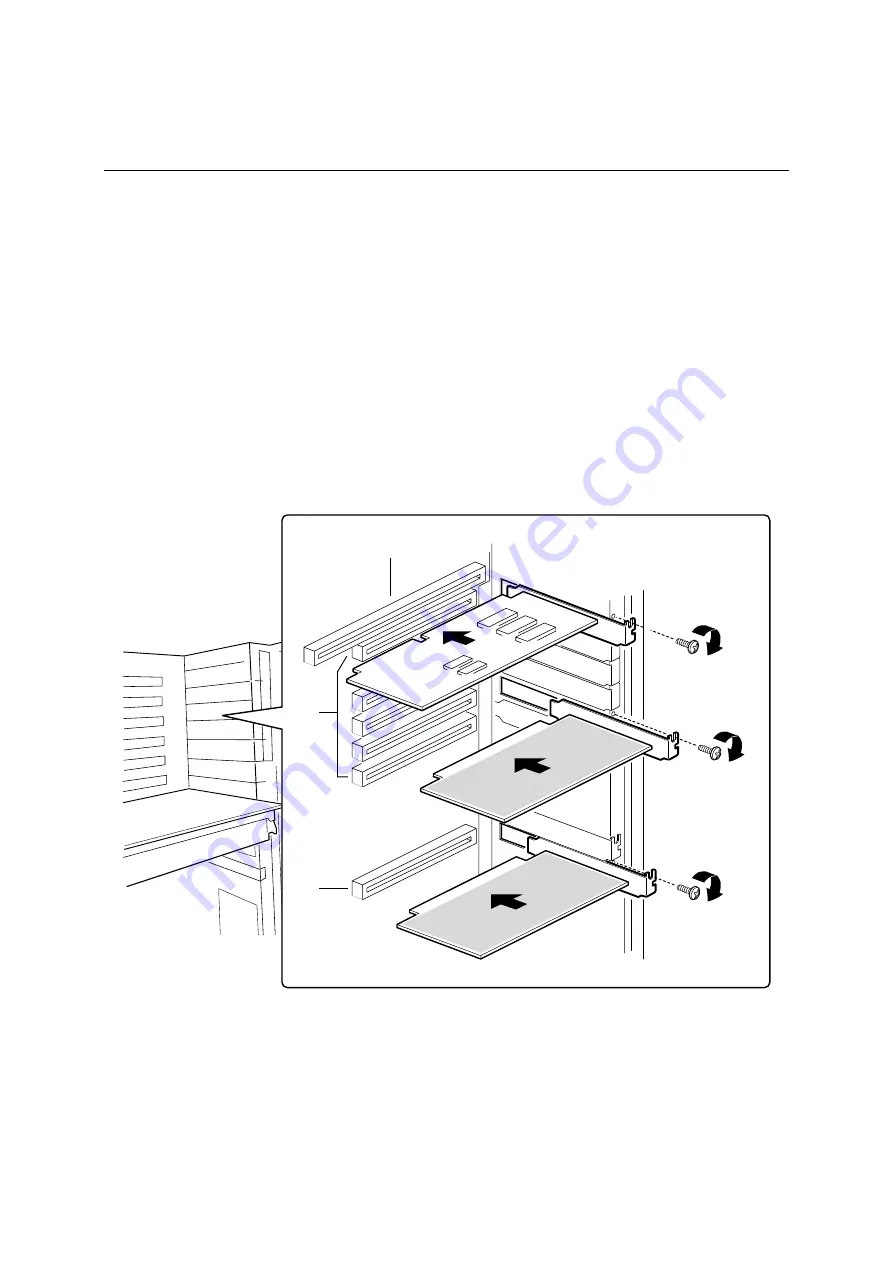
Hold the add-in board by its top edge or upper corners. Firmly press it into an expansion slot
on the baseboard. The tapered foot of the board retaining bracket must fit into the mating
slot in the expansion slot frame.
7.
Slide the notch at the top of the retention bracket into its receptacle on the frame, which is
above and perpendicular to the top expansion slot.
8.
Reinstall the access cover using the original screws.
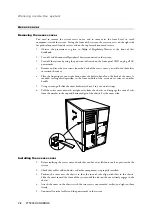
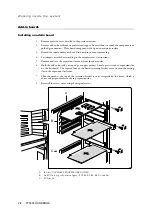
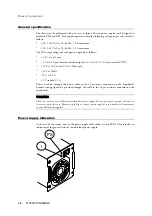
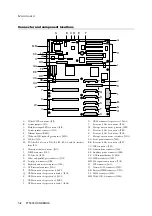
C
B
A
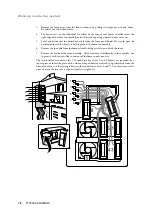
A.
ISA slot (USE HALF-LENGTH BOARD ONLY)
B.
Six PCI slots (top to bottom in figure = PCI B3, B2, B1, B0, A3, and A2)
C.
PCI slot A1


