─
14
─
4
Remove the special (spl) washer (8) (16 mm in outer diameter).
Spl washer (8)
Reassembly precaution
Be aware of the size difference between each washer for EA
fan and SA fan.
Incorrect installation may cause unusual noise.
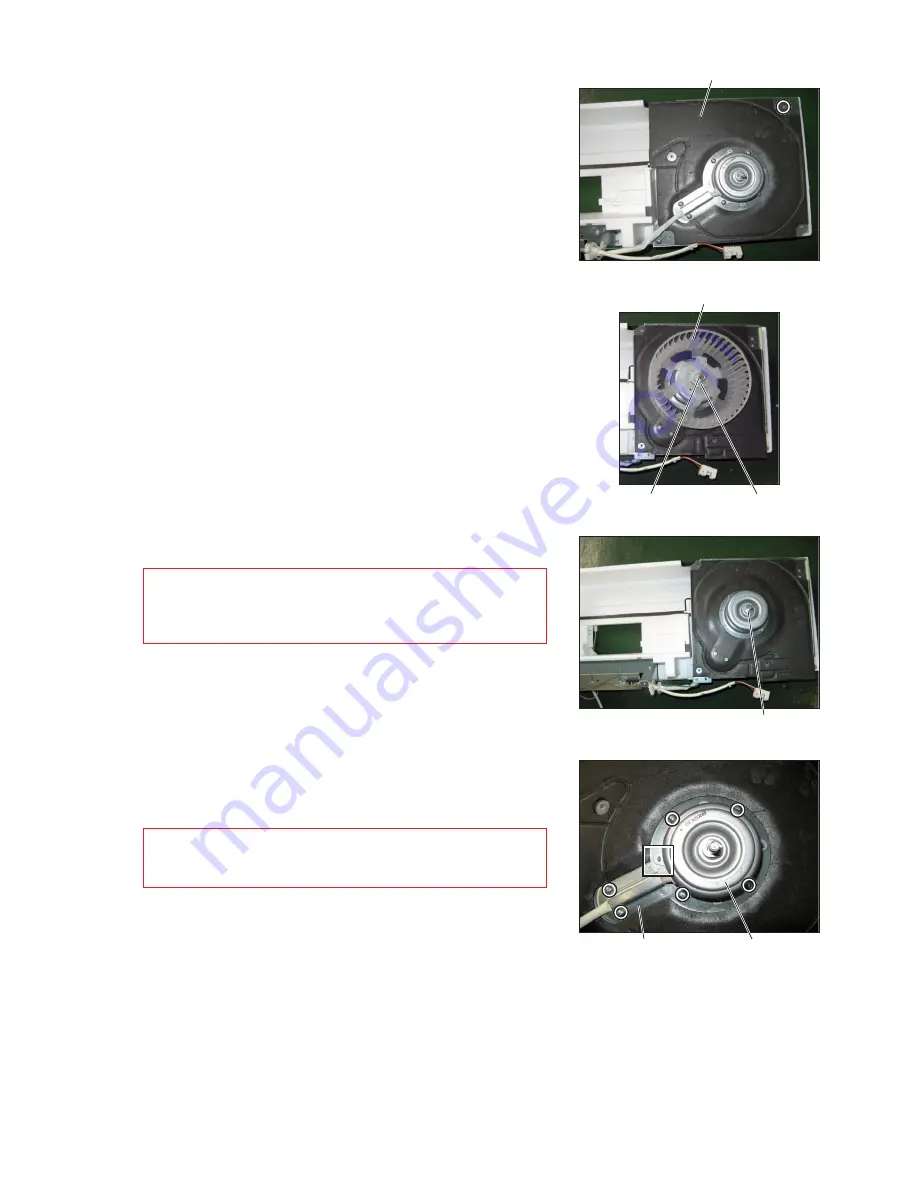
(9) Motor
• Unscrew the screws that clamps motor and lead cover (six PTT
screws 4 × 10, indicated by
), and then remove the motor.
Reassembly precaution
When installing the lead cover, make sure to place it under the
motor (indicated by
).
2
Turn the motor fix plate upside down, and put it on the main unit.
3
Remove the special nut (8) and tab washer, and then remove
the SA fan.
(8) Air supply (SA) fan
1
Unscrew the motor fix plate clamping screw (one PTT screw 4 ×
14, indicated by
).
SA fan
Lead cover
Motor fix plate
Motor
Special nut (8)
Tab washer


